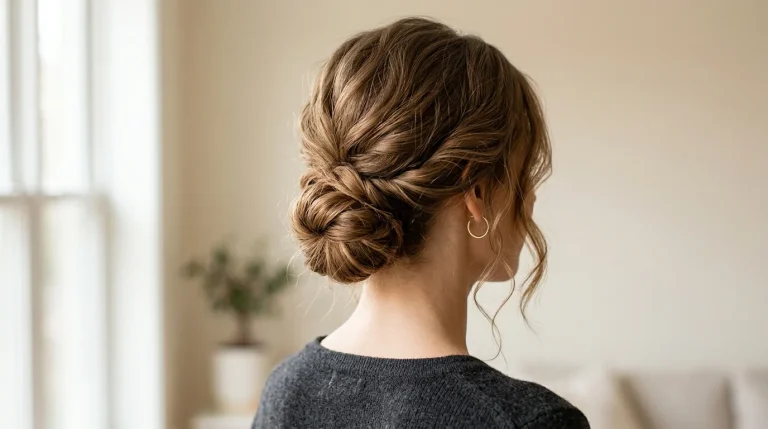
How to Blow Dry Short Hair Over 60 for Volume
The lift you see in the salon mirror at 11 in the morning is rarely still there by lunch. Short hair over 60 tends to dry close to the head, and fine strands give up their shape fast once the heat is gone. The good news is that flat hair is usually a drying problem, not a cutting problem. The order you dry in, the direction of the airflow, and where the product sits matter more than the dryer itself.
This walkthrough shows how to blow dry short hair over 60 for volume in twelve plain steps, from the first towel blot to the cool shot that locks the lift in place. Each step is quick. Most take under a minute once your hands know the moves. Work through them in order the first few times, and the routine soon runs on habit. You need no salon kit, just a dryer with a nozzle, one small brush, and a little patience at the roots.
1. Blot With a Towel and Detangle Gently So Lift Starts Before the Dryer
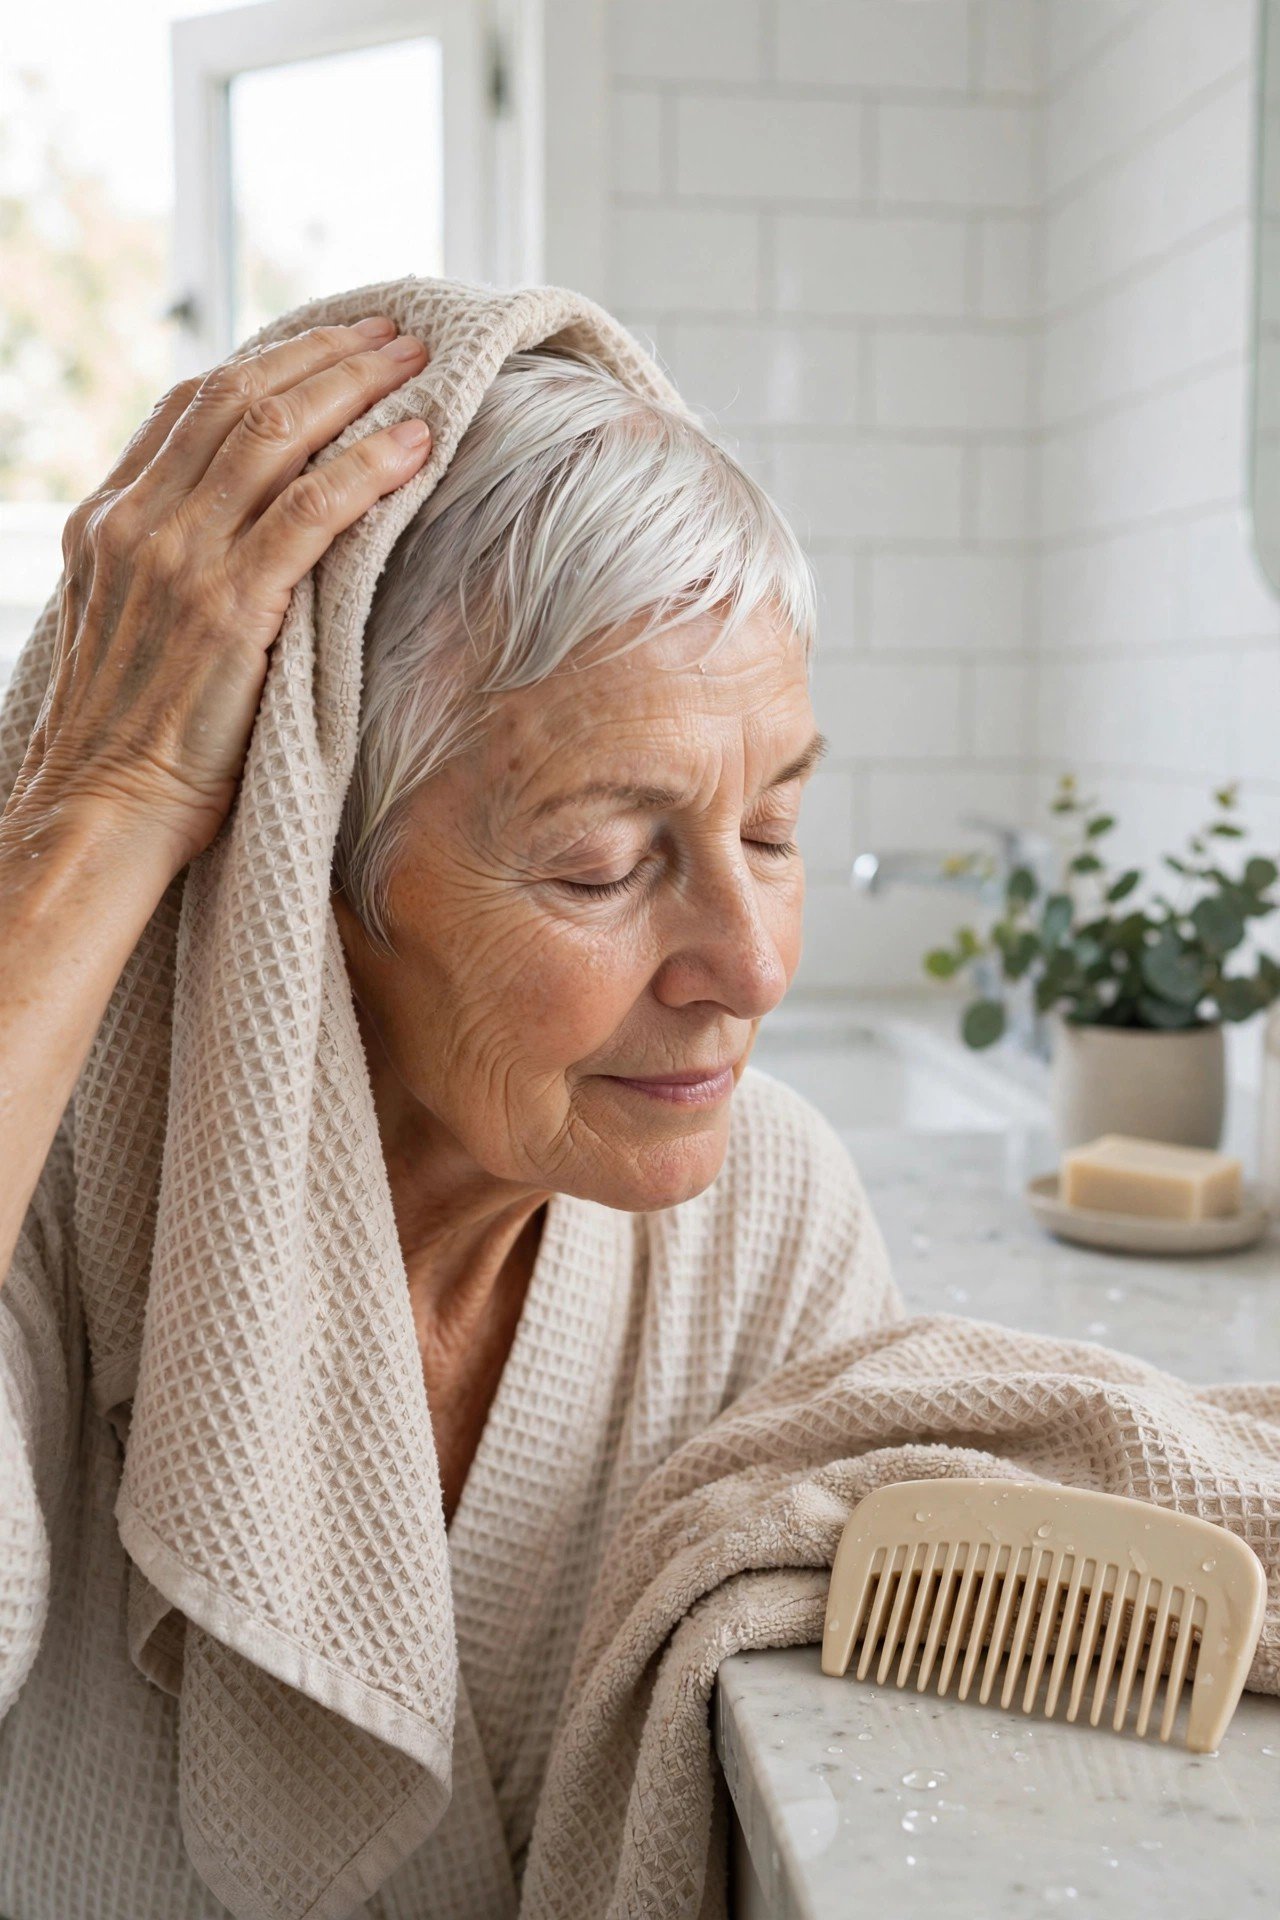
Straight out of the shower, the instinct is to scrub the towel back and forth until the hair feels dry.
On short, fine hair that roughs up the surface and snaps strands that are already fragile. Blot instead. Press the towel against your head in sections and squeeze the water out, working from the crown down to the nape. Then detangle with a wide tooth comb, starting at the ends and moving up in short strokes. Short hair tangles less than long hair, but the crown knots easily while it is wet. Hair that is blotted and smooth at this stage takes product evenly and dries faster, which means less heat time on delicate strands later.
Before the dryer goes on
2. Work Root Product Into the Roots Only, Not the Ends
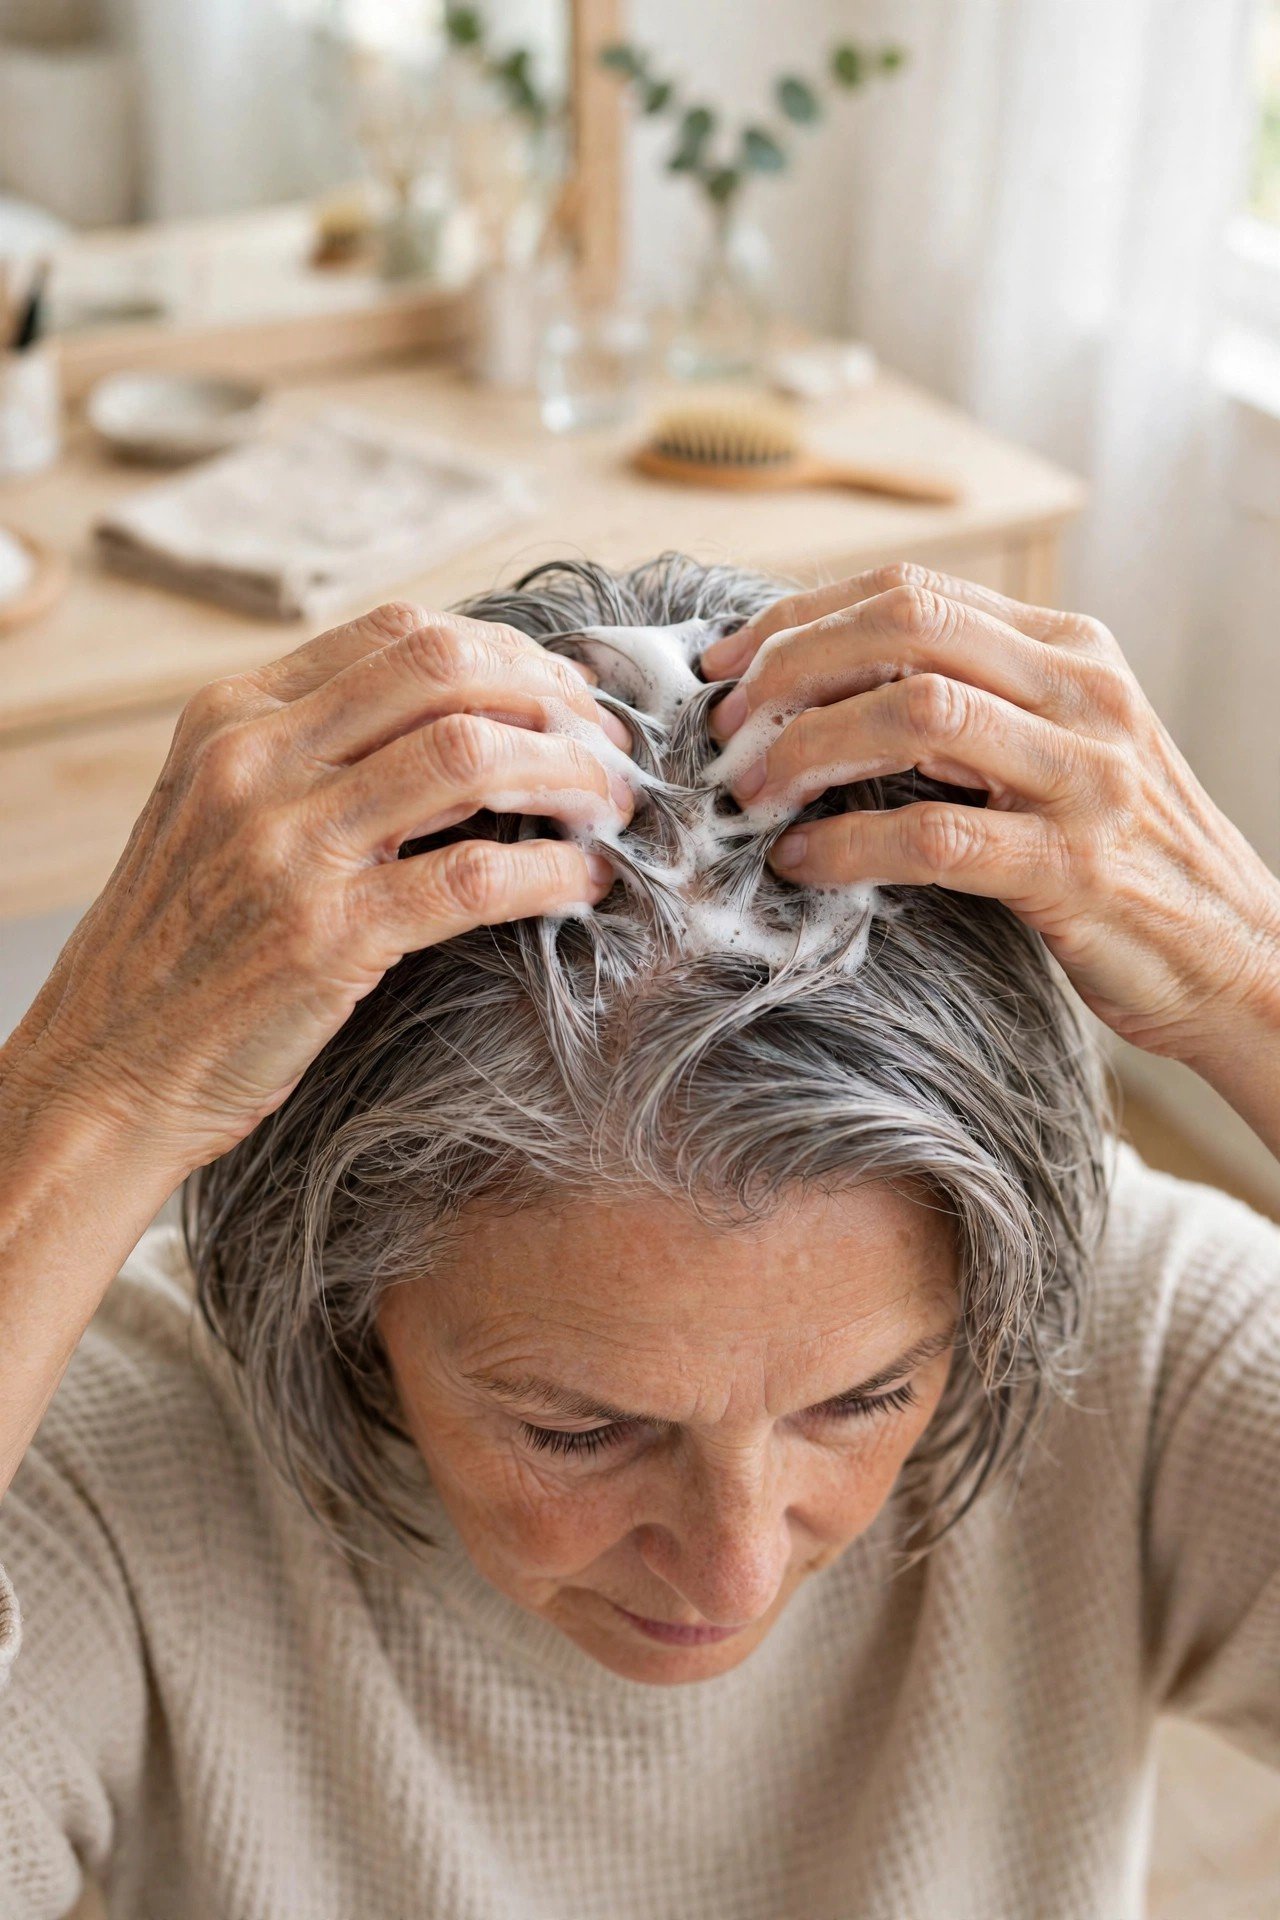
One rule saves the whole style: lift product belongs on the first inch of hair at the scalp, nowhere else.
Foam or mousse worked through the ends weighs short hair down and leaves it looking stringy by noon. Warm a small blob between your palms, then push your fingertips down to the roots and massage in small circles, zone by zone. Crown first, then the sides, then the top of the fringe. A light mist of heat protectant spray over everything comes last, held at arm’s length so it lands as a fine cloud rather than wet patches that need drying all over again.
3. Rough Dry With Fingers Until Hair Feels Mostly Dry
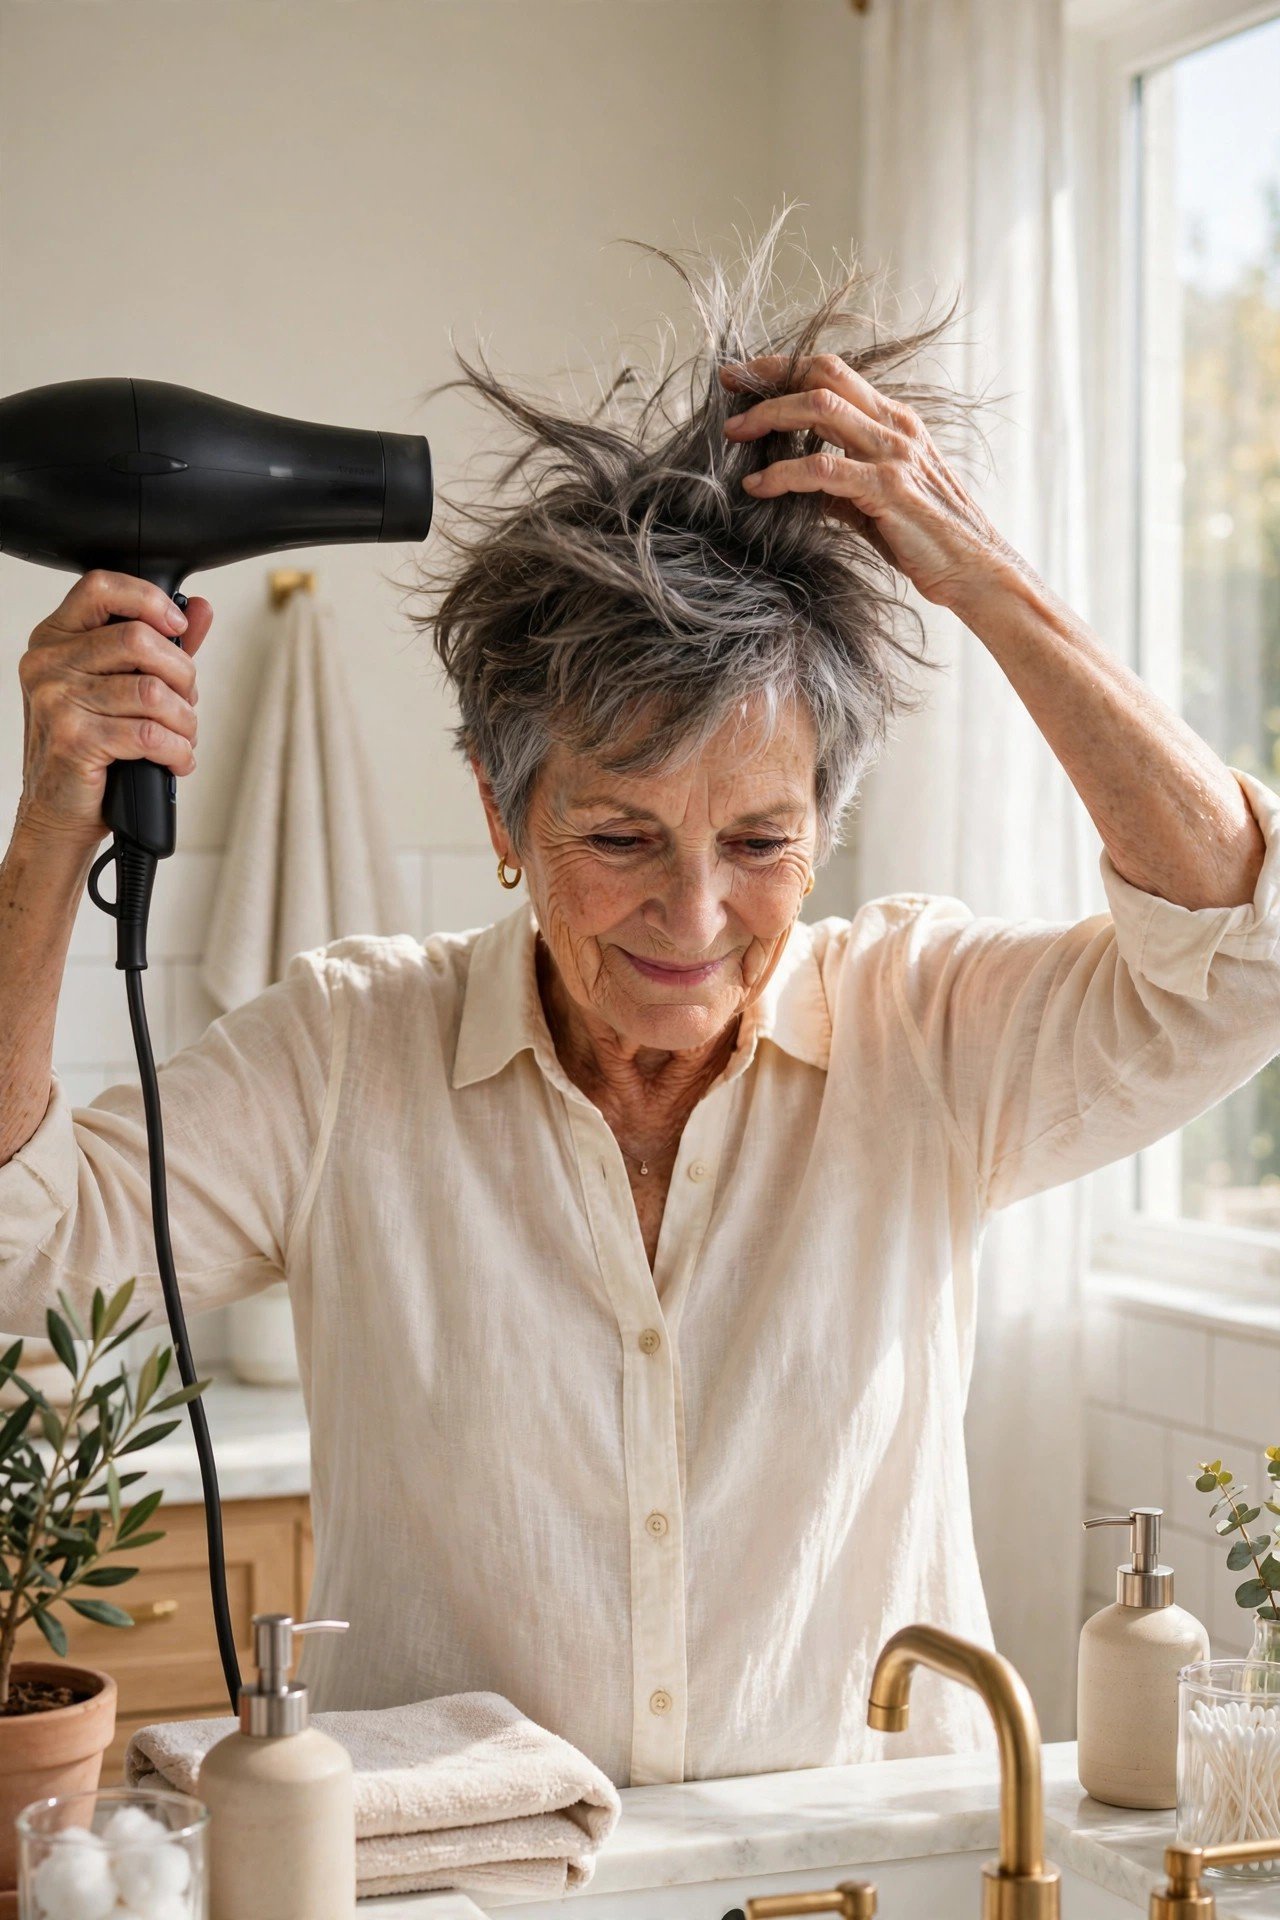
Put the brush down for this part.
Set the dryer to medium heat and use your free hand to rake through the hair, lifting at the roots and shaking the strands loose as the air moves over them. Tip your head forward for a minute if your arms allow it, and let gravity help the roots stand away from the scalp. Stop when the hair feels about three quarters dry, still cool and slightly damp to the touch. Styling damp hair with a brush is where the shape gets built. Hair that is bone dry before the brush comes out has already settled flat, and no amount of rolling will fully lift it again.
💡 Quick Tip
Keep the nozzle a few inches from your head and keep it moving. One spot held under steady heat dries out fast and turns flyaway, while the roots beside it stay damp.
4. Pick a Small Round Brush That Can Grip Short Hair
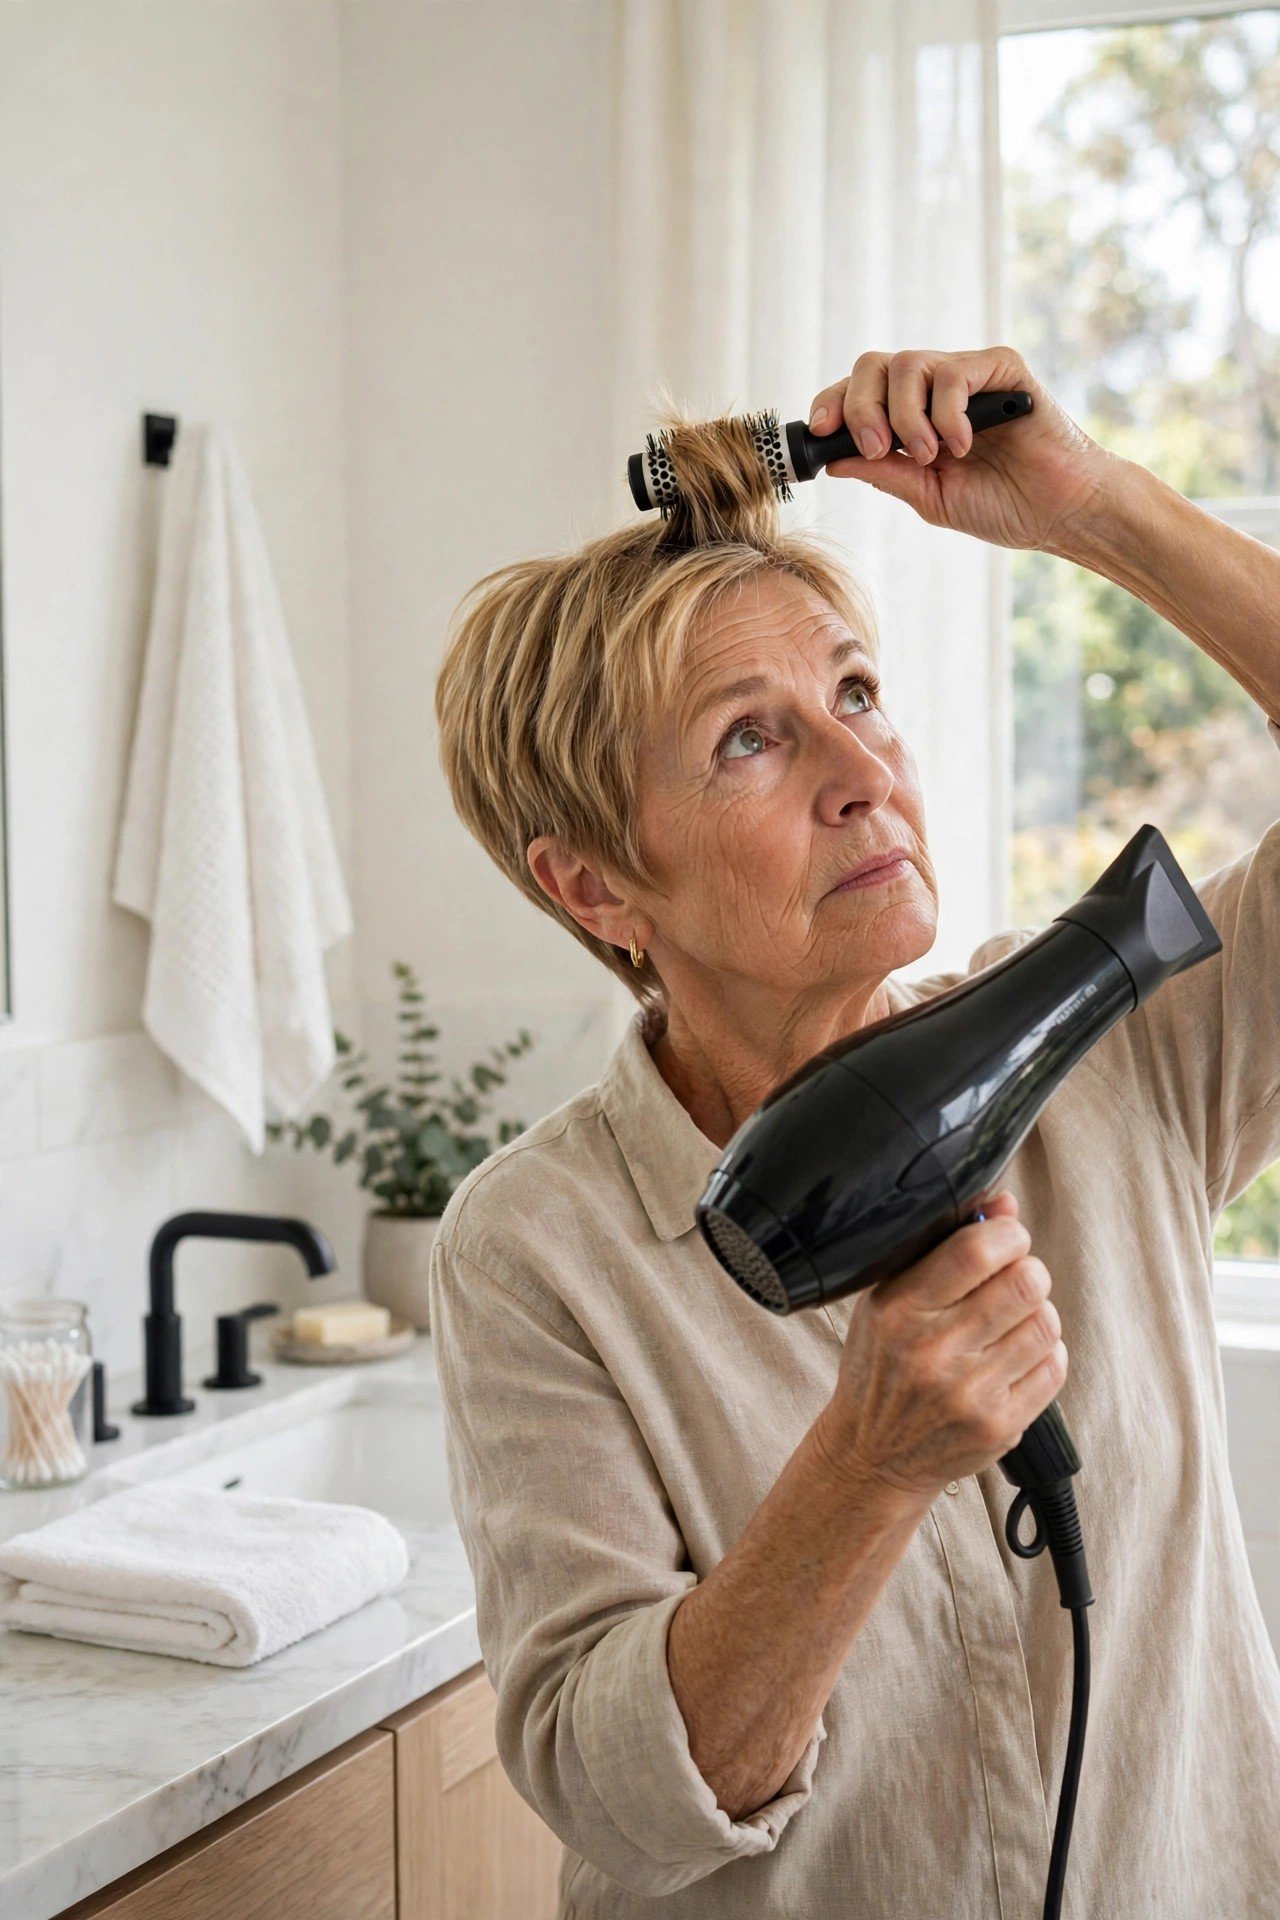
A big barrel brush slides straight through short hair and gives you nothing to pull against.
For lengths above the jaw, a small round brush, roughly the width of two fingers, grips the strand and lets you roll real tension into it. Vented barrels let air pass through and speed the drying up, while natural bristles polish the surface of finer hair. One brush is enough for the whole routine. Keep the paddle brush for detangling on non wash days, and leave it in the drawer this morning.
| Brush | Best job in this routine |
|---|---|
| Small round brush | Grips short sections, rolls lift into the crown |
| Vent brush | Fast rough drying, air passes through the barrel |
| Paddle brush | Detangling only, too flat to build any lift |
5. Clip the Hair Into Four Zones So Nothing Gets Missed
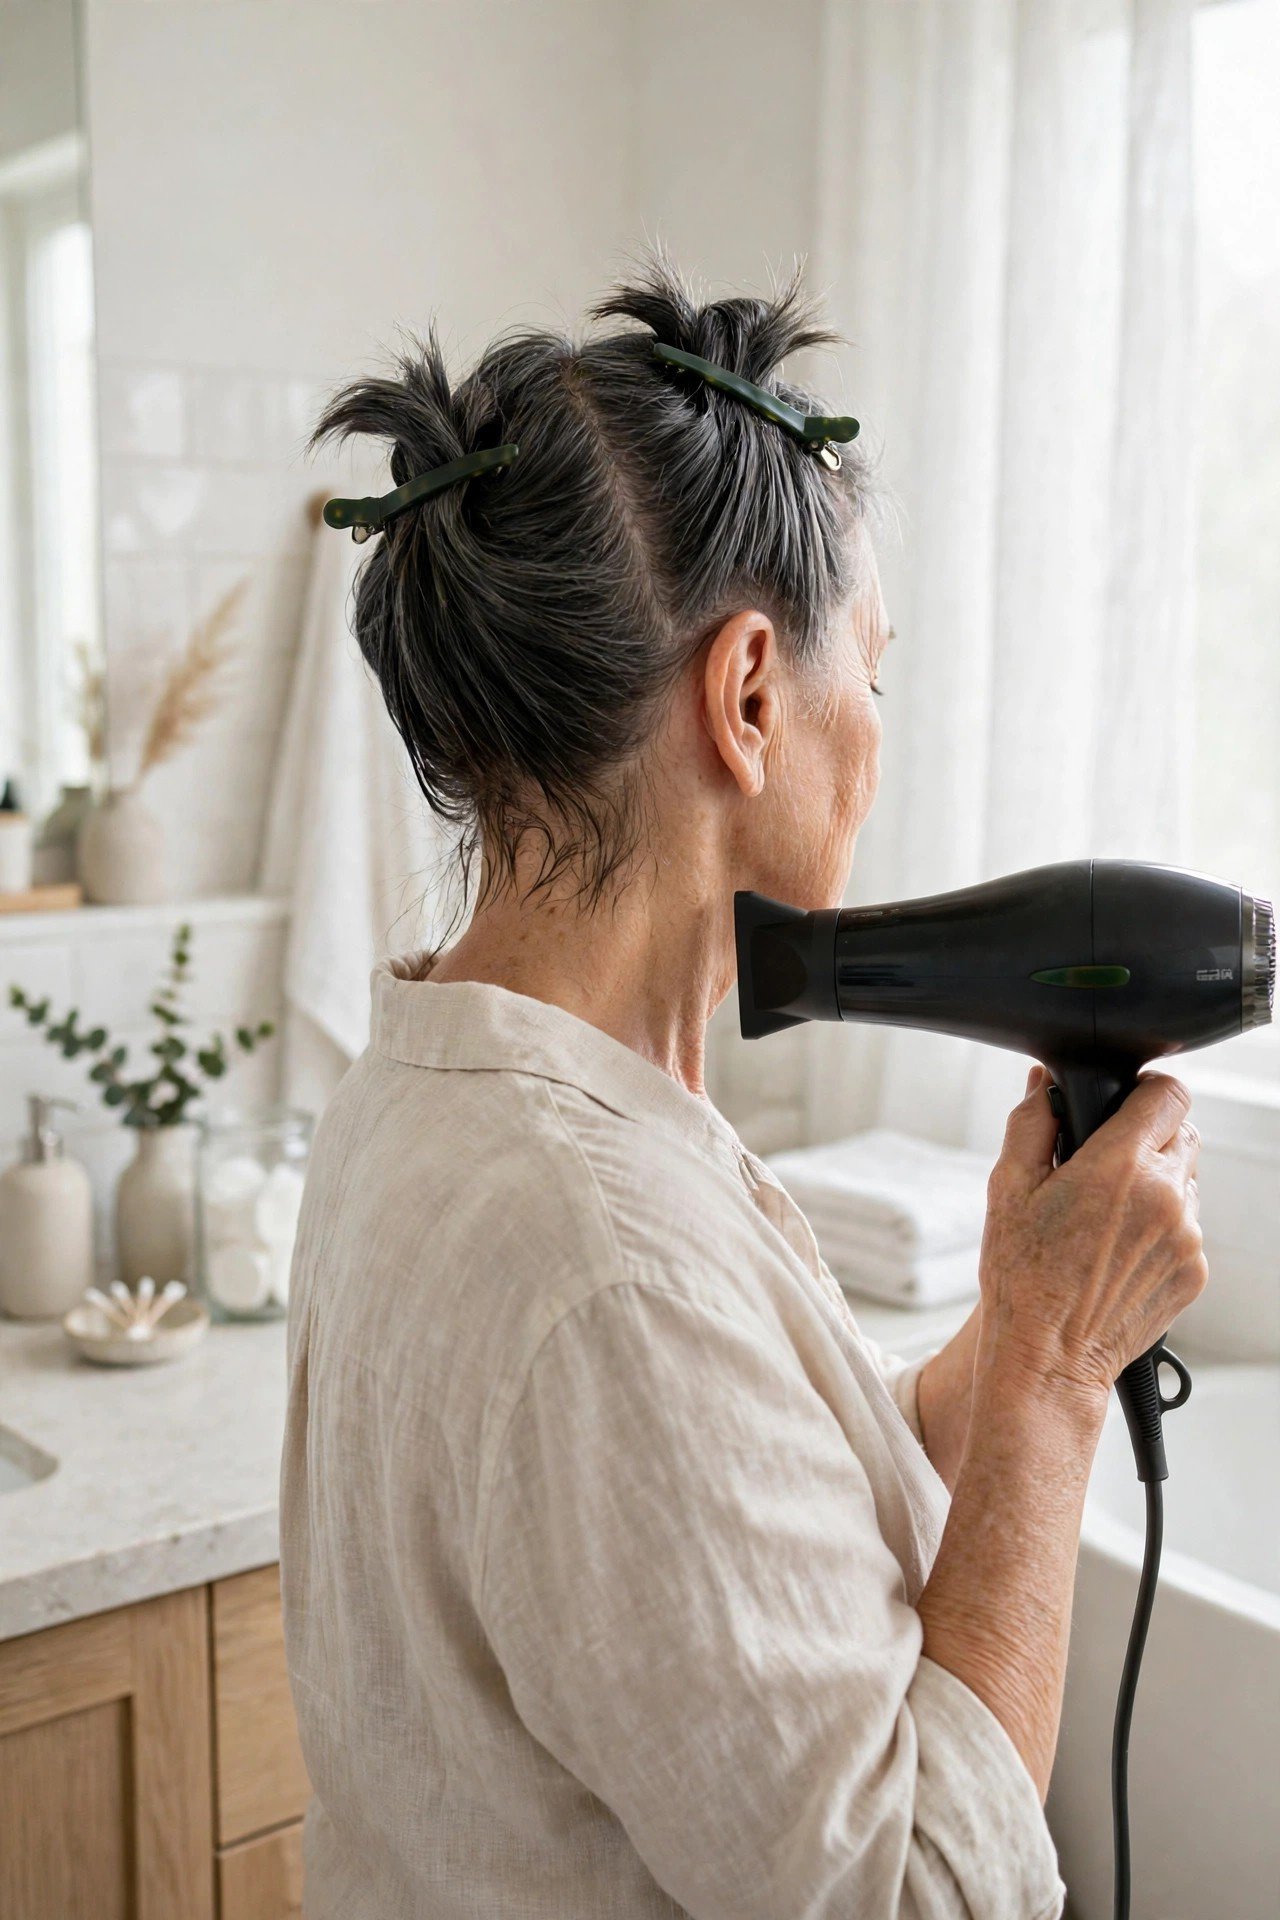
Short hair looks like one small area, but it dries in four different ways.
The crown wants lift, the fringe wants calm, the sides want to sit close, and the nape just wants to be dry. Two clips handle the whole job. Pin the crown and top up out of the way, dry the lower zones first, then release the top and give it your full attention. Working zone by zone also stops you re-drying hair that is already done, which is where heat damage quietly builds up over the months. The towel that lives on the back of the bathroom door can hold the spare clip.
6. Dry Every Root Against Its Natural Fall to Build the Base
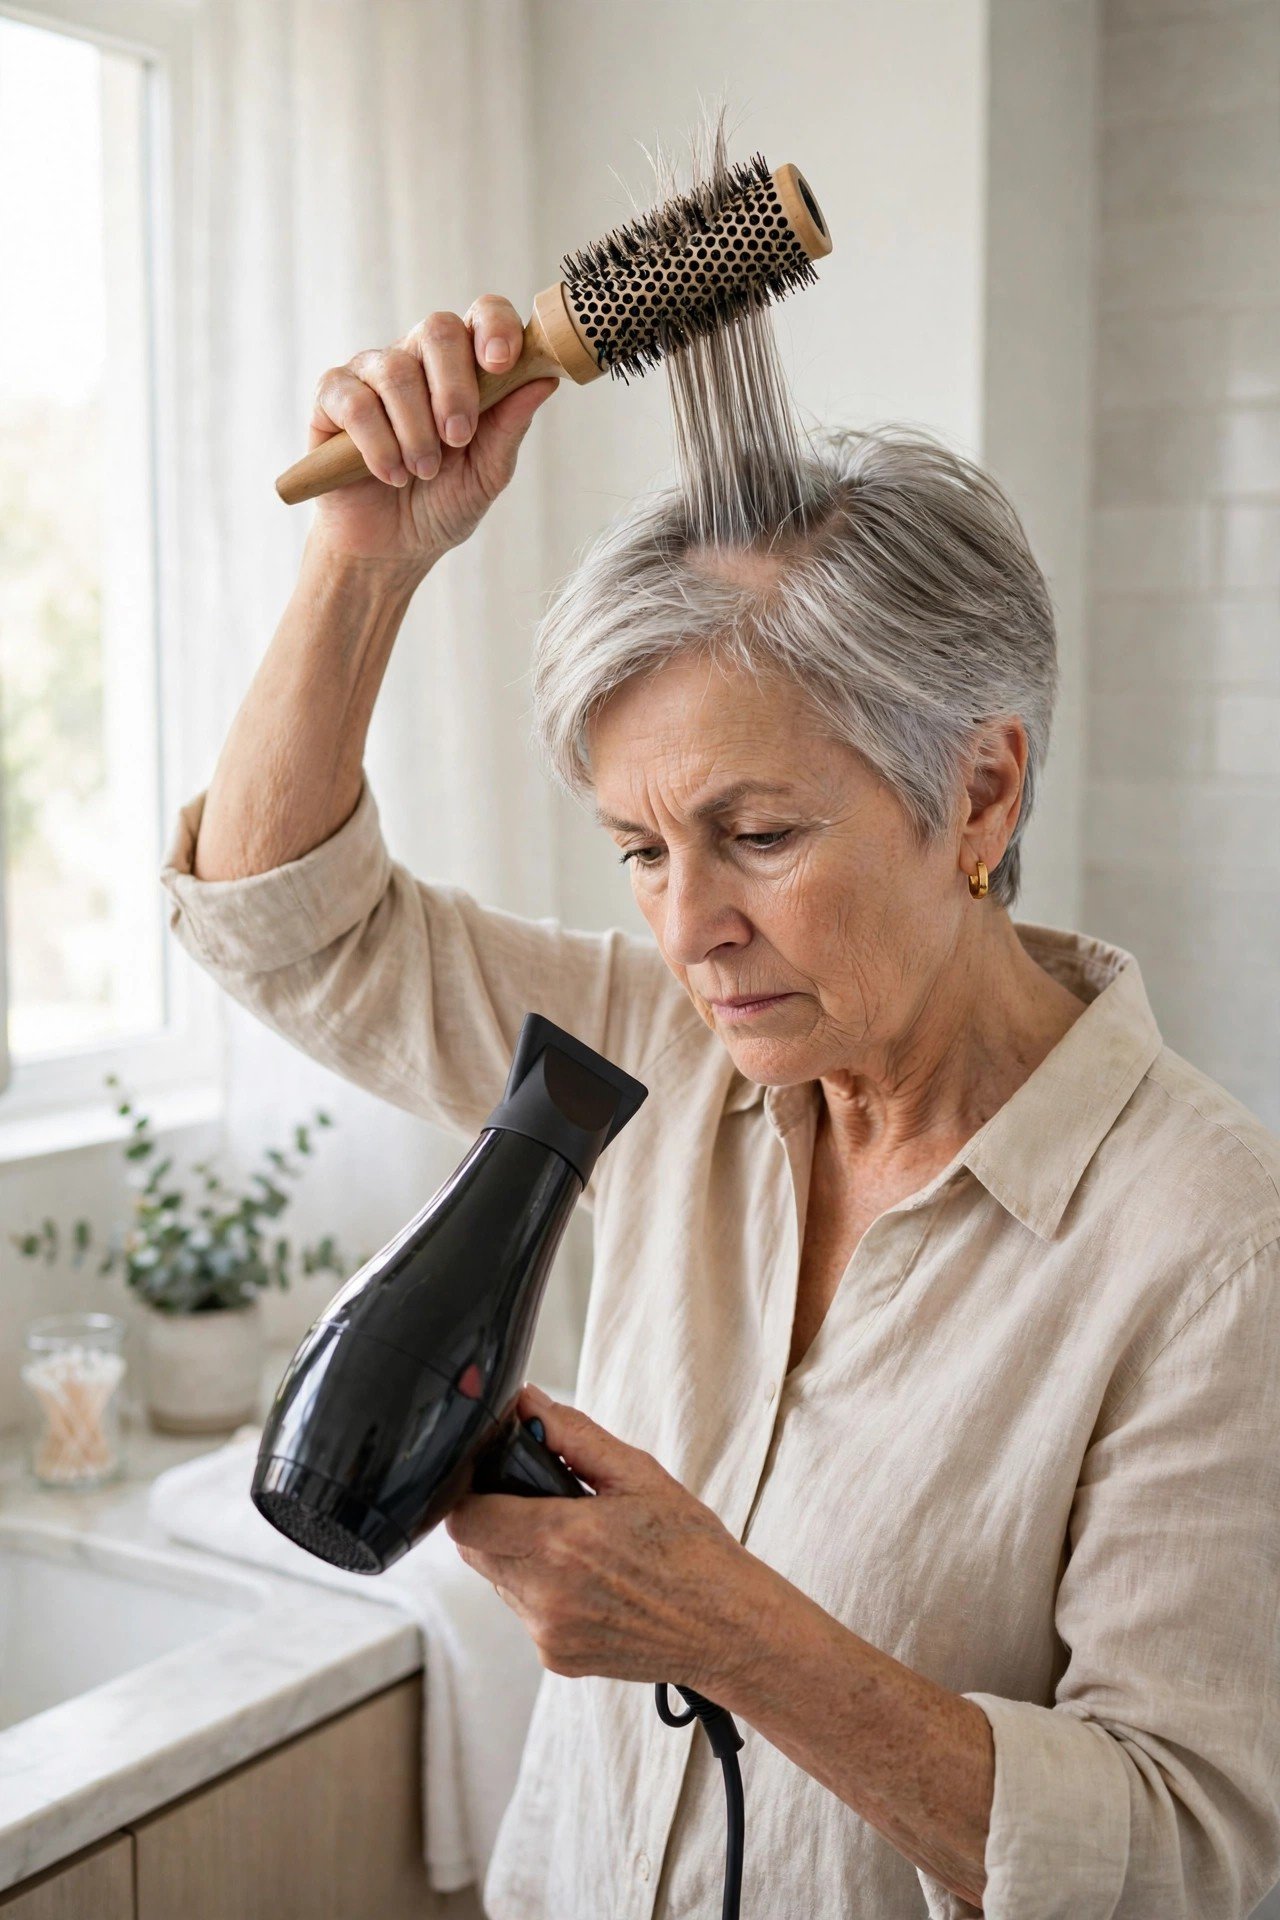
Volume is decided here, at the root, before length even enters the picture.
Hair that dries lying in the direction it grows will stay lying there all day. Hair dried standing up, then pushed the opposite way, holds a bend at the base, and that bend is what you actually see as body. Take a small section at the front of the crown. Lift it straight up with the brush, aim the nozzle at the roots, and hold the heat there for a few seconds. Then pull the brush forward, against the fall, and dry it again. Work back across the crown in strips no wider than the brush itself.
Lift one narrow section straight up with the brush.
Aim the airflow at the roots, not the ends, and hold for a few seconds.
Pull the brush against the natural fall and dry the roots once more.
7. Roll the Crown Back and Hold It Until It Cools a Little
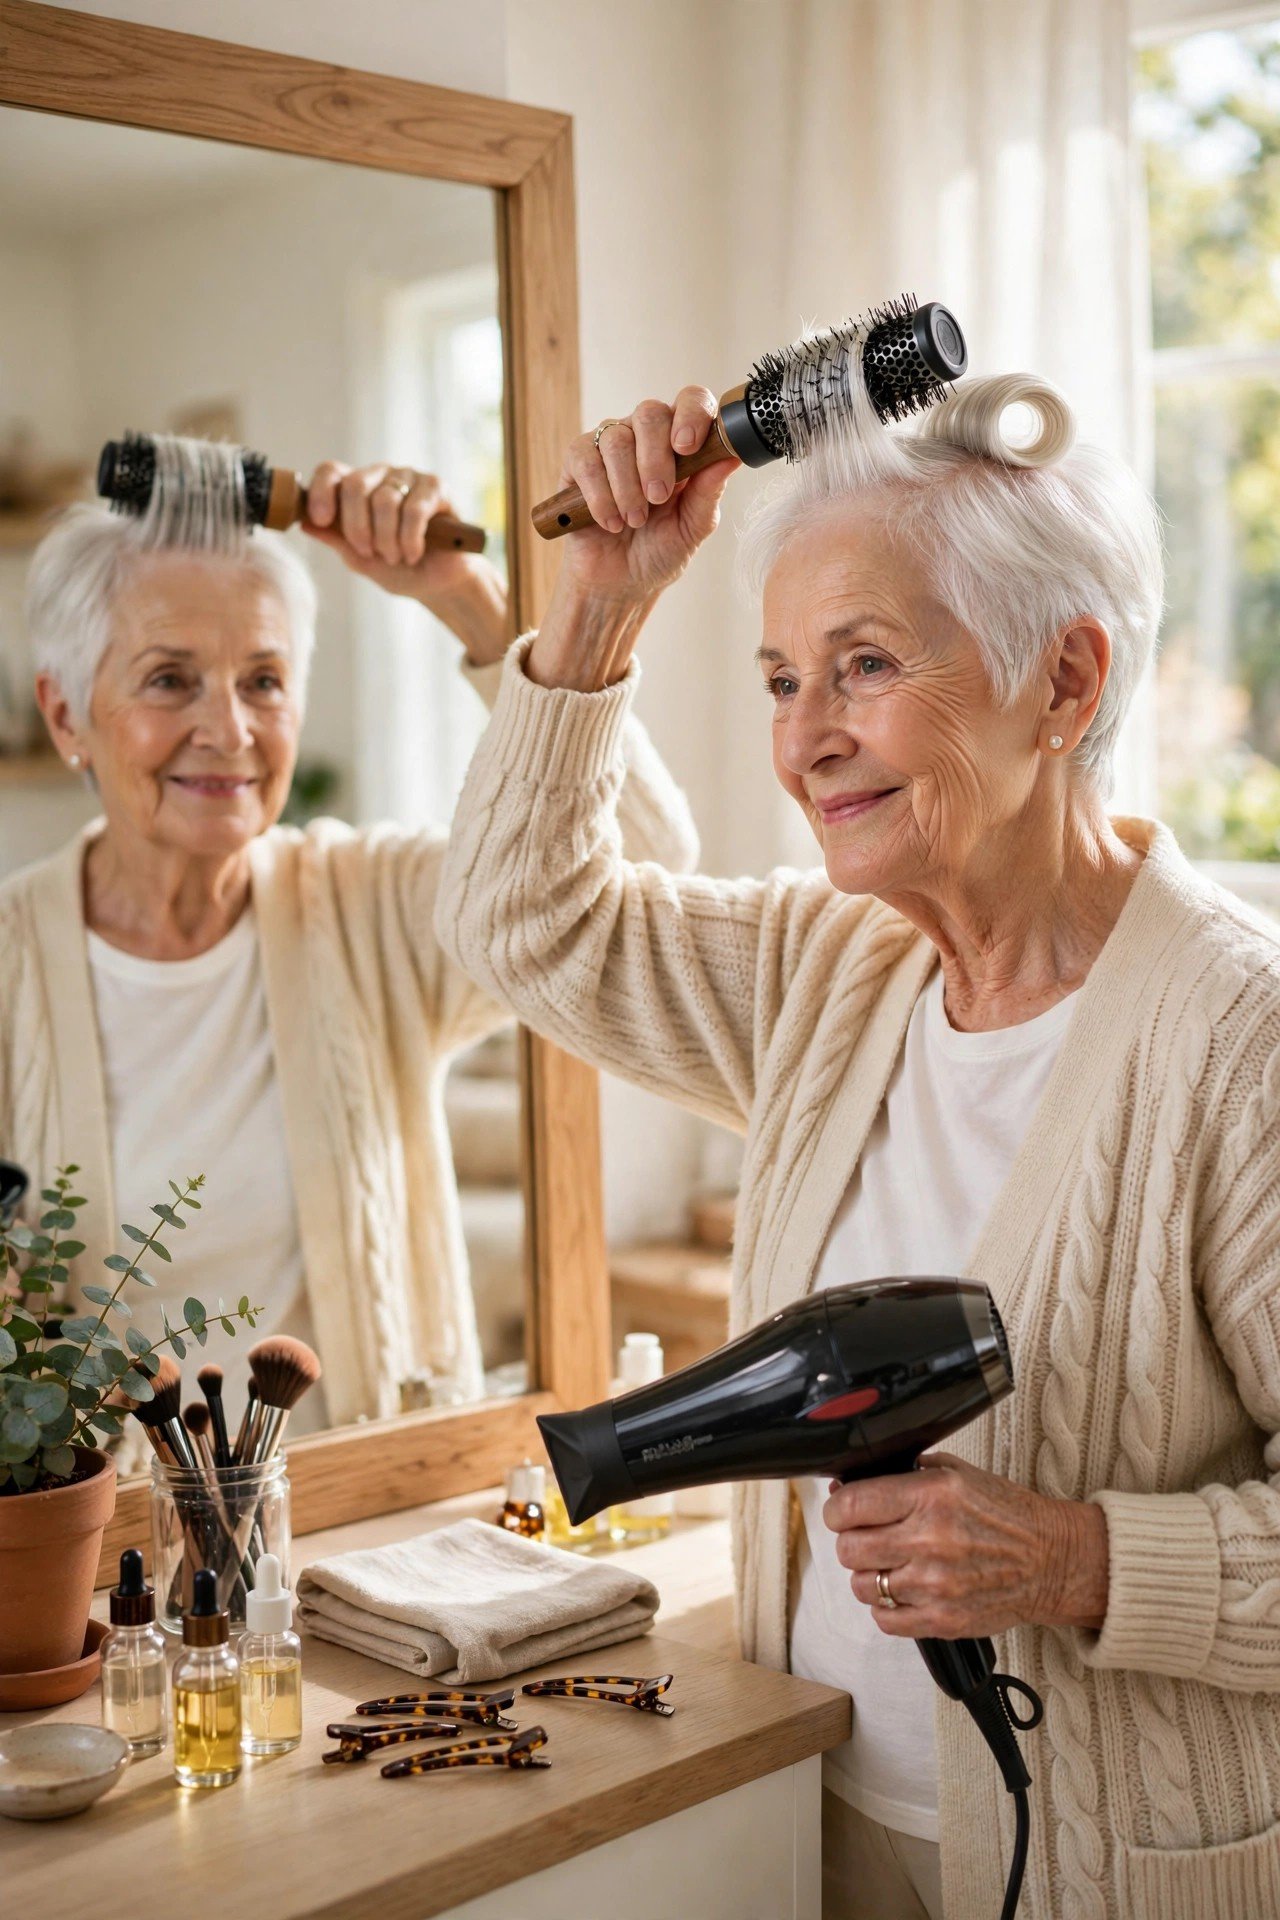
The crown is the first thing people see and the first place short hair gives up, so give it a pass of its own.
Take the top section, roll the brush under it, and turn it slowly back away from your face while the dryer follows the roll. Keep turning until the section feels fully dry, then hold the roll in place for a slow count of five with the heat off. That pause matters. Hair sets as it cools, and a roll released while it is still hot relaxes straight back down. Released cool, it keeps the curve, and the curve is the height.
Heat shapes the hair, but cooling sets it. Hold every roll until it cools and the lift stays put.
8. Dry the Fringe Down and Side to Side So It Sits Calmly
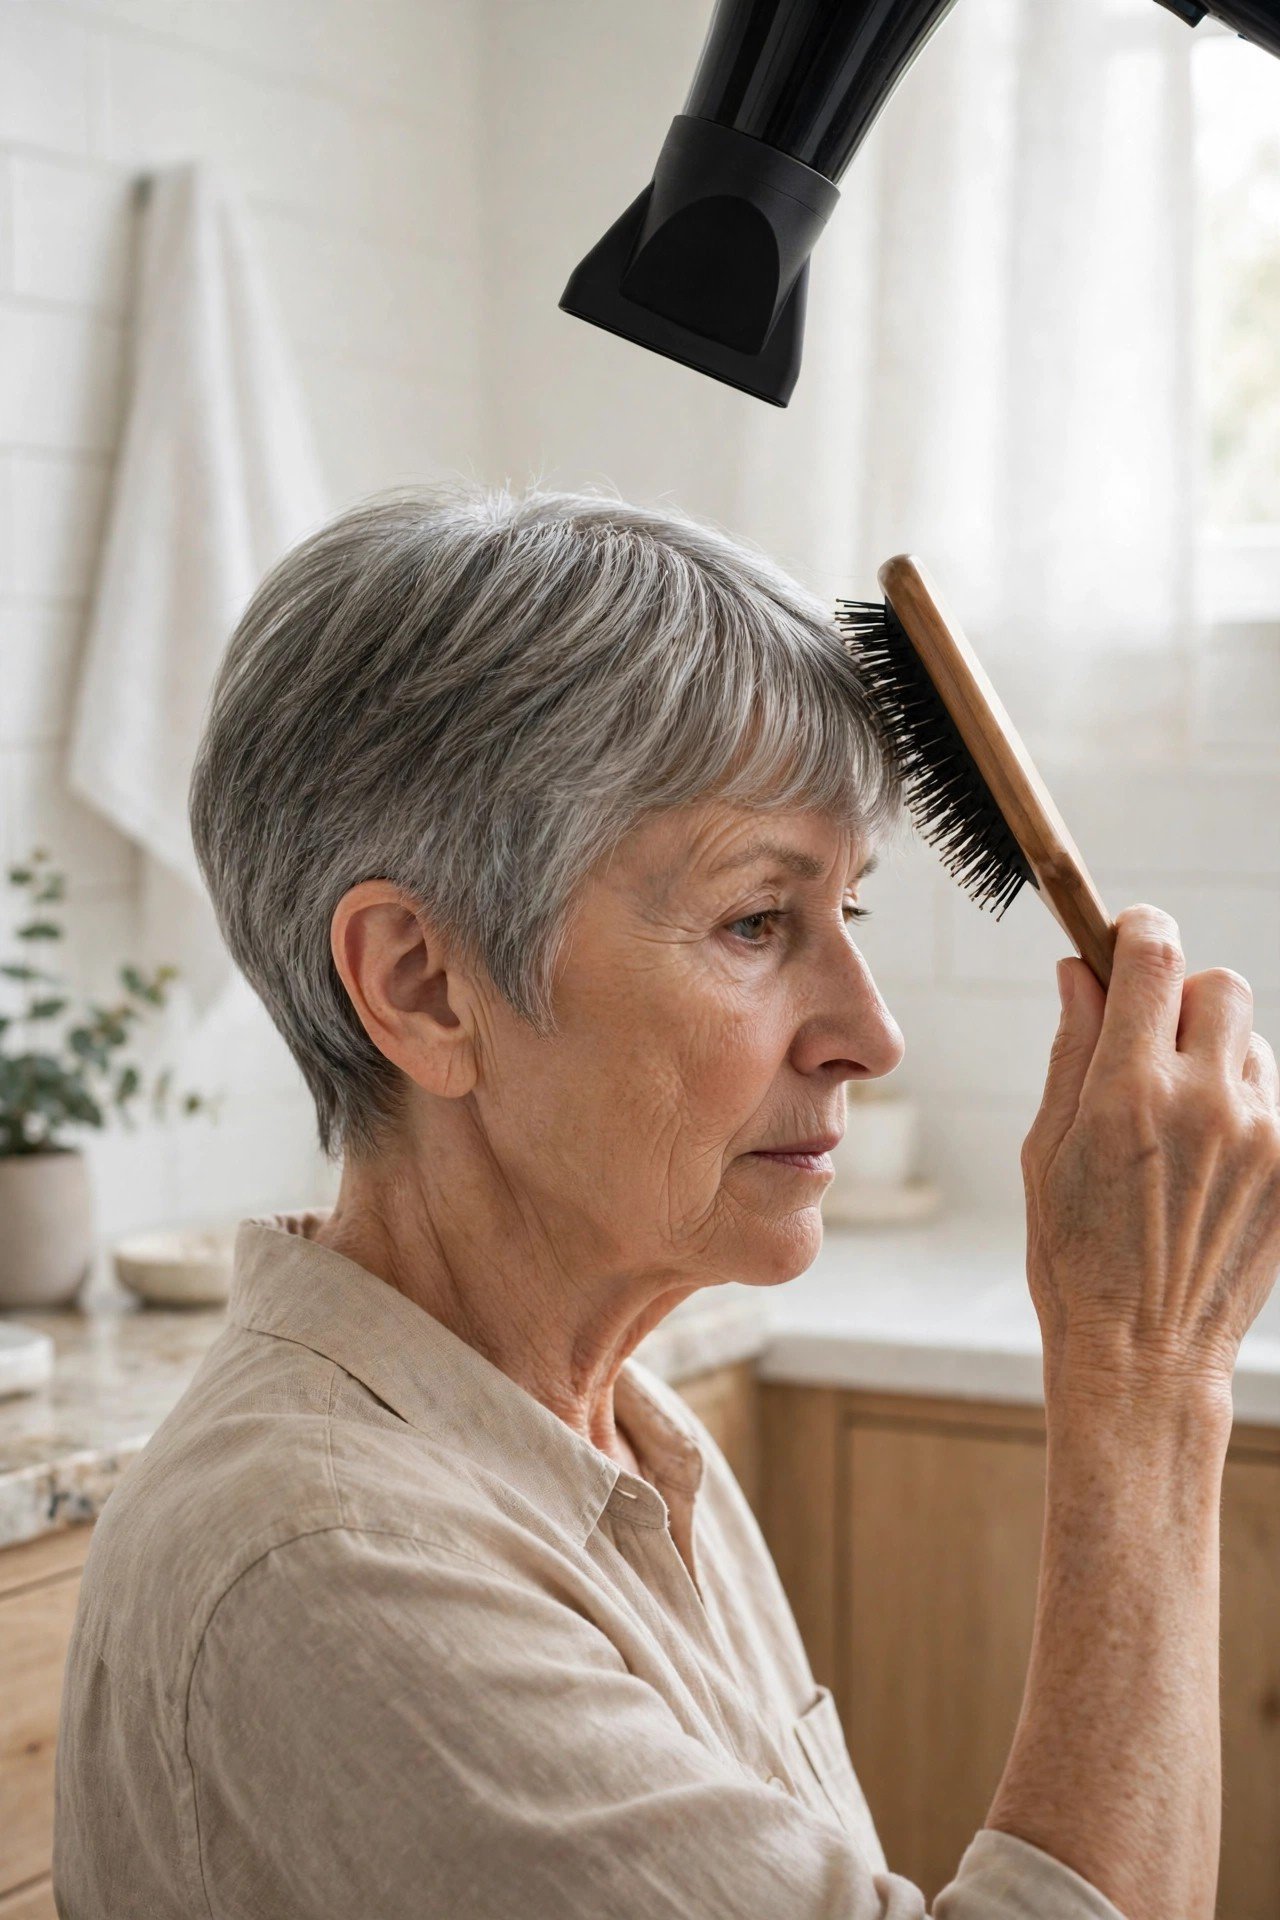
The common fringe mistake is blasting it from above with strong heat and a brush rolled hard under it.
That is a recipe for a puffy, rounded front that fights the rest of the cut. Fringe hair is fine and dries in seconds, so treat it gently. Lay the brush flat on top of the fringe and sweep it left, then right, then down the middle while the air follows from above. This cross drying settles the roots in their natural direction and stops the fringe springing up or splitting open at a cowlick. Finish with the brush held flat and one slow pass straight down.
⚠️ Watch Out
A hot, fast blast lifts fringe roots and sets them standing. Low heat and flat side to side sweeps keep the front smooth and close to the forehead.
9. Brush the Sides Downward and Close So They Frame, Not Flare
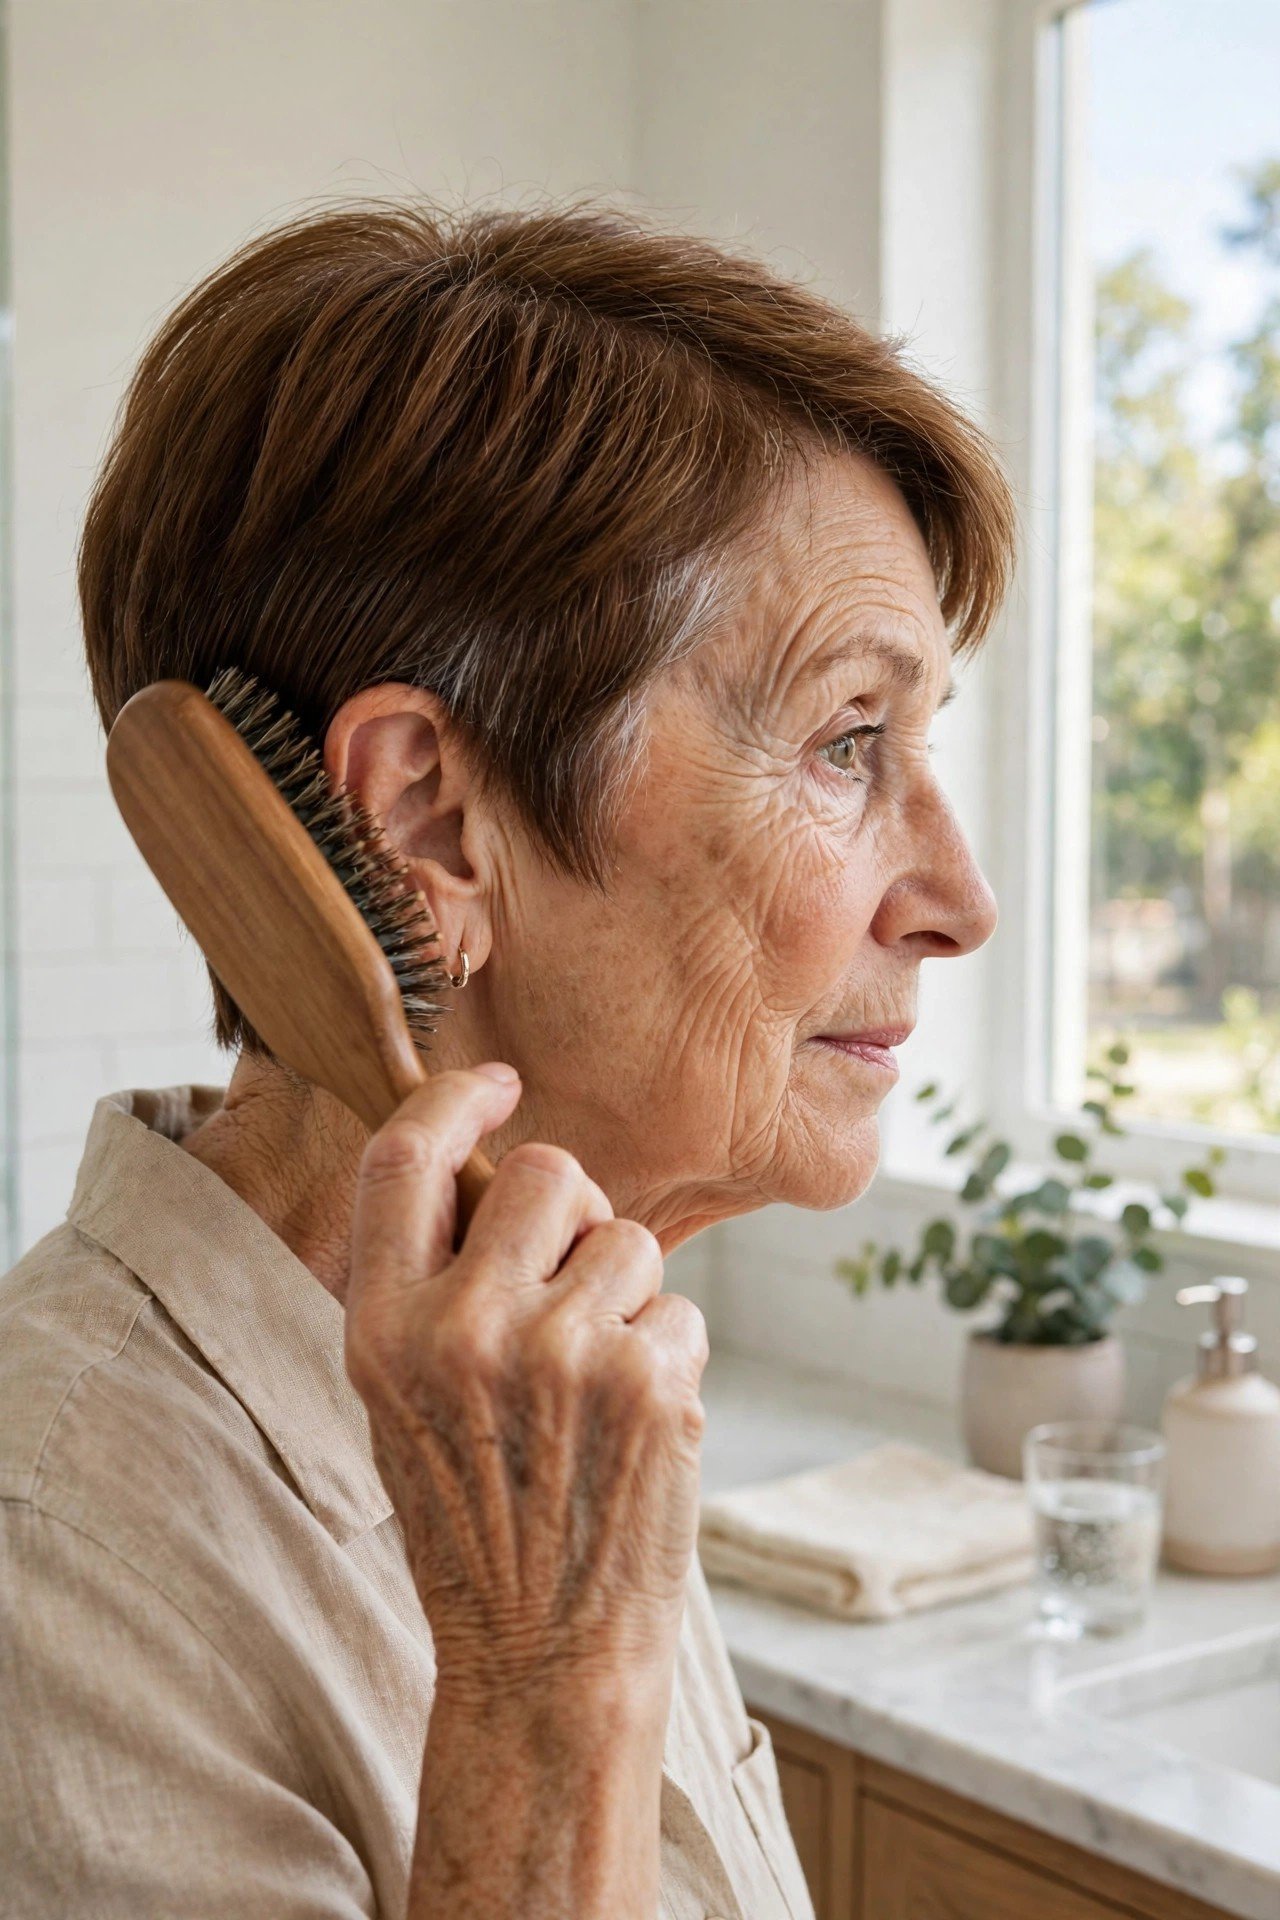
Look at the sides in the mirror before you start: on most short cuts they should hug the head and taper toward the jaw, not kick out over the ears.
Dry them with the brush angled down, following the shape of the head, and aim the airflow from roots to ends so the surface lies smooth. Around the ears, switch to the edge of the brush and use short strokes, because a full roll there adds width you do not want. If one side still wants to flare, dry it once more while holding it flat against the head with your palm for a few seconds as it cools.
Sides brushed upward and outward while drying, kicking out over the ears and widening the whole shape.
Sides dried downward and close, tapering neatly toward the jaw so the crown lift does the talking.
10. Finish Each Zone With the Cool Shot to Set the Shape
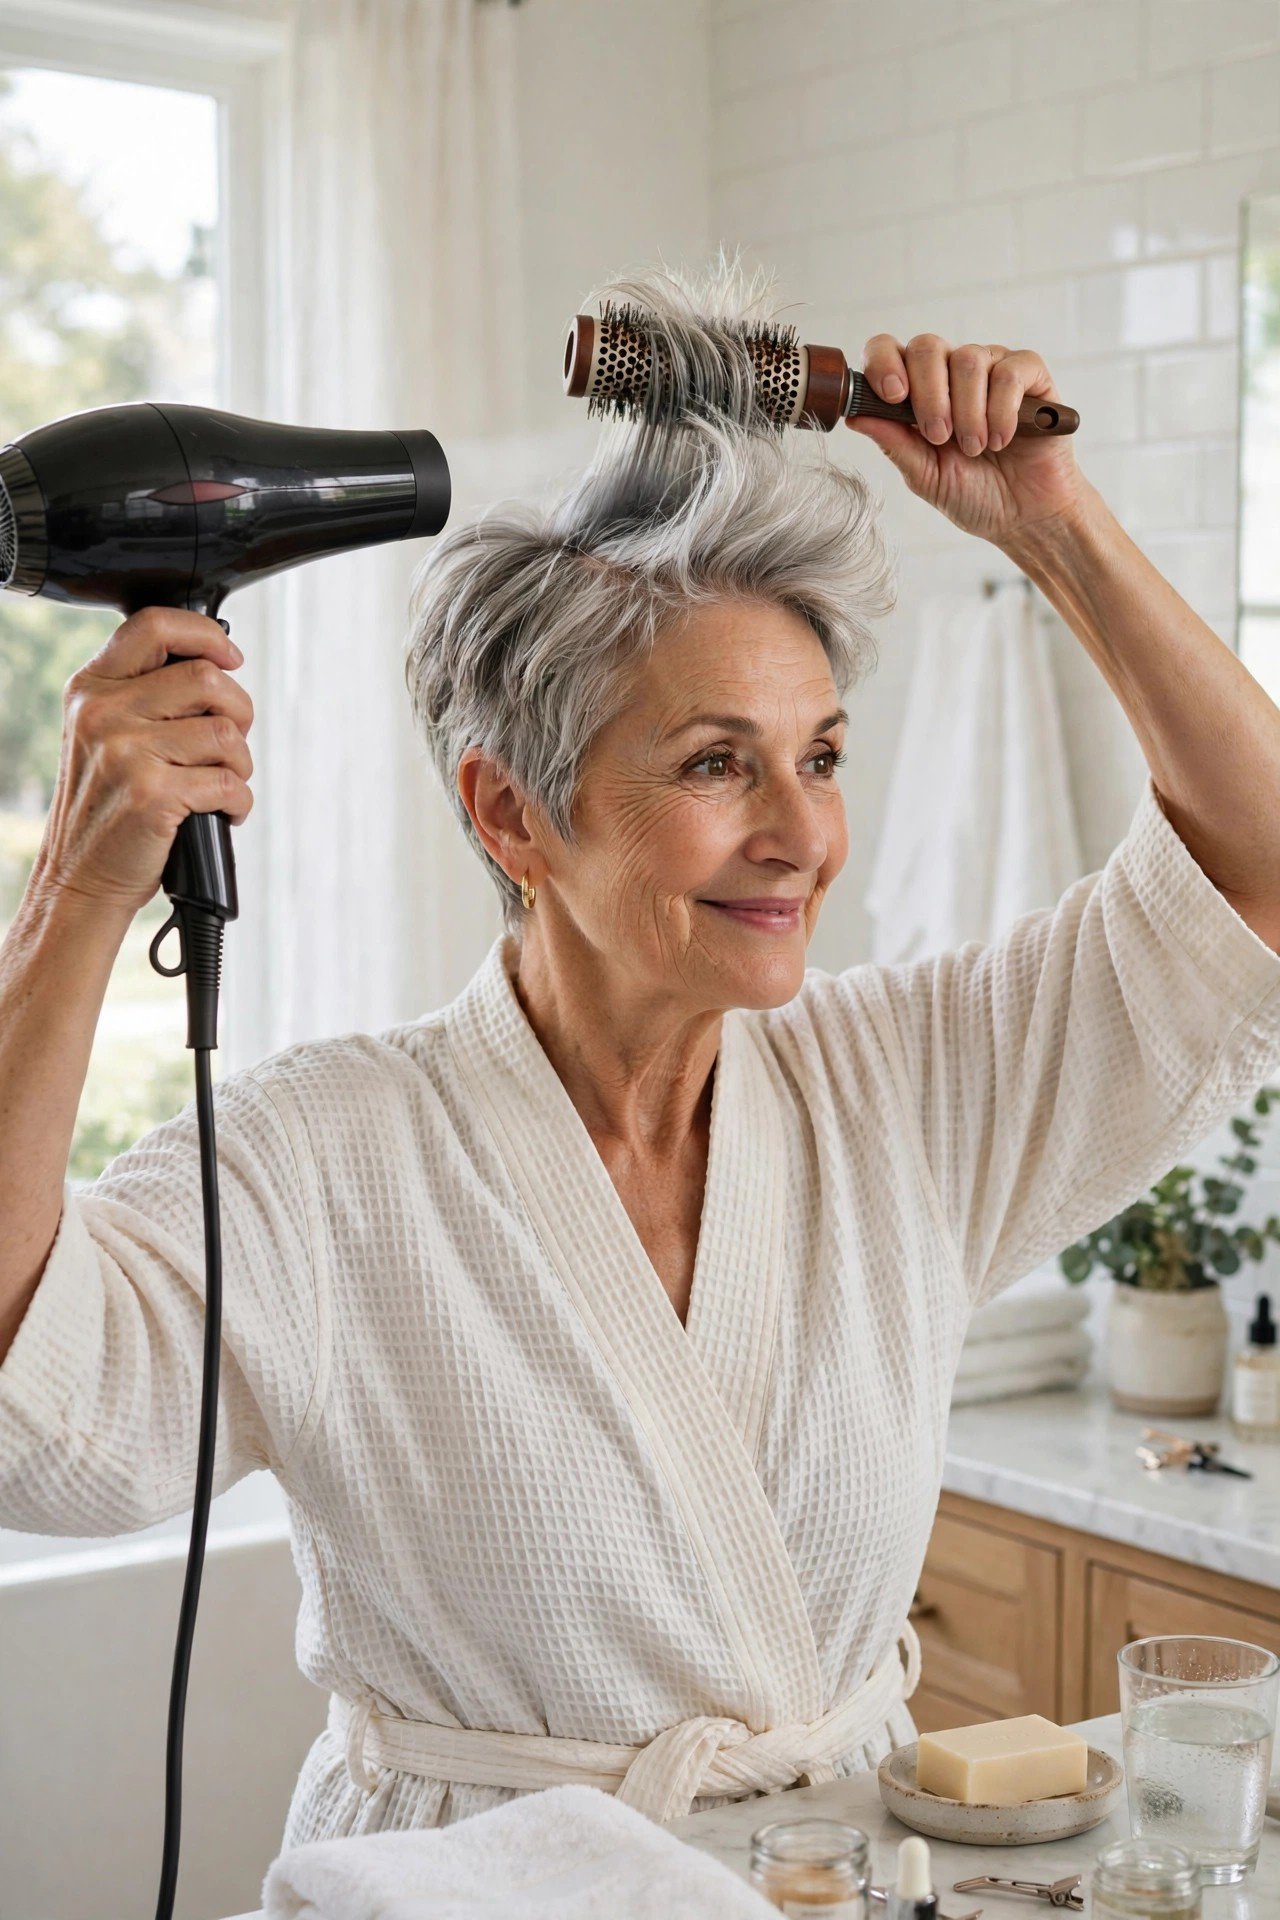
Most dryers have a cool button that nobody presses. For short hair that loses volume, it is the hardest working button on the tool.
Warm hair is still deciding its shape. Cool air ends the discussion. Go back over the crown, the fringe, and the sides, one zone at a time, and give each a five second blast of cool air with the brush still holding the hair where you want it. The lift you built stops being temporary. On rushed mornings, cool the crown at the very least, since that is where flatness shows first and where the mirror checks you before coffee.
11. Finish With Your Fingers and the Lightest Mist of Spray
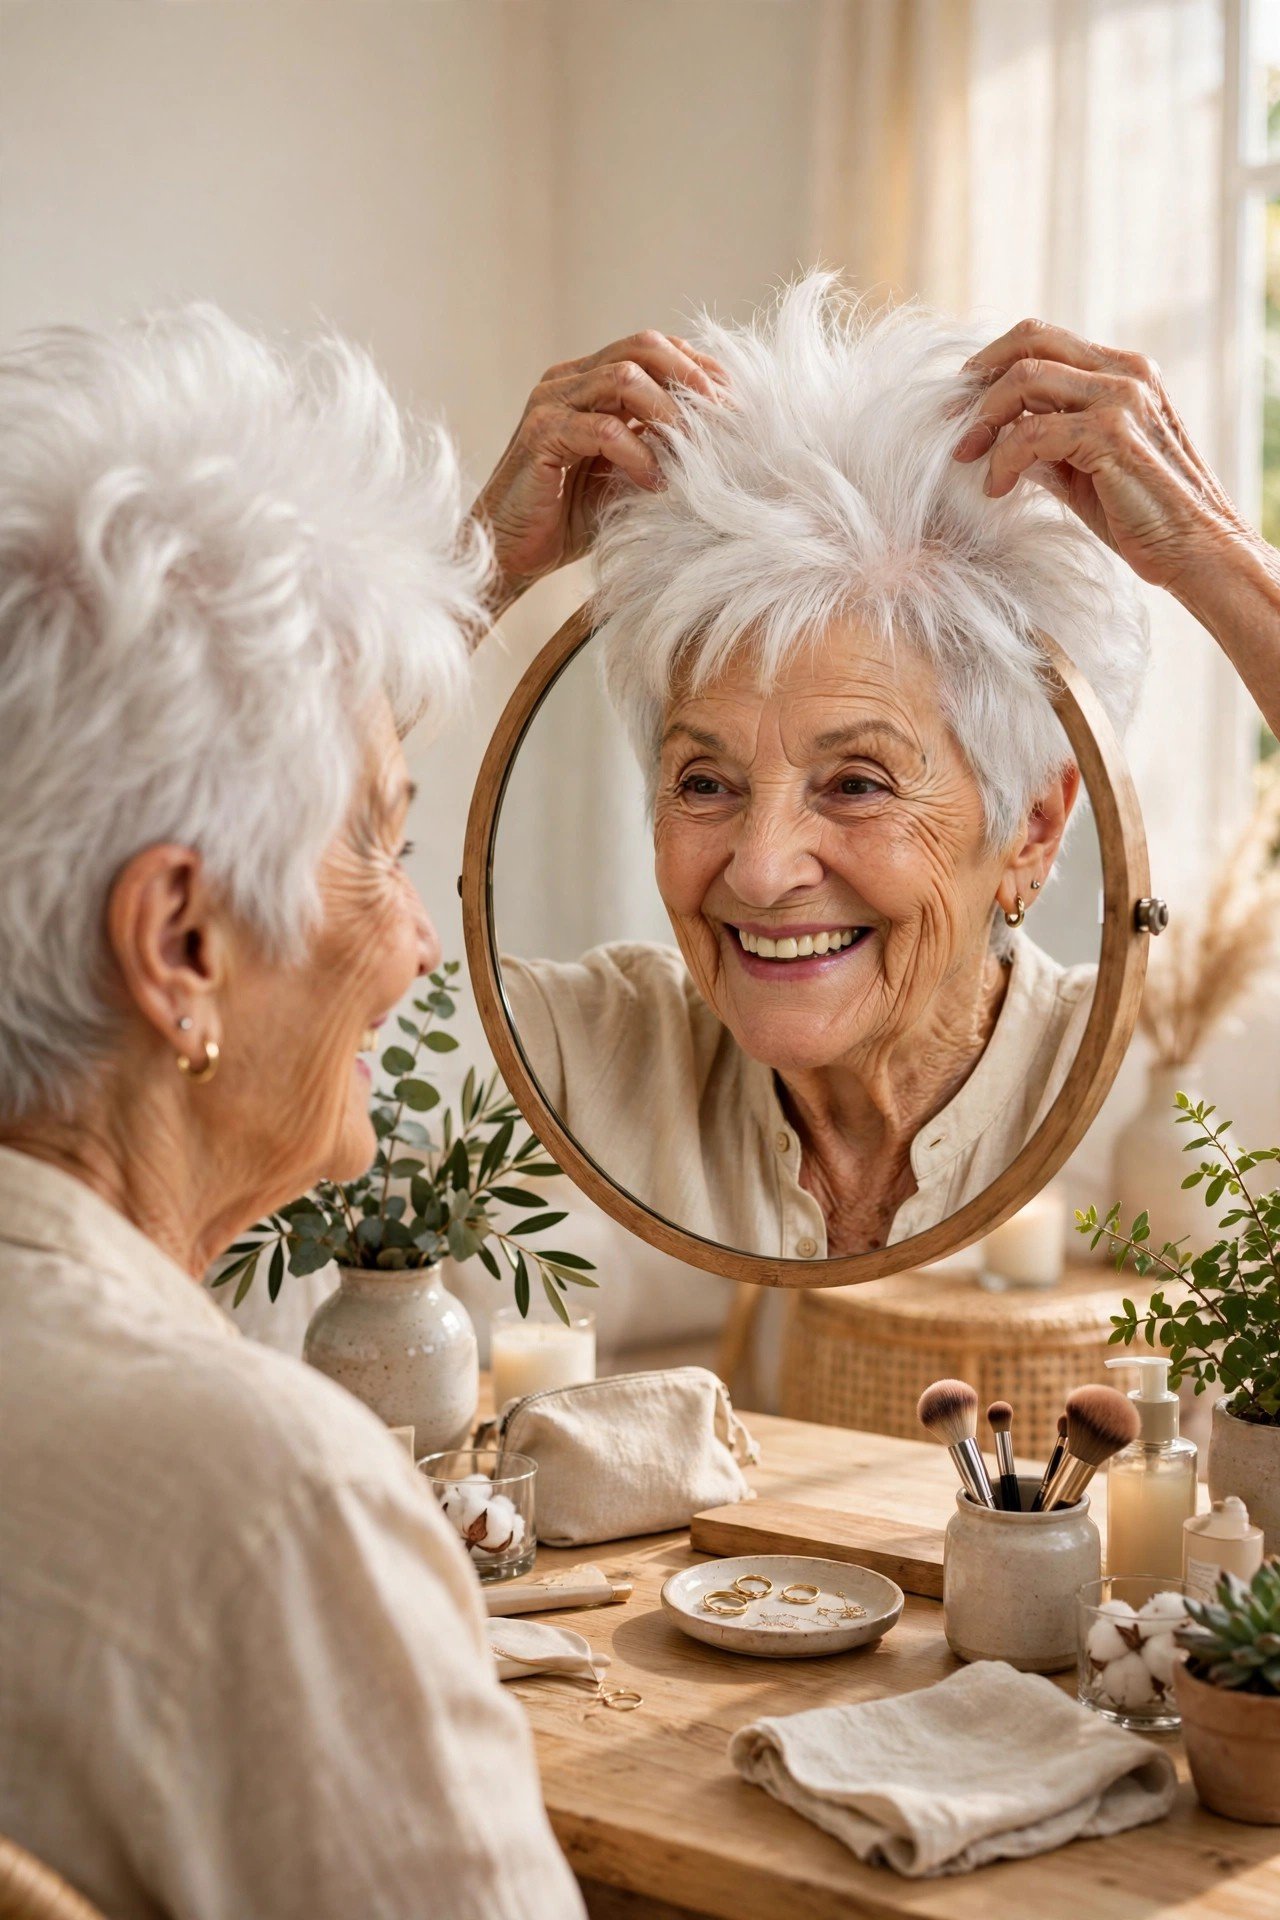
The brush has done its work, so put it down before it undoes everything.
Run your fingers up through the roots and give the crown a gentle shake, then pinch and place any piece that sits oddly. This finger finish keeps the style looking like hair rather than a helmet. If your hair drops fast, hold a light spray at arm’s length and mist the air above your head, letting it settle instead of blasting one spot. A pea size dab of matte styling paste, warmed between your fingertips and pushed only into the crown roots, adds grip on very fine hair that slips out of shape by midday.
Shake the roots loose with your fingertips and pinch stray pieces into place.
Mist spray from arm’s length and let it settle over the whole head.
Brushing the finished style, which pulls the lift straight back out.
Spraying one spot up close, which soaks it and drags it down.
12. Fix the Three Flat Hair Mistakes at the Root
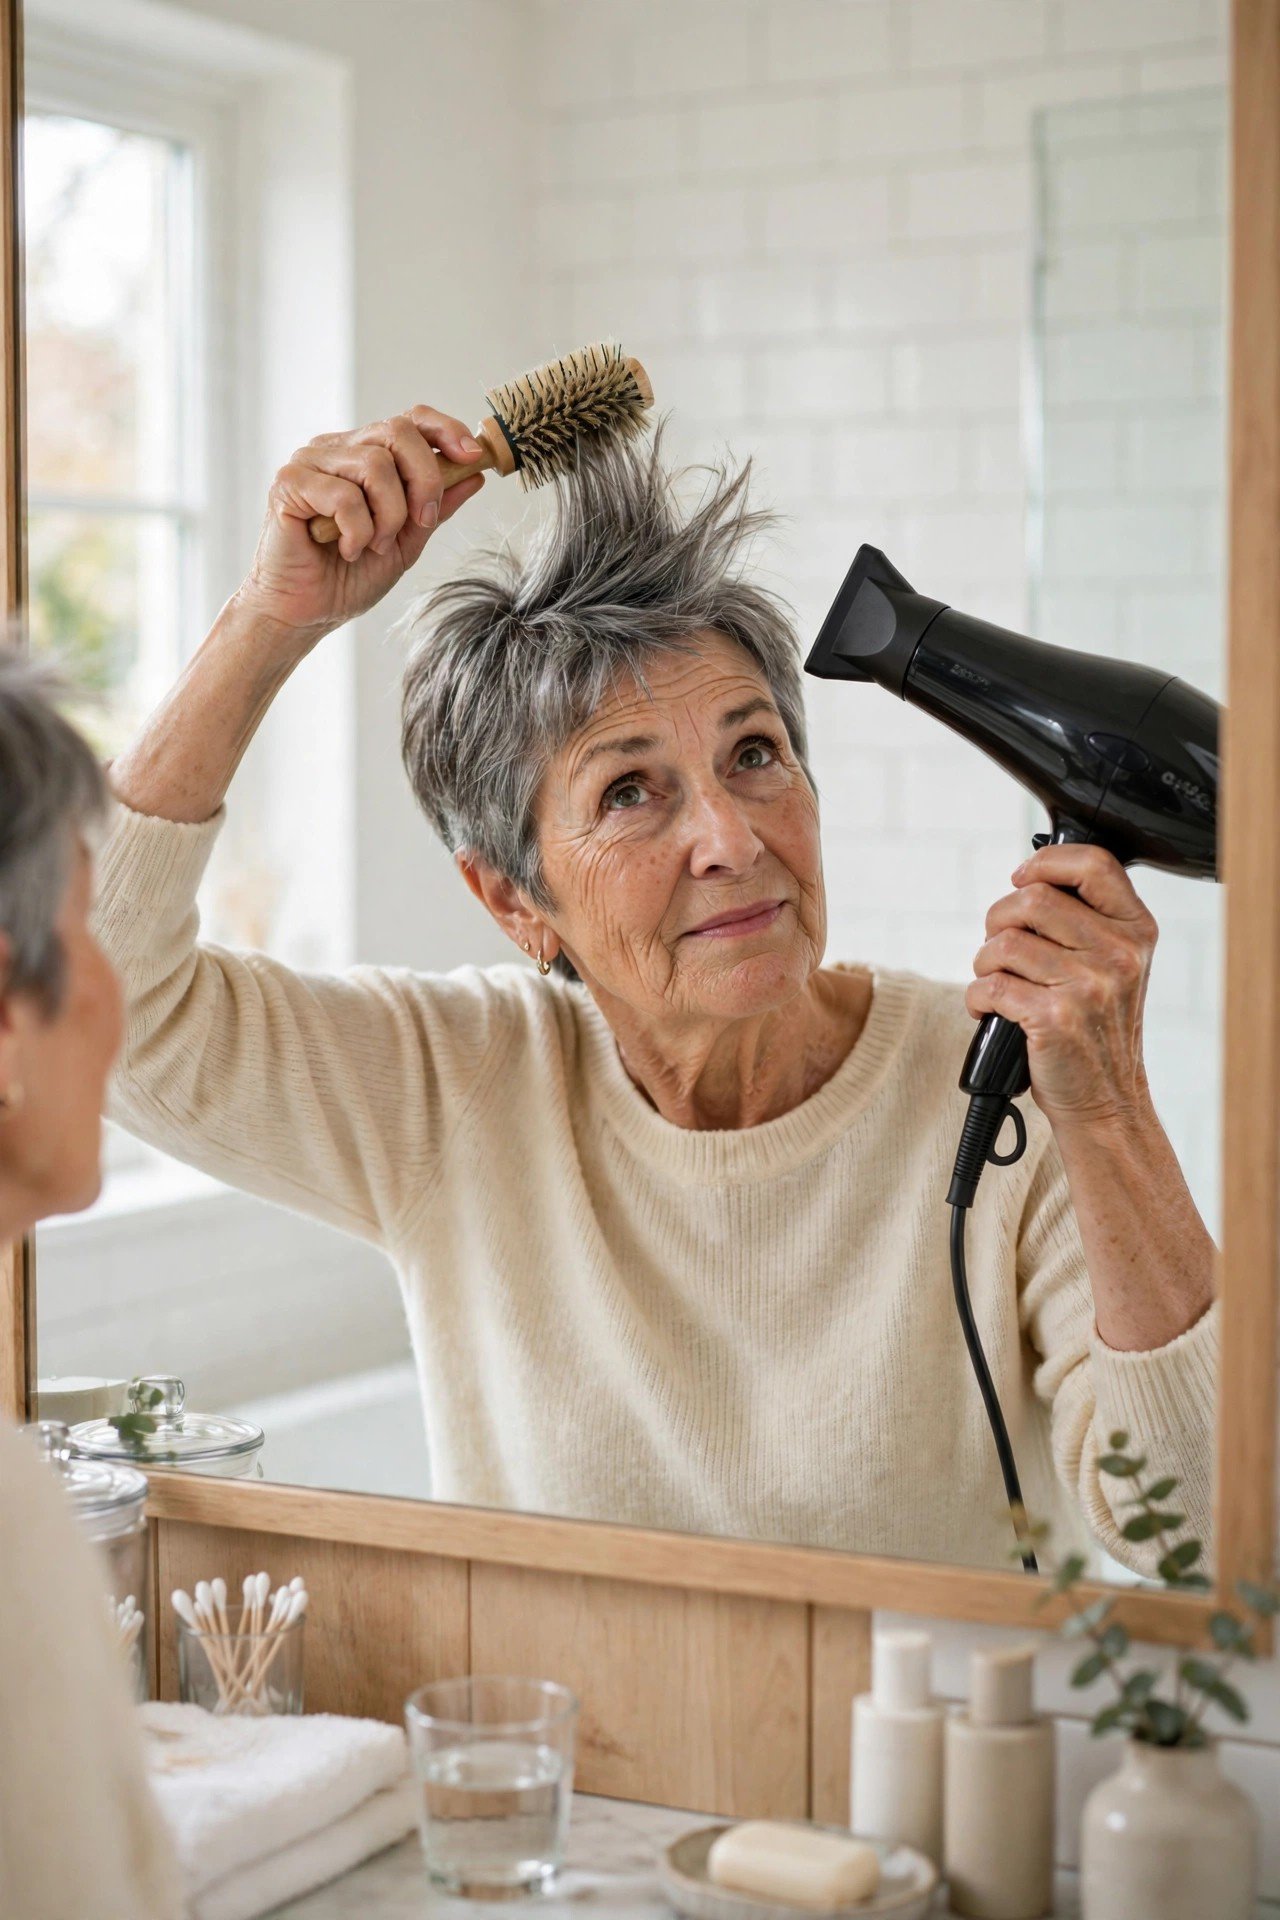
When the mirror shows a flat finish, the cause is almost always one of three habits.
The first is starting with the brush on soaking wet hair, which stretches fine strands and takes forever. Rough dry first. The second is aiming the dryer down the hair shaft from above, pressing every root flat as it dries. Angle the air up at the roots instead. The third is skipping the cool set, so the shape melts on the walk to the kitchen. Caught one this morning? Rewet just the flat zone with a spritz of water, lift it with the brush, dry it upward, cool it, and the morning is saved.
Flat spot rescue, in order
Full, lifted short hair is not a salon secret. It is a sequence: blot gently, place product at the roots, rough dry, then work zone by zone with the air aimed up where you want the height. If you remember how to blow dry short hair over 60 for volume in that order, the brush and the cool shot do the rest, and the style holds through lunch and beyond. Save this routine to your hair board and run it on your next wash day. By the third try, your hands will know it by heart.