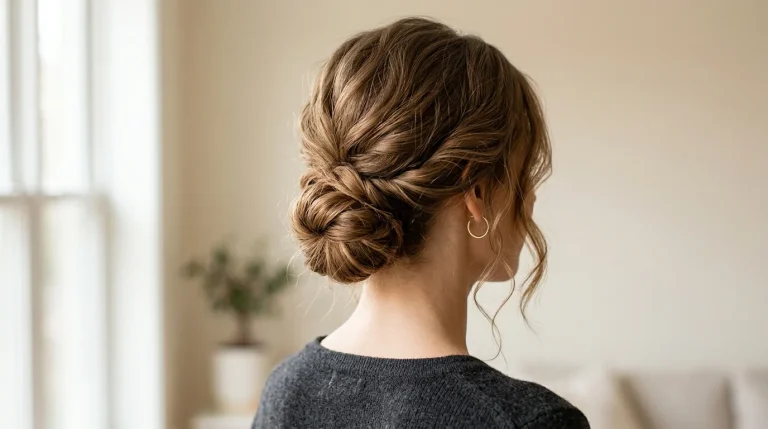
How to Style Gray Curls Over 50
Grey curls have a mind of their own, and most mornings they win. The halo of frizz by ten o clock, the back section that dries flat while the front springs up, the ends that feel dry no matter what you smooth over them. None of that means your hair is difficult. It usually means the routine was built for straighter, younger hair.
Learning how to style gray curls over 50 starts with one honest fact. Grey strands grow in coarser and drier than pigmented hair, so they drink up moisture and lose it fast. Work with water, gentle handling and the right order of products, and the curl pattern you already have does most of the styling for you.
Below is the full routine, from wash day to the pillowcase you sleep on, plus the cuts that make silver curls easier to live with. Every step is written for real bathrooms and real mornings, with timings that fit around the kettle and product types you can find in any pharmacy.
1. Wash Day, Done Gently: Cleanse Without Stripping

Grey curls rarely need a harsh wash. They need a clean scalp and lengths that keep their moisture.
Start by soaking your hair fully before any cleanser touches it. A full minute under the water softens the cuticle and loosens product, so you can use less shampoo. Work a gentle, sulfate free cleanser into the scalp with your fingertips, not your nails, and let the rinse water carry the suds through the lengths instead of scrubbing the ends. Most women over 50 do well washing two or three times a week rather than daily. On the other days, water and conditioner alone can reset the curls.
Soak hair for a full minute so water does the first round of cleaning for you.
Massage cleanser into the scalp only, with flat fingertips in small circles.
Rinse slowly and let the suds slide down the lengths. Never pile hair on top of your head.
2. Condition Like You Mean It: Soak, Squish, Rinse Cool

Conditioner is where grey curls get their softness back, and most of us rinse it away too fast.
Apply a rich conditioner from mid length to ends, keeping it off the scalp. Then add a splash of water and squish the hair upward in your palms, over and over. That squishing sound, like wet shoes, tells you the water and conditioner are being pushed into the strand instead of sitting on top. Leave it on while you finish your shower. Rinse with cool water and leave a little slip behind. Hair that still feels silky at the rinse usually dries softer and with far less frizz.
3. Detangle on Wet, Slippery Hair Only

Dry brushing is the fastest way to turn defined curls into a cloud of frizz.
Grey hair snaps more easily than it used to, and a knot pulled on dry hair often takes the strand with it. Do all detangling in the shower, with conditioner in and water running over the section. Start with your fingers, working from the ends upward in small sections. Move to a wide tooth comb only for the knots your fingers cannot ease out. If a tangle resists, add more conditioner and water rather than more force. The whole job takes three patient minutes, and your curls keep their shape because the clumps never get torn apart.
⚠️ Watch Out
A fine tooth comb on dry grey curls shreds the curl pattern and roughs up the cuticle. If it is not wet and slippery, it is not detangling time.
4. The Layering Order That Stops the Guesswork
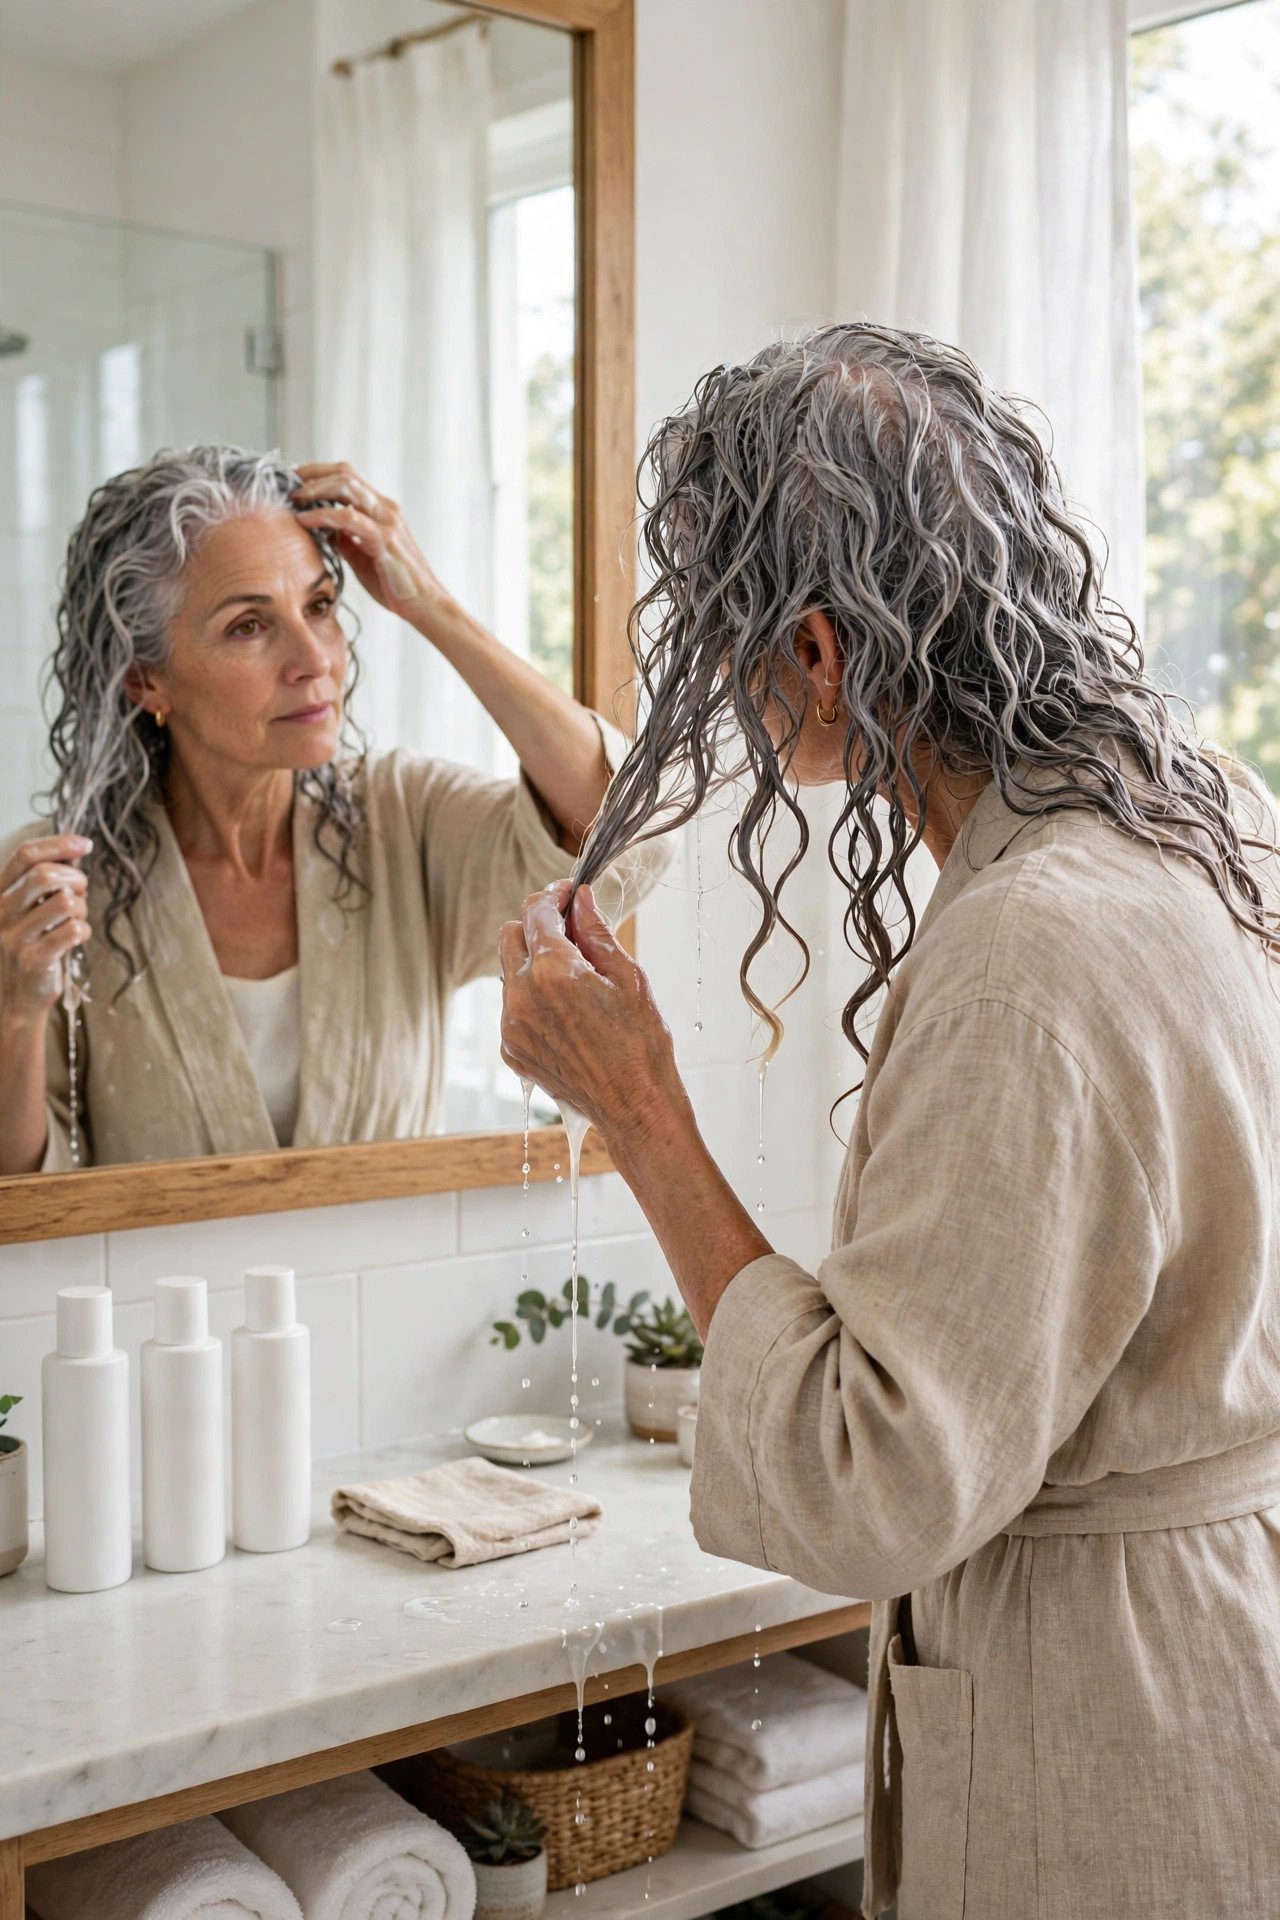
Most frizz is not a product problem. It is an order problem.
Curls take products best in a set sequence, applied to soaking wet hair, ideally before you even leave the shower:
- Leave in conditioner first, for moisture and slip.
- Cream or milk styler next, for softness and clumping.
- Gel or mousse last, for hold and definition.
Rake each one through with your fingers, then scrunch. Thin products go on before thick ones, and hold always goes on top. Swap the order and the gel seals the moisture out instead of in, which is why the same three bottles can give you a great day or a frizzy one.
5. Scrunch With Intention, Not Out of Habit

Random grabbing makes random curls. Slow, even scrunching makes even ones.
Work in four loose sections, back, sides and front, so no patch gets scrunched ten times while another gets none. Cup the ends in your palm, lift toward the scalp and squeeze gently, holding for two seconds before you let go. A cotton T shirt or microfibre towel in your hand stops the rough surface of a bath towel from roughing up the cuticle. Keep your hands off the hair once the cast starts to form. Every extra touch after that point trades definition for frizz.
Scrunch checklist
6. Air Dry, Diffuse, or a Bit of Both
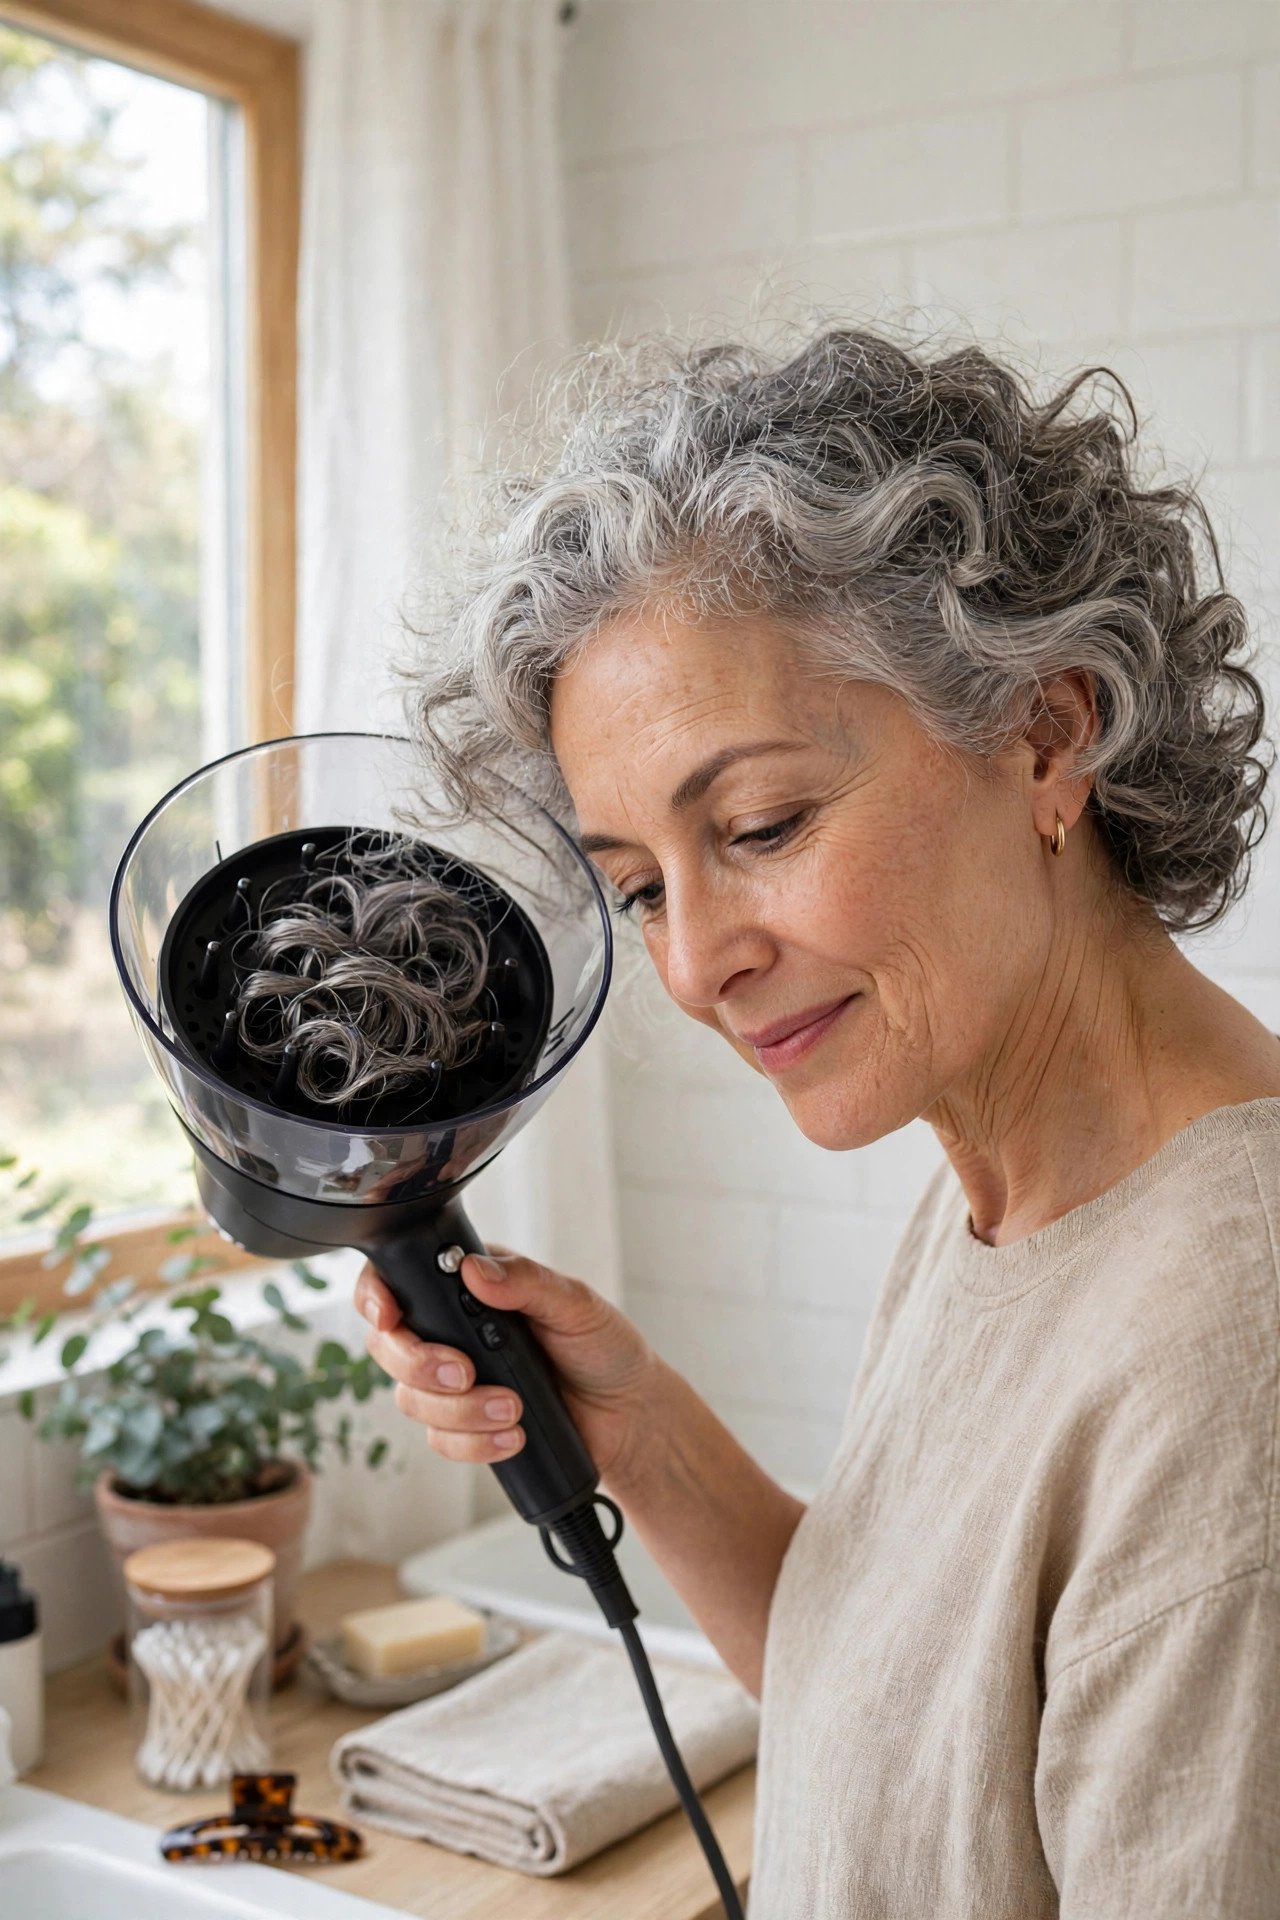
There is no single right way to dry curls. There is only the way that suits your hair thickness and your morning.
Air drying gives the softest finish and zero heat, but on thick or long curls it can take hours and the weight of the water pulls the roots flat. Diffusing on low heat and low speed lifts the roots and sets the cast faster, which means less frizz from a long, damp wait. Many women land in the middle: diffuse the roots for five minutes, then let the ends finish on their own. Whichever you choose, do not touch the hair until it is fully dry. Breaking the cast early is where most good wash days fall apart.
Soft and gentle, but roots dry flat and thick curls can stay damp for hours, inviting frizz.
Five minutes of low heat at the roots sets the cast sooner, lifts the crown and shortens the whole routine.
7. Definition or Volume: Pick Your Priority Each Wash Day

Chasing both at once is how a routine ends up doing neither well.
Defined curls want more product, applied wet, and dried undisturbed. Volume wants less weight, roots lifted while drying, and a little fluffing at the scalp once dry. Grey hair often leans fine at the roots and coarse at the ends, so the balance shifts from head to head. Decide before you start styling, not halfway through. On definition days, lean on gel and patience. On volume days, reach for mousse, clip the roots up while they dry, and keep cream away from the scalp area.
| Definition day | Volume day |
|---|---|
| Gel as the hold product, generous amount | Mousse as the hold product, lighter hand |
| Dry flat and still, no root clips | Root clips in while drying, fluff at the end |
| Best for events and photos | Best for fine hair and everyday lift |
8. Short Silver Curls: The Pixie and the Curly Bob

Short cuts are where grey curls really show off, because the pattern stays springy without the weight of length pulling it down.
A curly pixie keeps the sides and back close while the top stays long enough to form full coils, which gives height where most of us want it. A curly bob that ends between the jaw and the chin frames the face and moves when you do. Both cuts ask for one thing at the salon: layers cut while the hair is dry, so the stylist sees where each curl actually lands. Wet cutting guesses at the shrinkage, and grey curls can spring up two inches or more as they dry.
9. Medium and Long Curls: Layers Do the Heavy Lifting

Length without layers is where the triangle shape comes from, wide at the bottom and flat at the crown.
Long layers, cut into the hair rather than just around the edges, take weight off the ends so the curls can spring up along the whole length. Ask for the shortest layer around cheekbone or jaw level, never up at the ears, which can leave a shelf. Medium lengths, between chin and shoulders, suit most routines because they dry faster and need less product. Very long grey curls look striking, but they ask for more conditioner and more detangling time. Be honest about the minutes you have on a weekday morning.
10. A Fringe on Curls: Soft, Wispy and Cut Dry

A fringe on curly hair sounds risky, and done badly it is. Done softly, it is the prettiest frame a silver curl pattern can have.
The safe version is long, wispy and parted by the curls themselves, falling somewhere between the eyebrows and the cheekbones. It must be cut dry, one curl at a time, because a fringe cut wet will shrink into a short, straight line across the forehead. Style it by scrunching it with the rest of the hair, never by blow drying it straight and hoping it blends. On humid days, pin it loosely to one side and let it be a sweep instead. That flexibility is the whole point of keeping it long.
Ask for a dry cut, curl by curl, longer than you think you want.
Scrunch the fringe with the rest of your hair so the texture matches.
A blunt, straight across fringe cut on wet hair.
Flat ironing the fringe while the rest stays curly. The two textures fight.
11. Day Two Refresh: Water, a Little Product, Five Minutes

A full rewash is rarely needed on day two. Flattened curls usually just need water and a small nudge.
Fill a spray bottle with water and a pea sized amount of leave in conditioner shaken in. Mist the sections that have gone flat or frizzy, focusing on the canopy and the front, then scrunch each one back into shape. Smooth a tiny amount of gel over any halo with flat palms. Give it ten minutes to dry before you judge it. The curls that slept in a loose topknot, covered in the next section, will need far less of this rescue work.
Mist flat or frizzy sections until damp, not dripping.
Scrunch each section upward and hold for two seconds.
Glaze a little gel over the halo with flat palms, then leave it alone to dry.
12. Frizz Fixes That Work at the Source

Frizz is mostly thirsty hair reaching out for moisture in the air. Feed it first, then seal it.
On a humid day, a pea sized amount of a richer cream under your gel gives the strand its drink at home, so it stops hunting for one outside. Rainy day halo usually means the gel cast was broken too early, so let the hair dry completely before scrunching out the crunch. Dry ends that frizz by evening respond to a drop of lightweight oil pressed into the ends only, never the roots. And check your towel. One week of swapping a rough bath towel for a cotton T shirt shows a difference you can see in the mirror.
💡 Quick Tip
If frizz shows up in the same spot every day, that section is getting less product than the rest. Style in sections for one week and watch that patch calm down.
13. Night Protection: The Pineapple and the Silk Pillowcase

Eight hours of cotton and tossing can undo a perfect wash day. Two small habits protect it.
Gather your curls into a very loose, high topknot on top of your head, the pineapple, using a soft scrunchie or a spiral tie that leaves no dent. The curls on top stay uncrushed while the underside takes the pressure of the pillow. A silk or satin pillowcase does the second half of the job. Cotton grips and roughs the cuticle as you turn; silk lets the hair glide, so the cast survives and the shine stays. Shorter curls that cannot reach a topknot can sleep in a loose satin bonnet instead, with the same result by morning.
Friction is the enemy of day two hair. Loose topknot up, silk underneath, and your wash day lasts twice as long.
14. Keeping Silver Bright: Care for Grey and White Tones

Grey hair can pick up a yellow cast from sun, hard water and product build up. It lifts out more easily than most women expect.
A violet toning shampoo or conditioner, used once a week or every other week, neutralises the yellow and brings the silver back to a clean, bright tone. Leave it on for only a few minutes at first, since porous grey ends can grab the violet and turn lilac. A monthly clarifying wash clears the mineral film that dulls shine. Heat dulls it too, so keep the diffuser on low and let hats do the sun work outdoors. Bright silver is mostly about what you keep off the hair, not what you add.
| Once a week | Once a month |
|---|---|
| Violet toning wash or conditioner for yellow tones | Clarifying wash to clear minerals and build up |
| Short contact time, two to three minutes at first | Follow with a deep conditioner to replace moisture |
Good grey curls are not about more effort. They are about the right order, enough water, and hands that know when to stop. Once the routine settles, wash day gets shorter and the good hair days stack up on their own. Pick two or three changes from this list, live with them for a fortnight, and then adjust. If you are still deciding how to style gray curls over 50 on your own head, start with the wash and layering sections, because everything else builds on them. Save this list for your next wash day, and pass it to a friend whose silver curls deserve the same kindness.