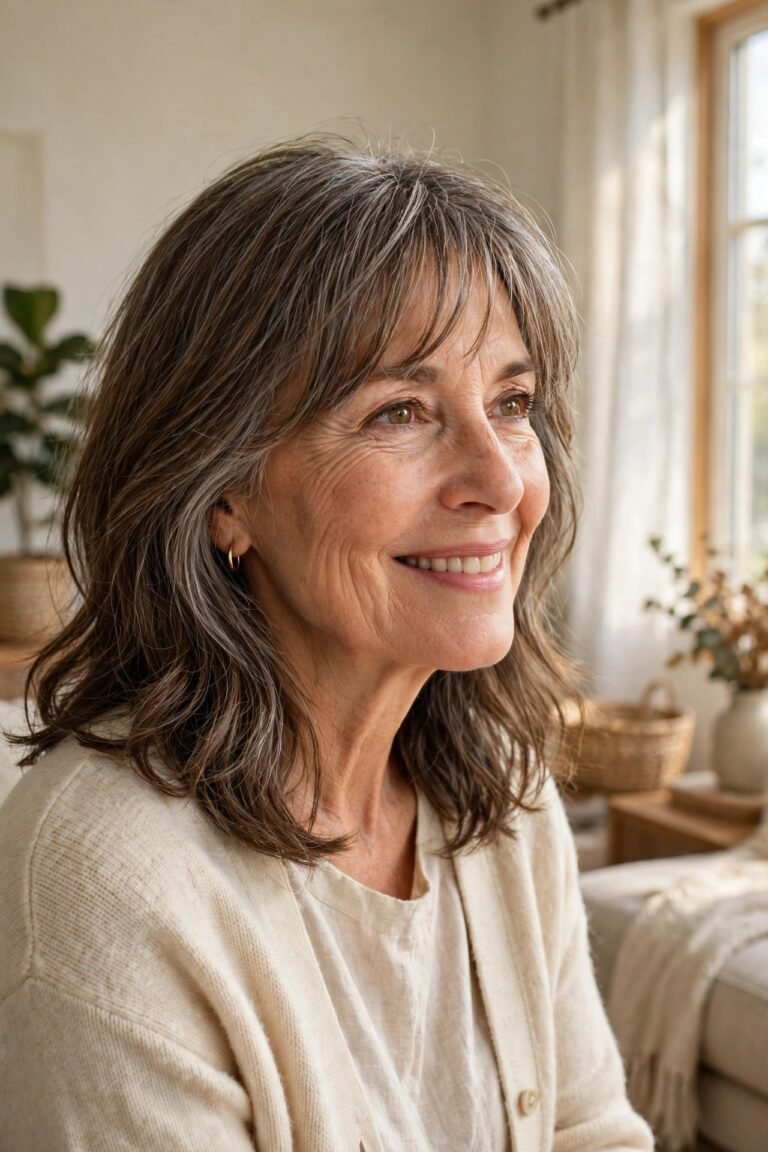
22 Long Layered Cuts Over 50 That Add Movement
You know the moment. You catch your reflection in a shop window and your hair is just hanging there, long but lifeless, doing nothing for you at all. The length is not the problem. Hair past fifty can be long, glossy and full of life. What it usually needs is movement, and movement comes from layers cut in the right places.
That is exactly what this list is for. These long layered cuts over 50 keep the length you love and cut away the heaviness that drags it down. Some frame the face. Some feather at the ends. Some are built for fine hair, some for thick or curly hair, and a few let silver hair shine at full length.
Read it with your own hair in mind. Note the two or three cuts that match your texture, your face shape and the time you honestly want to spend styling. Show those photos to your stylist and talk through the details before any scissors come out. The right layers make long hair feel light again, and that lightness shows every time you move.
1. Face-Framing Layers That Open Up the Whole Face
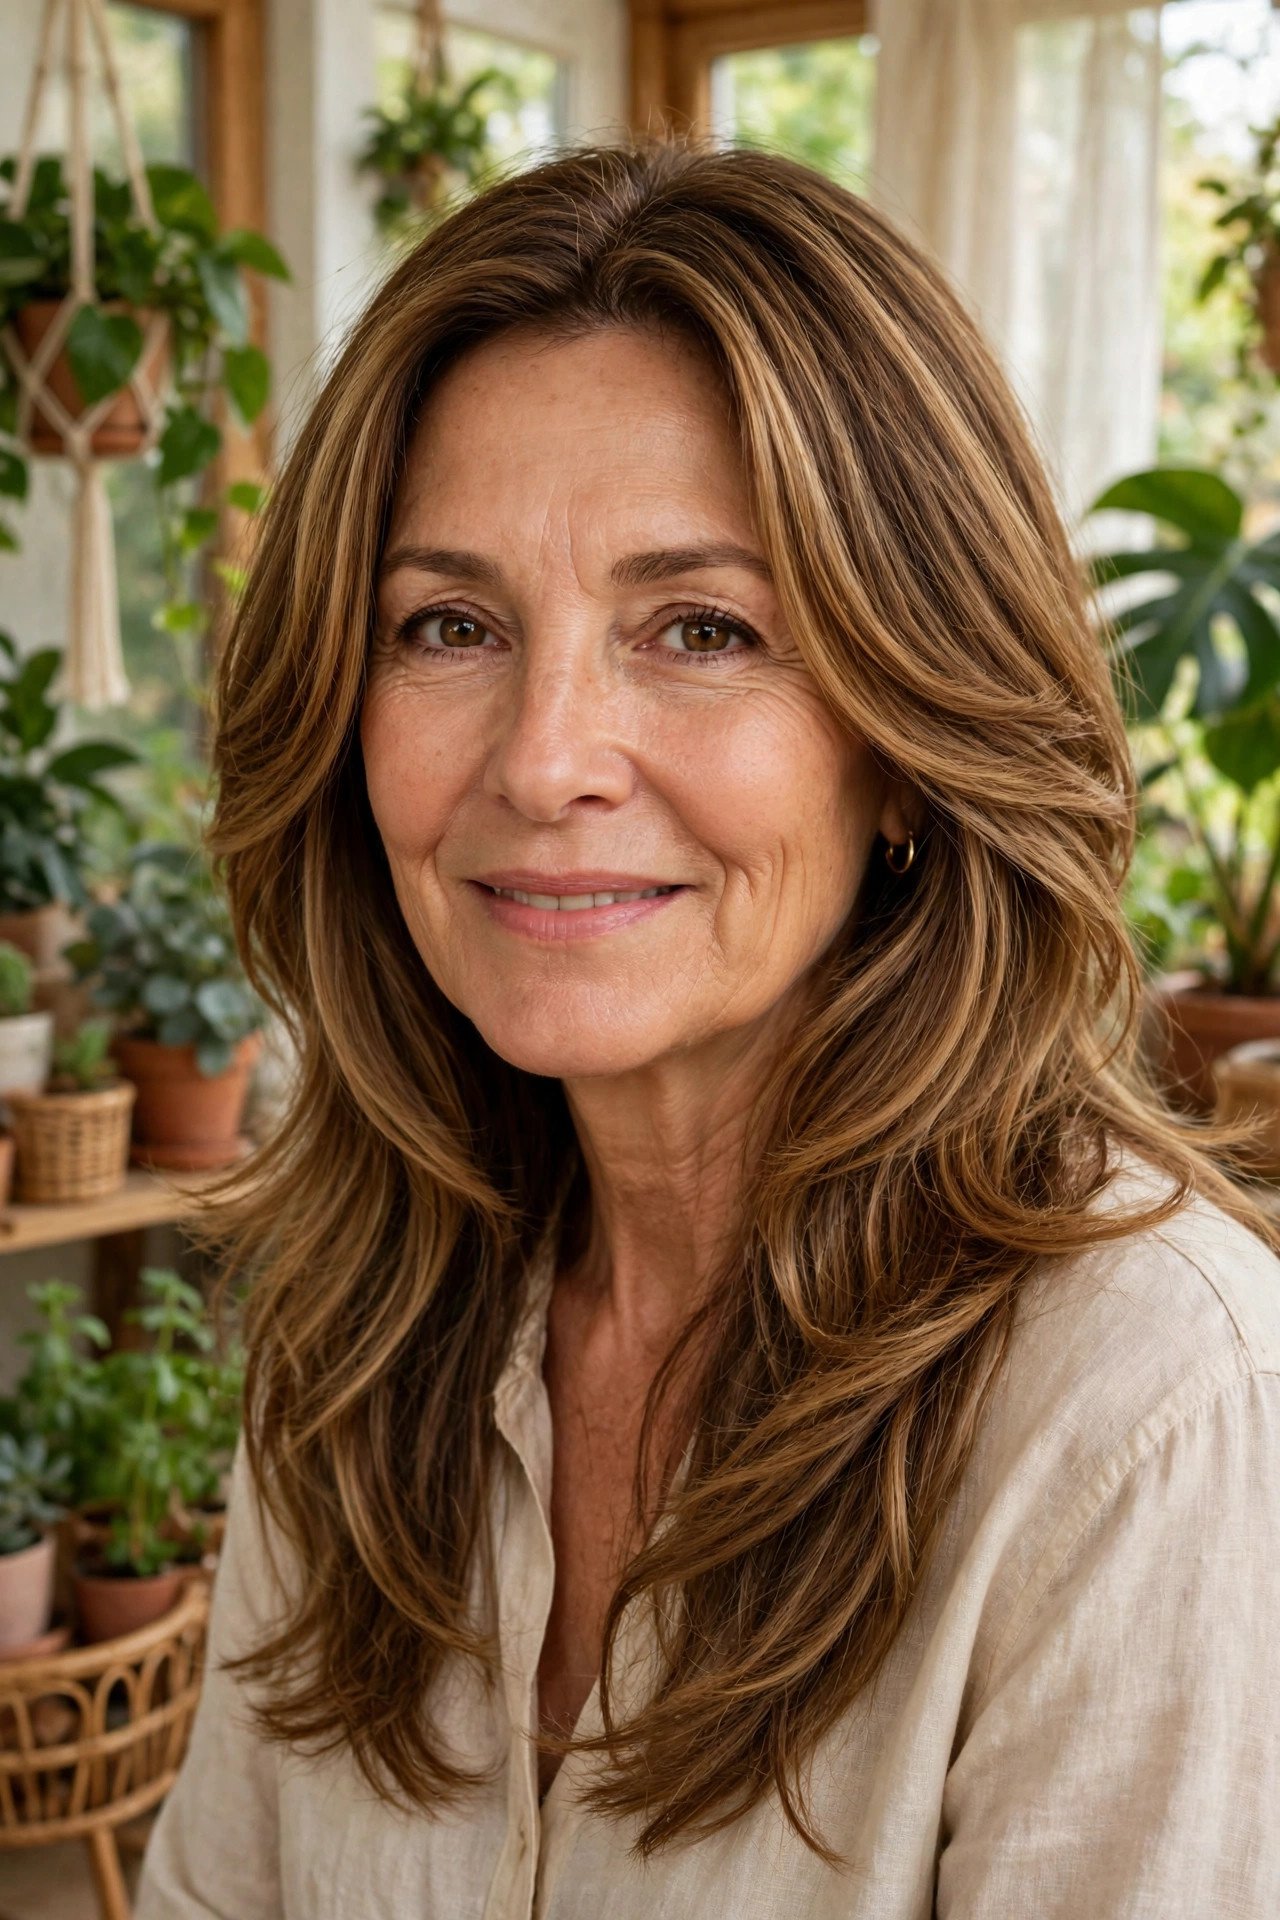
Look first at the front, not the back. The shortest layers sit at cheekbone or jaw height, then step down in soft stages until they join the full length at your chest.
That staircase of lengths pulls the eye upward and outward, so your face looks open instead of hidden behind two curtains of hair. It also gives you styling options built into the cut itself:
- Ask for the first layer at or below the cheekbone if your face is round.
- Longer faces can start the framing a little higher.
- Keep the steps blended, never shelf-like.
Tuck one side behind an ear and the shape still holds its line.
2. Feathered Ends That Flick When You Walk
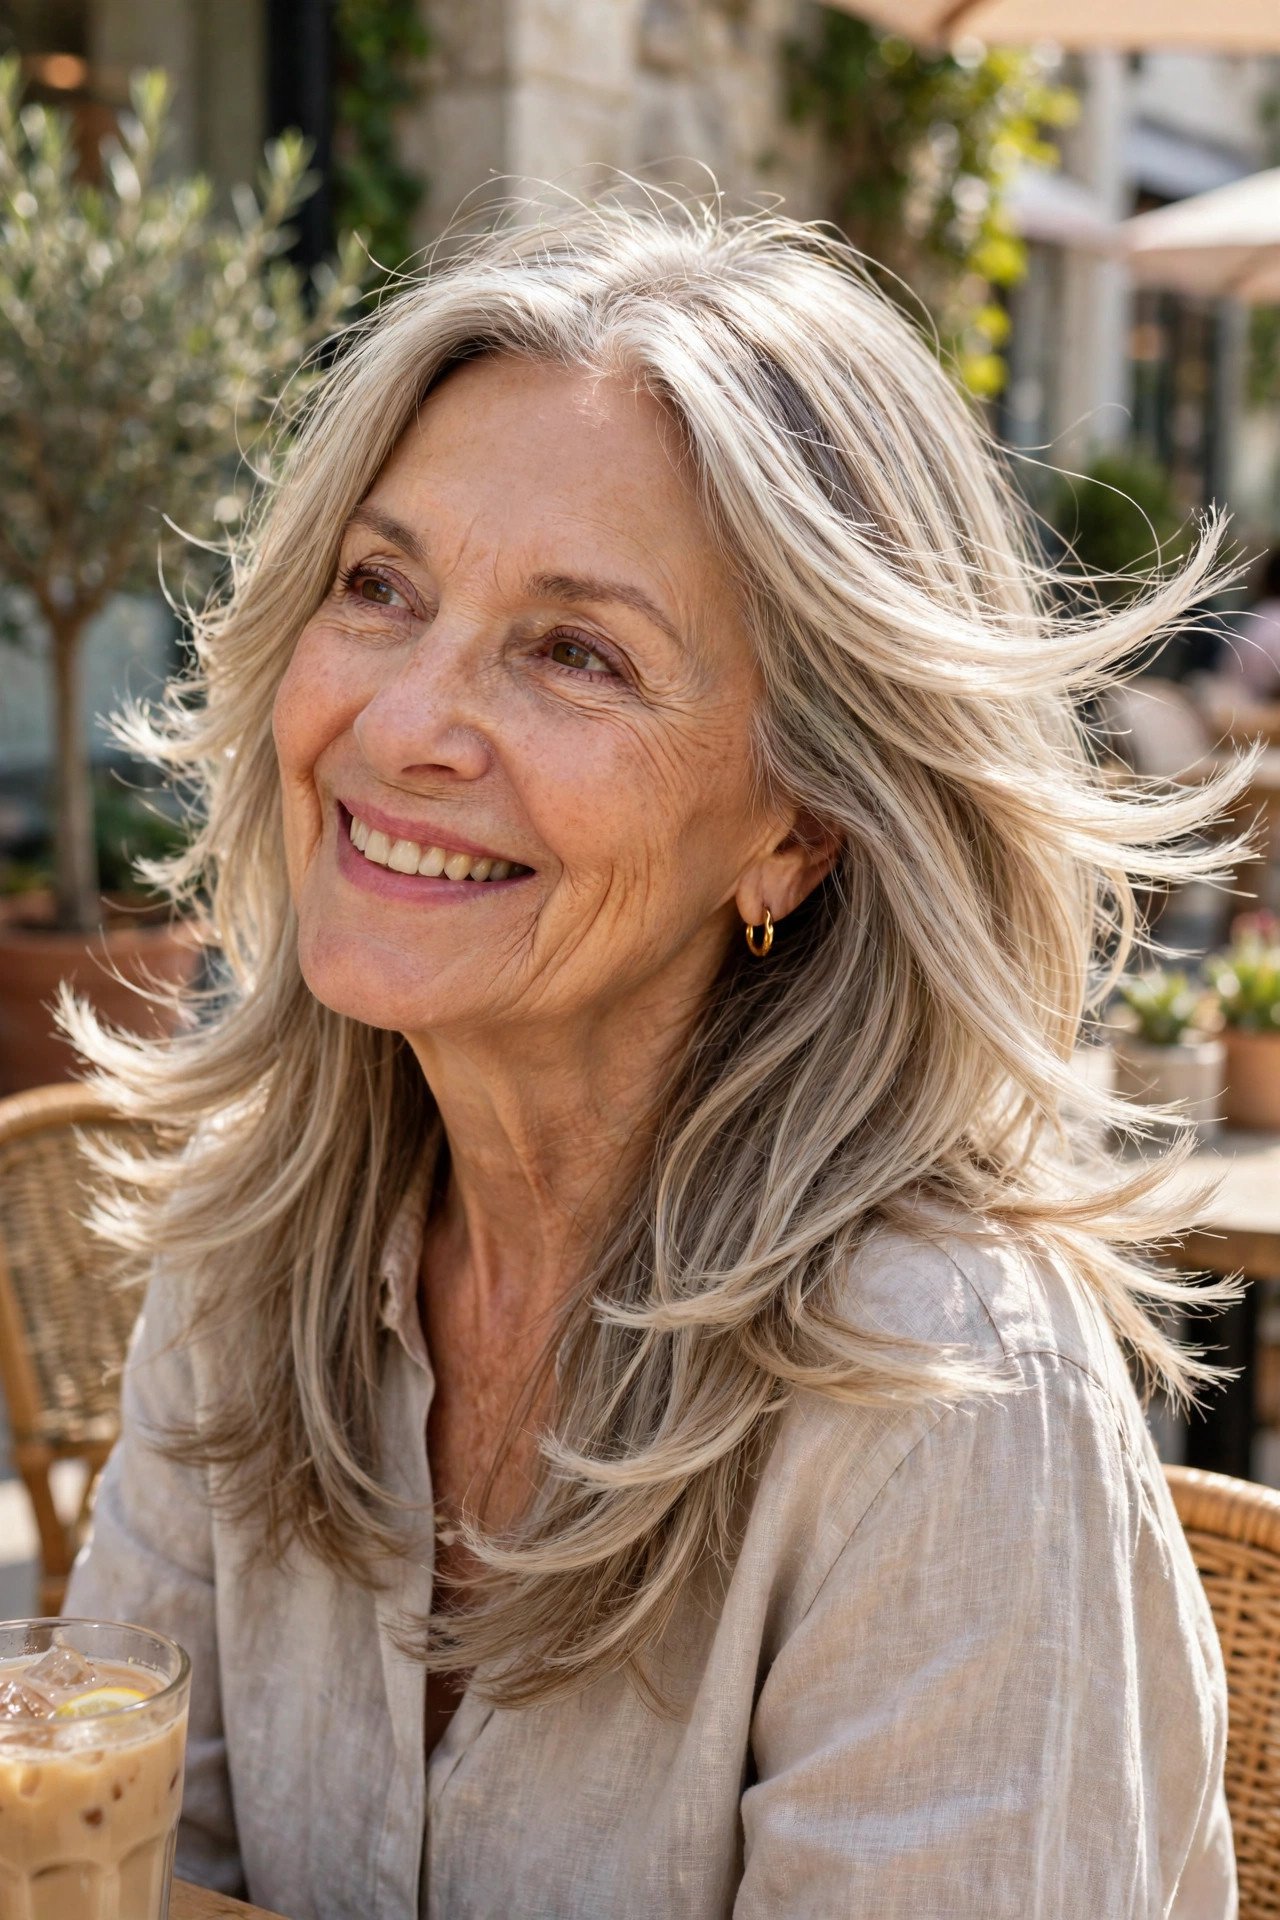
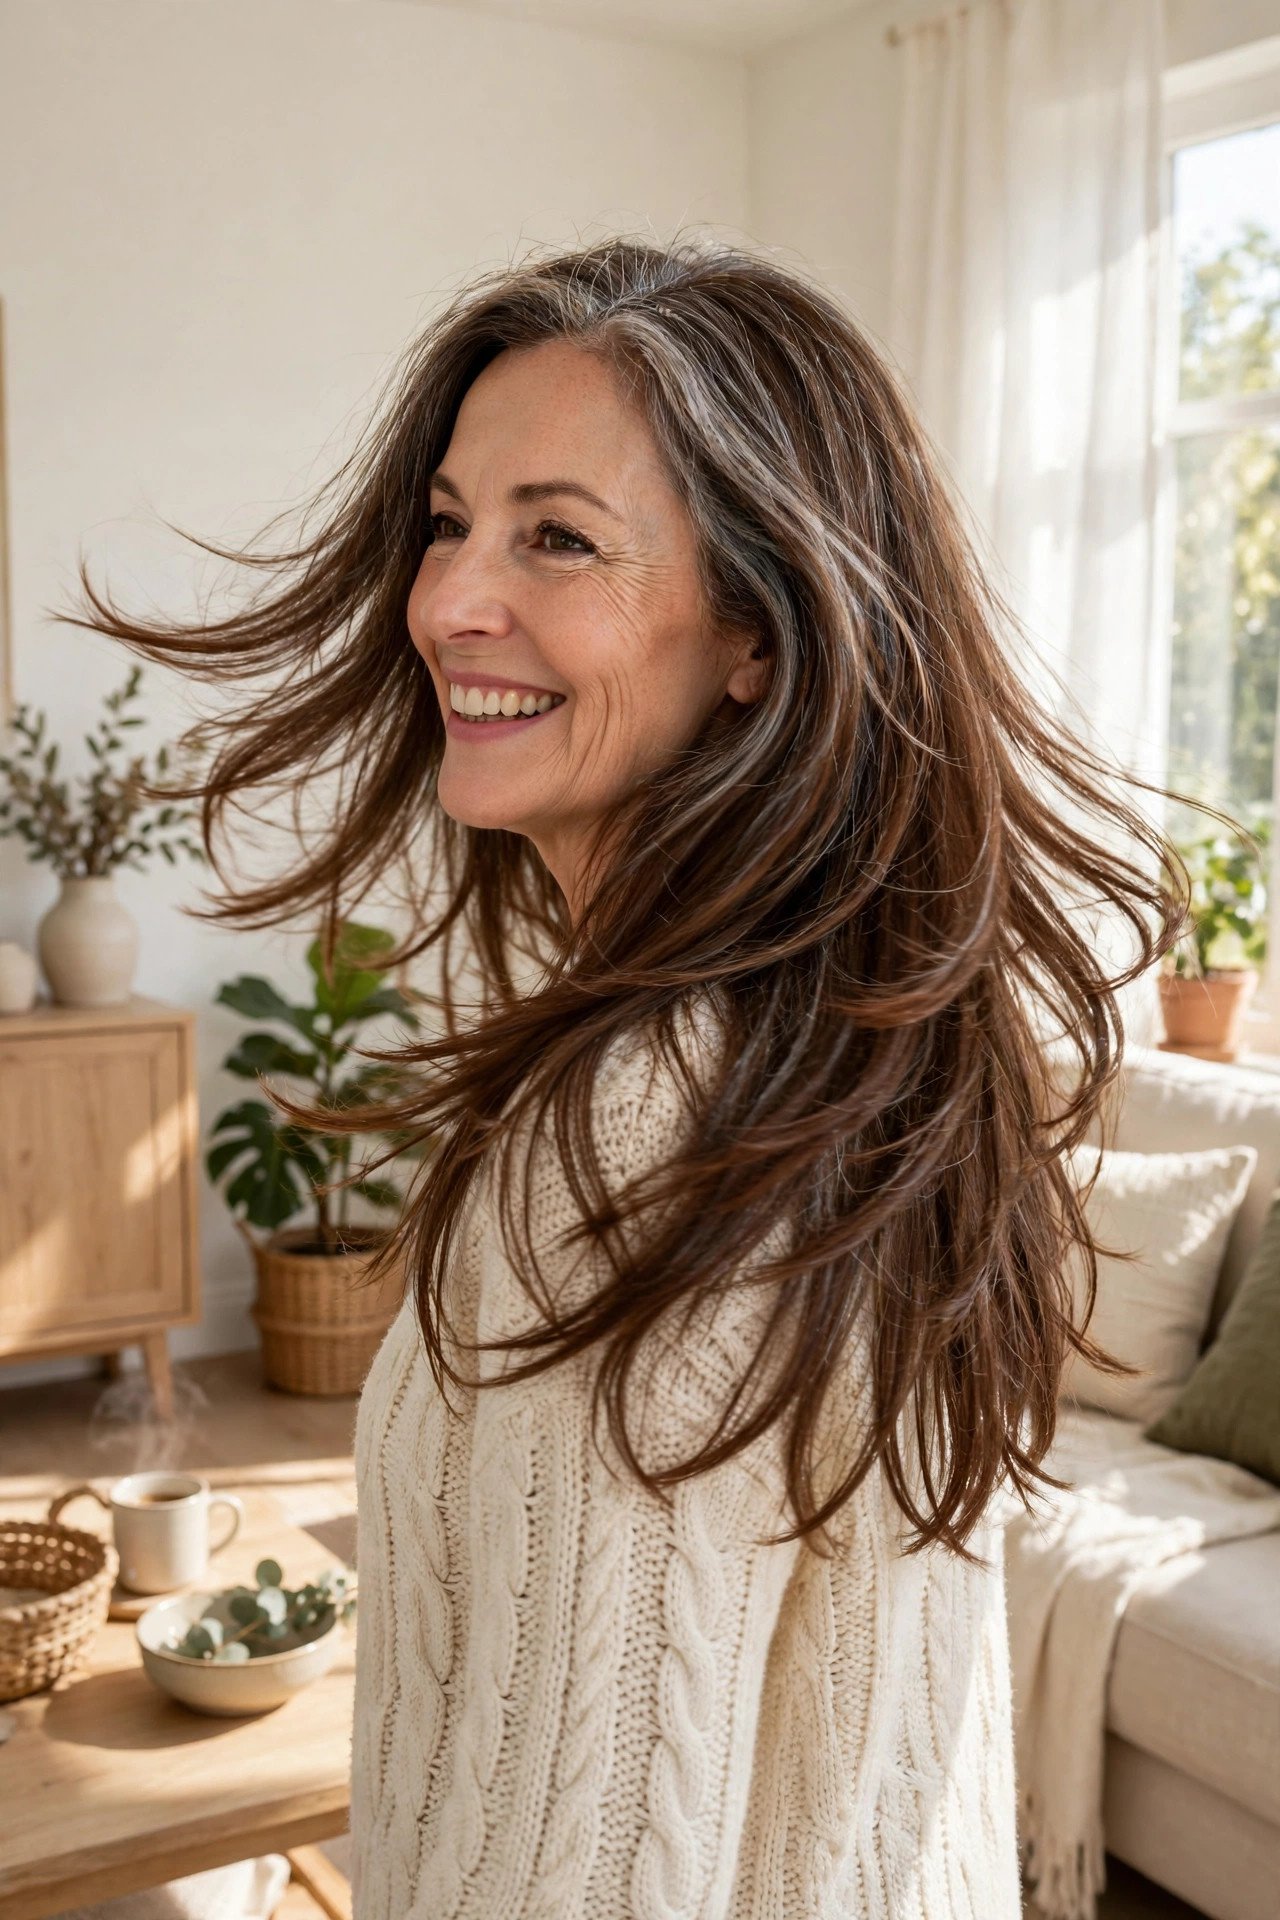
Feathered ends are the reason some long hair seems to dance when the wearer crosses a room.
Instead of one blunt hem, the last few inches are cut into fine, tapered points that sit at slightly different lengths. The hemline looks soft, the ends flip outward with almost no effort, and the whole cut feels lighter even though nothing came off the overall length. Feathering suits straight and wavy hair best, and it flatters women who like a softer, more romantic finish than a sharp straight edge. It is an old idea that still earns its place.
💡 Quick Tip
Dry the ends with a round brush and roll them outward for the last ten seconds of drying. That small flick is what makes feathering read as feathering.
3. The Soft U-Shape for an Even, Flowing Back
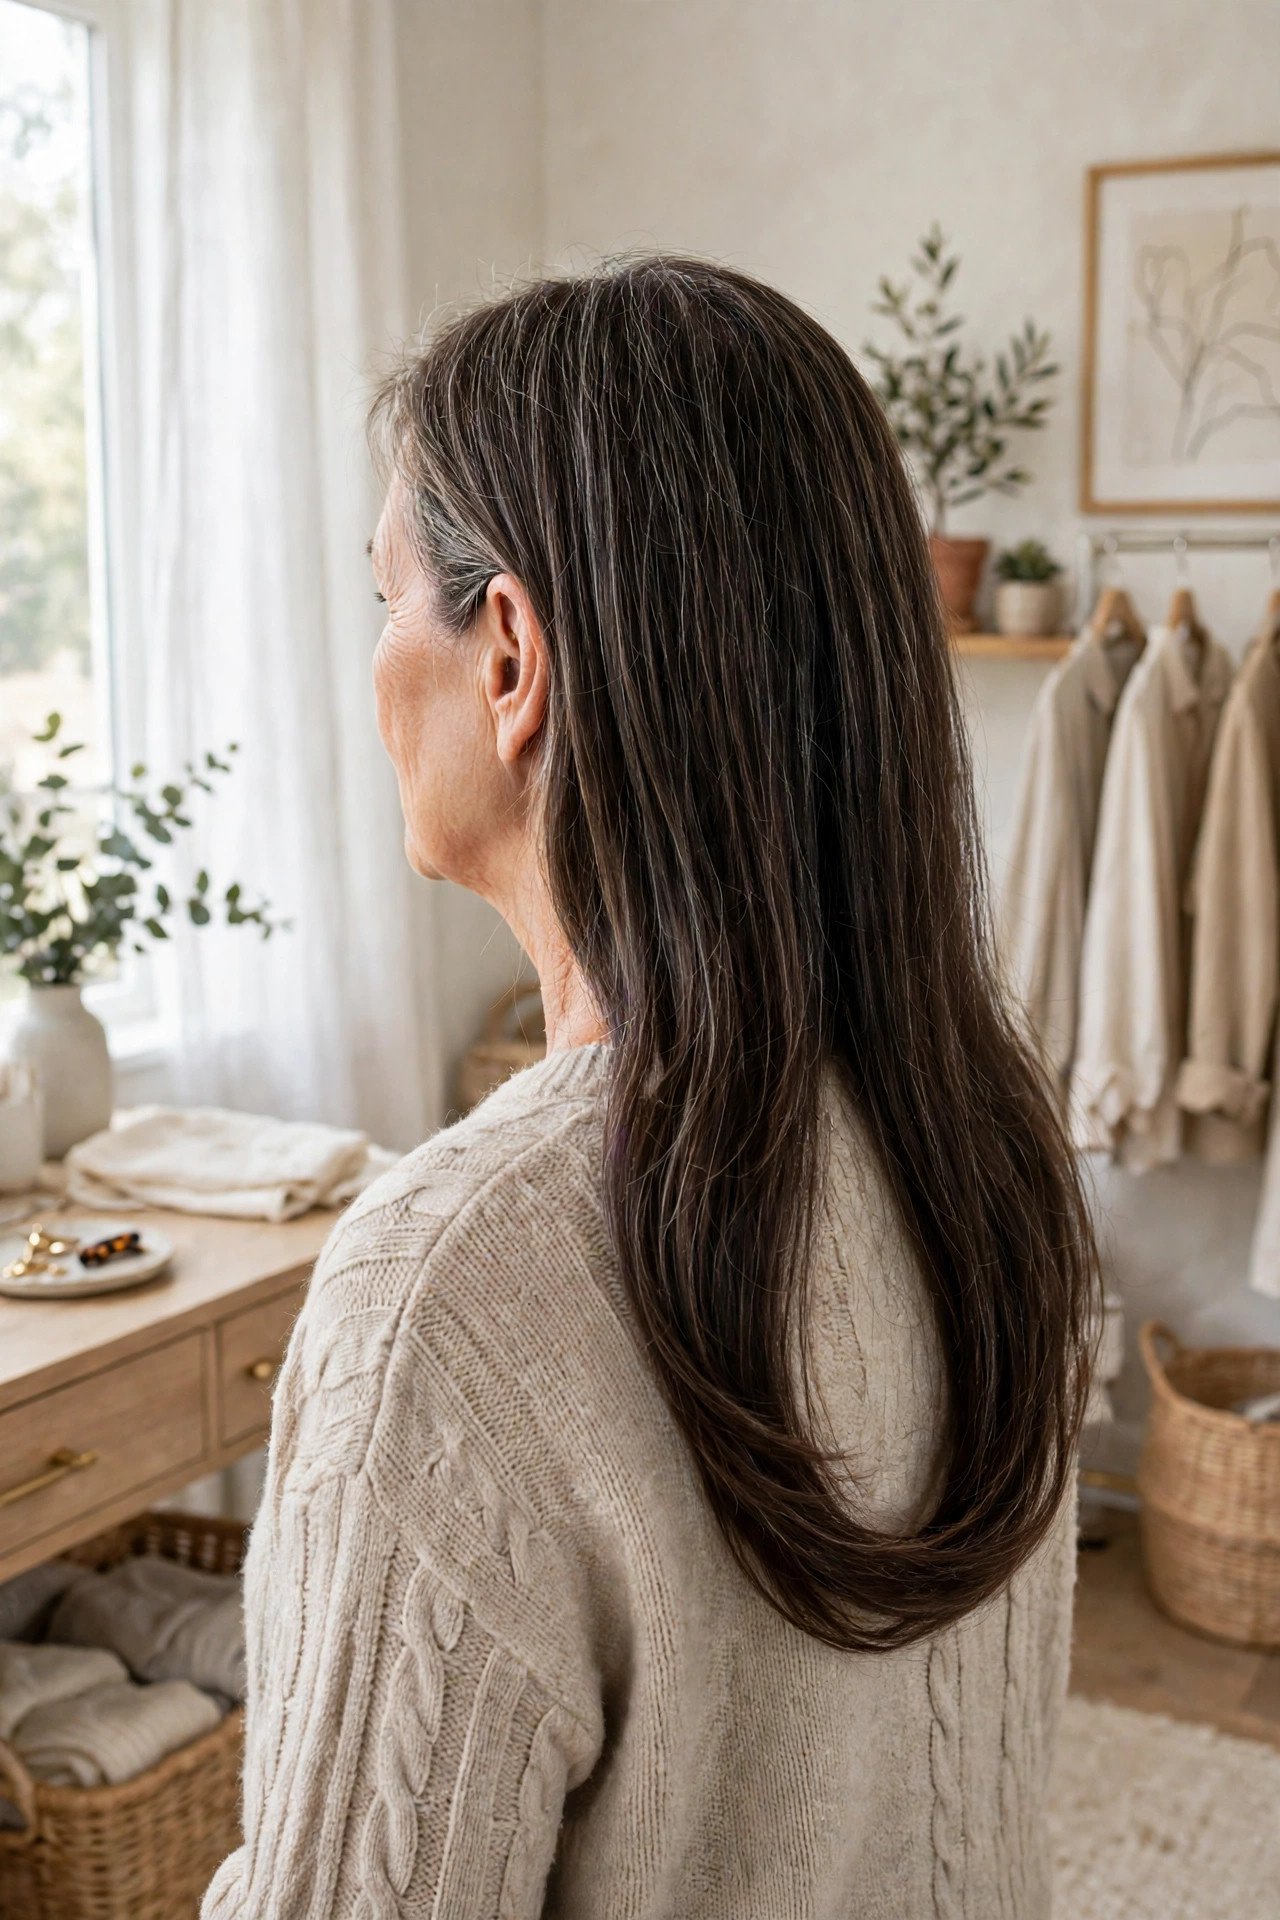
The rule for this one is simple. The back should curve, not corner.
A U-shape cut keeps the longest point at the center of your back and lets the sides rise gently toward the front. From behind, the hemline looks like a shallow smile. From the front, the shorter sides open up the face and stop long hair from swallowing a smaller frame. It is a kind cut for women growing out old layers too, since the curve hides uneven lengths while everything catches up. Ask for the curve to stay shallow if you wear your hair up often, so the sides still reach a ponytail.
4. Long V-Shape Layers With a Soft Pointed Back
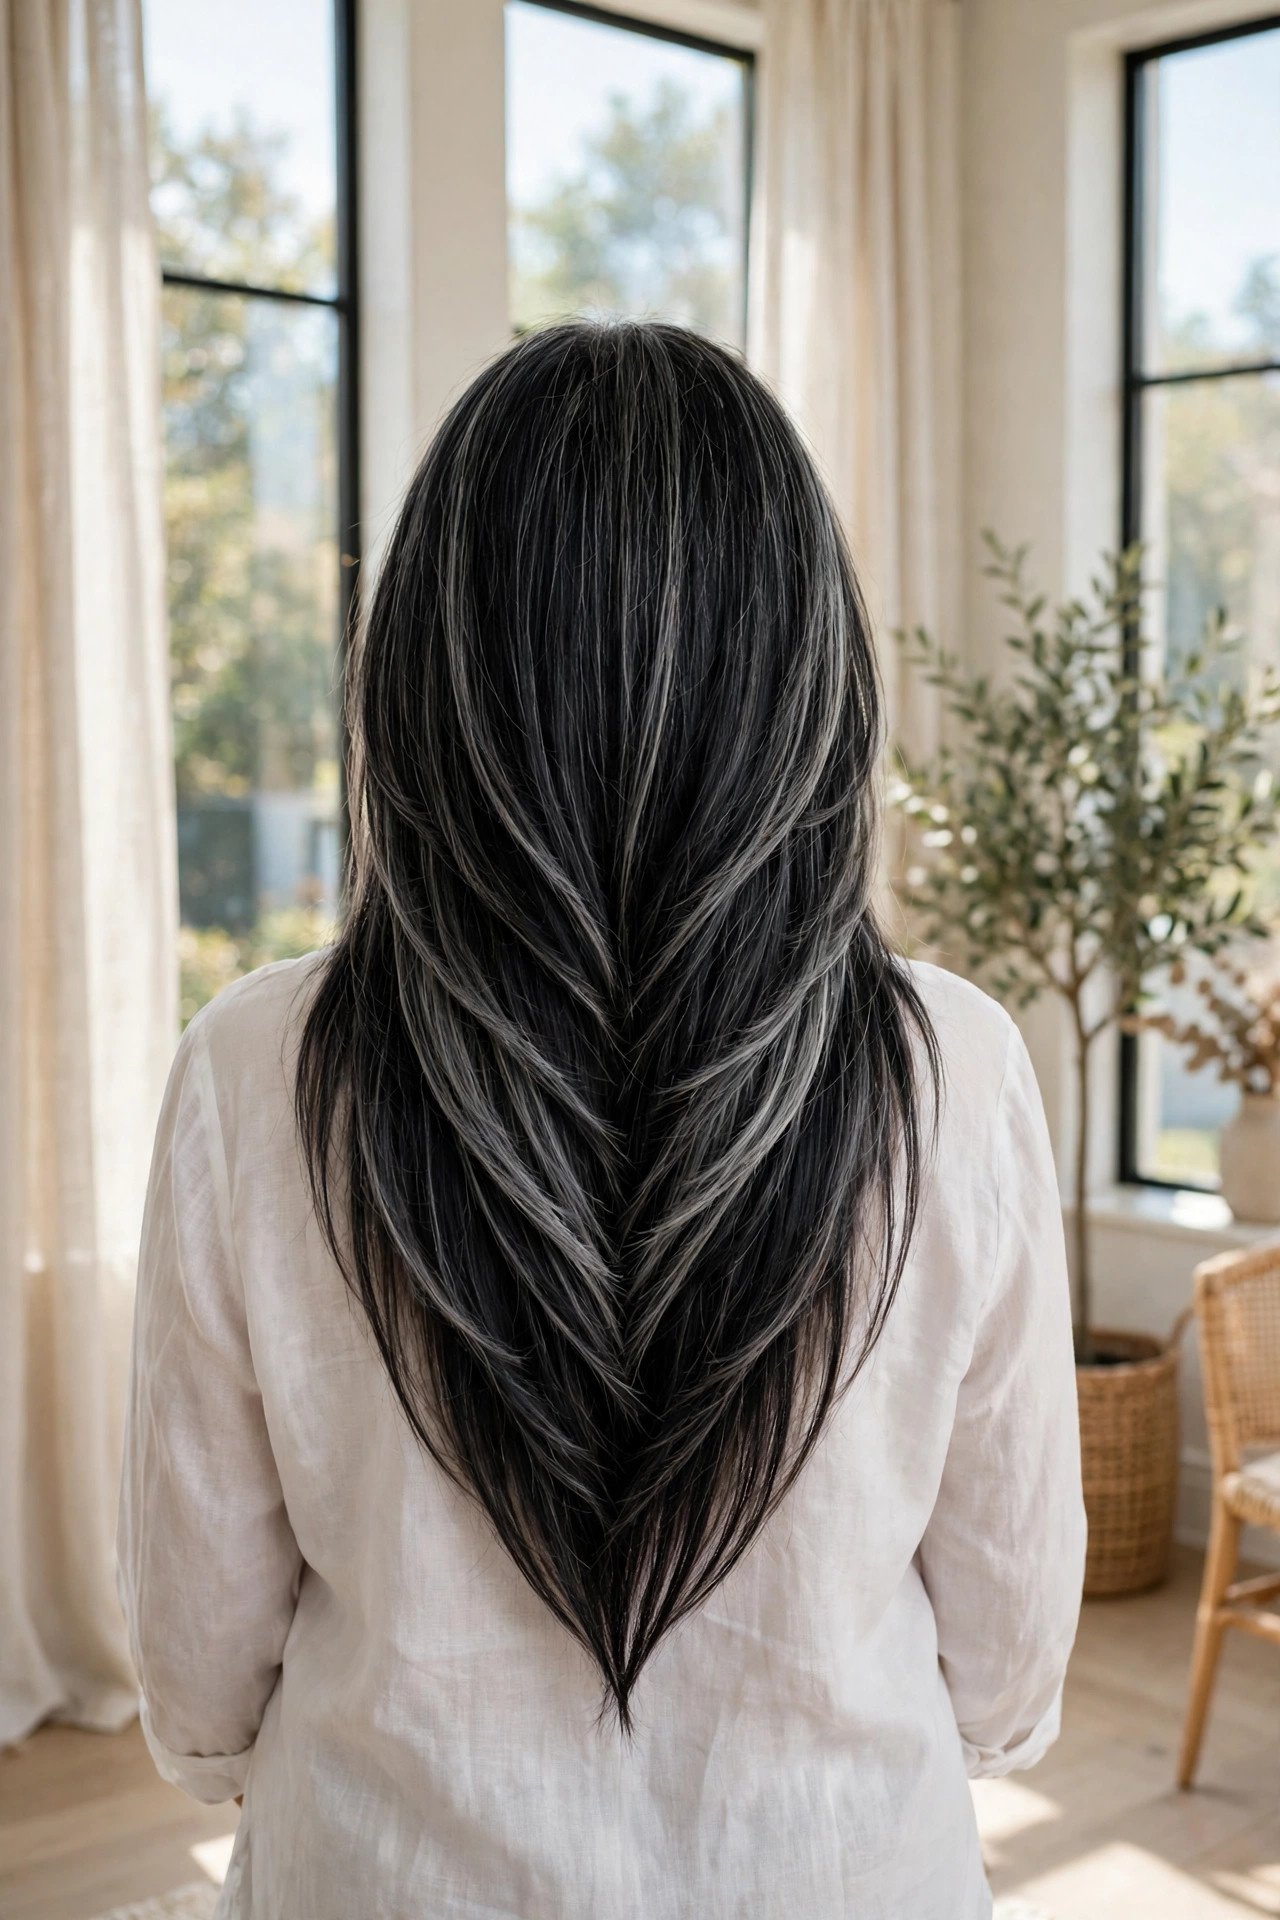
Choose the V when you want the back view to be the main event.
Where the U rounds off, the V keeps going, tapering the sides down to one soft point at the center back. Worn loose, it looks dramatic and a little glamorous, especially on thick hair that can hold the shape. The trade-off sits at the front. The sides near your face end up shorter, so if you love fullness around your cheeks, the U is the kinder cousin. On very fine hair the point can look thin, so ask for a soft, blunted tip instead of a sharp one.
Ask your stylist for
5. Curtain Layers With a Clean Middle Part
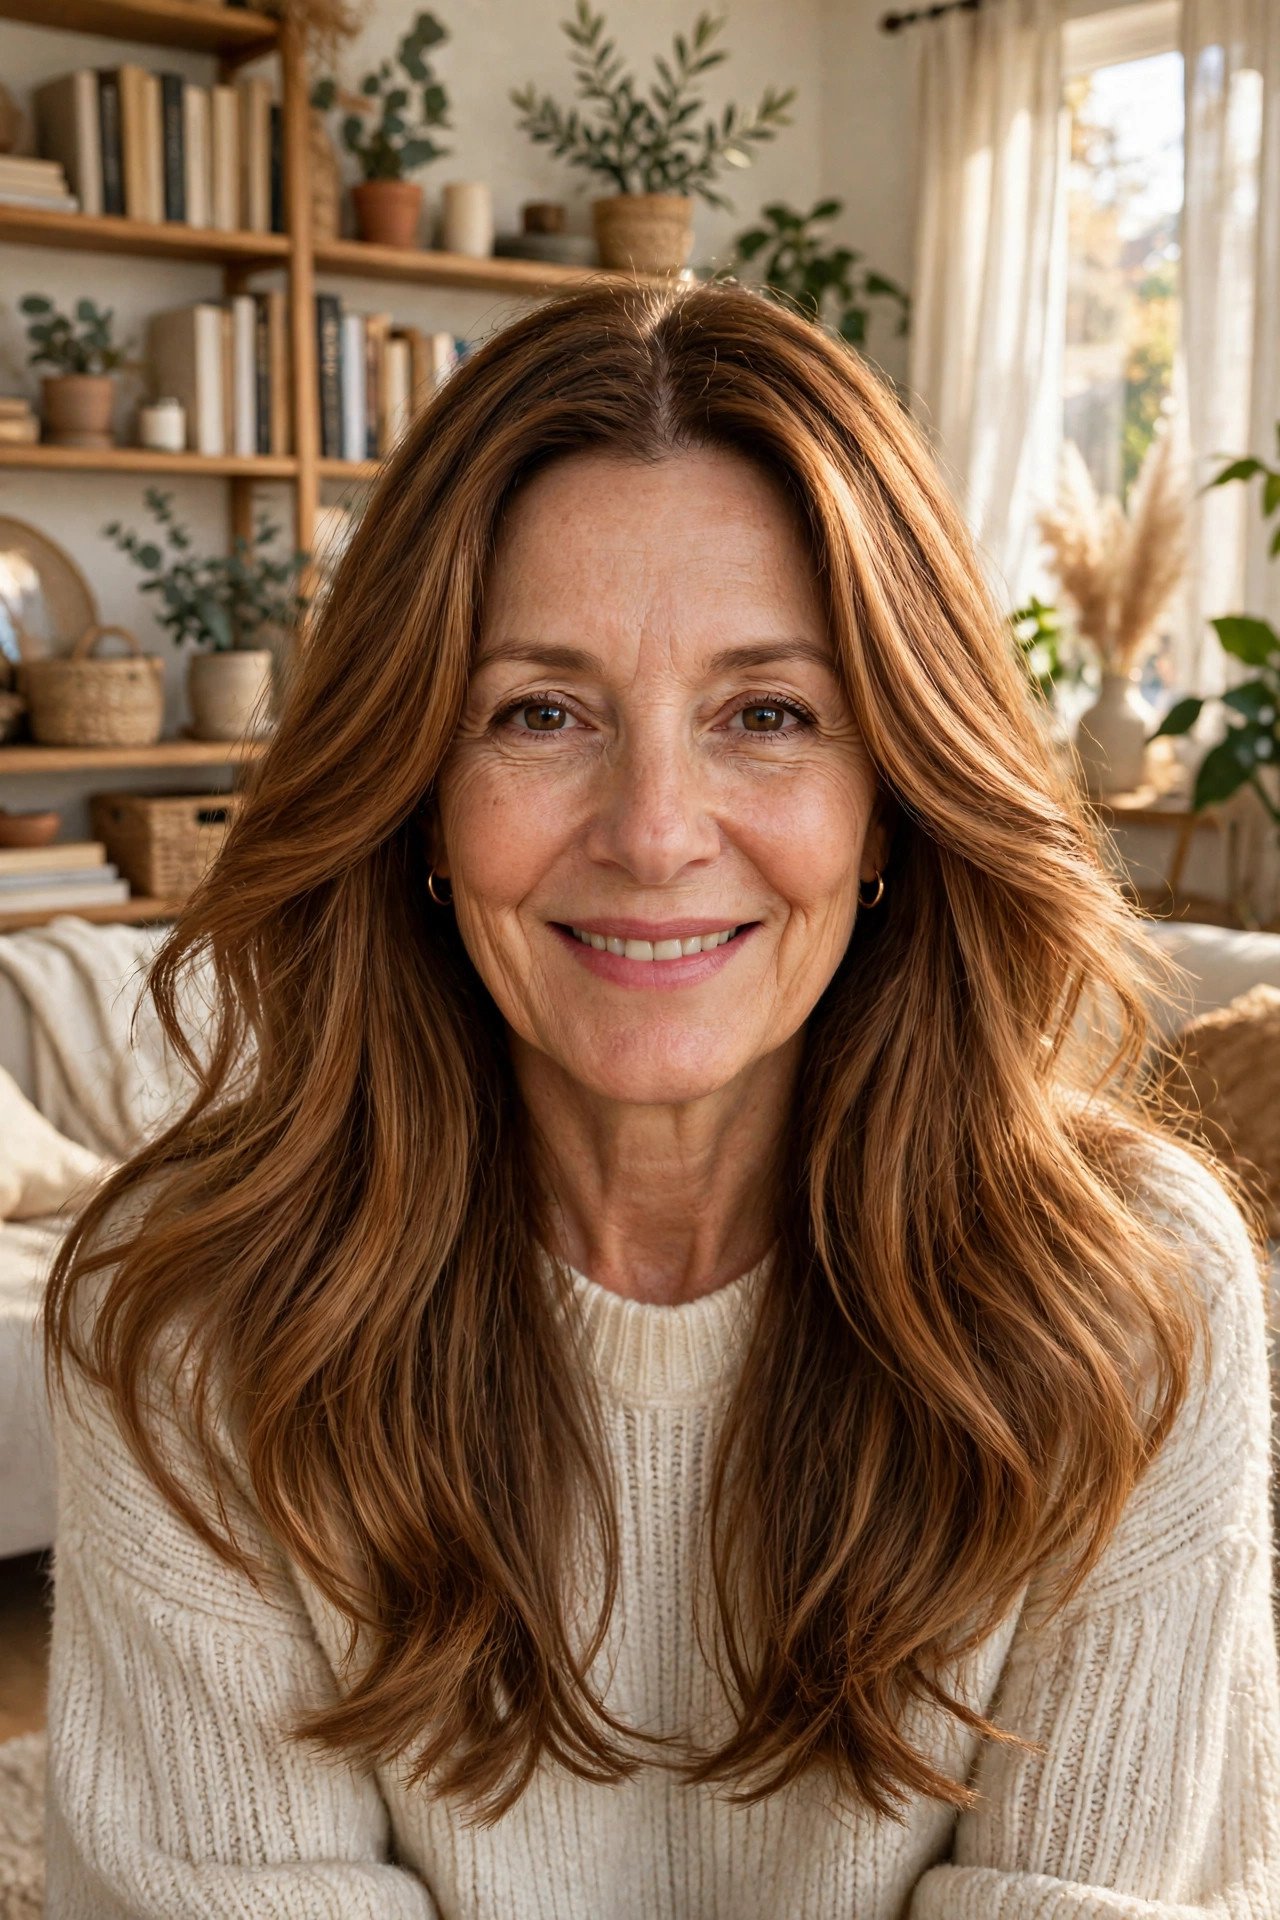
You part your hair in the middle, shake your head once, and the front falls open in two smooth panels. That is the whole charm of this cut.
Curtain layers are cut longer than curtain bangs. They start around the cheekbones or the lips and sweep outward, framing the face the way curtains frame a window. The shape is forgiving on days when you skip styling, since the panels fall into place with a quick finger comb. It suits oval and longer faces well, and it grows out gracefully because there is no blunt fringe line to maintain between appointments.
A middle part with one-length hair hangs flat on both sides and closes the face in.
Curtain layers sweep the front open, so the face gets light and the length keeps its swing.
6. Loose Wavy Layers That Move on Their Own
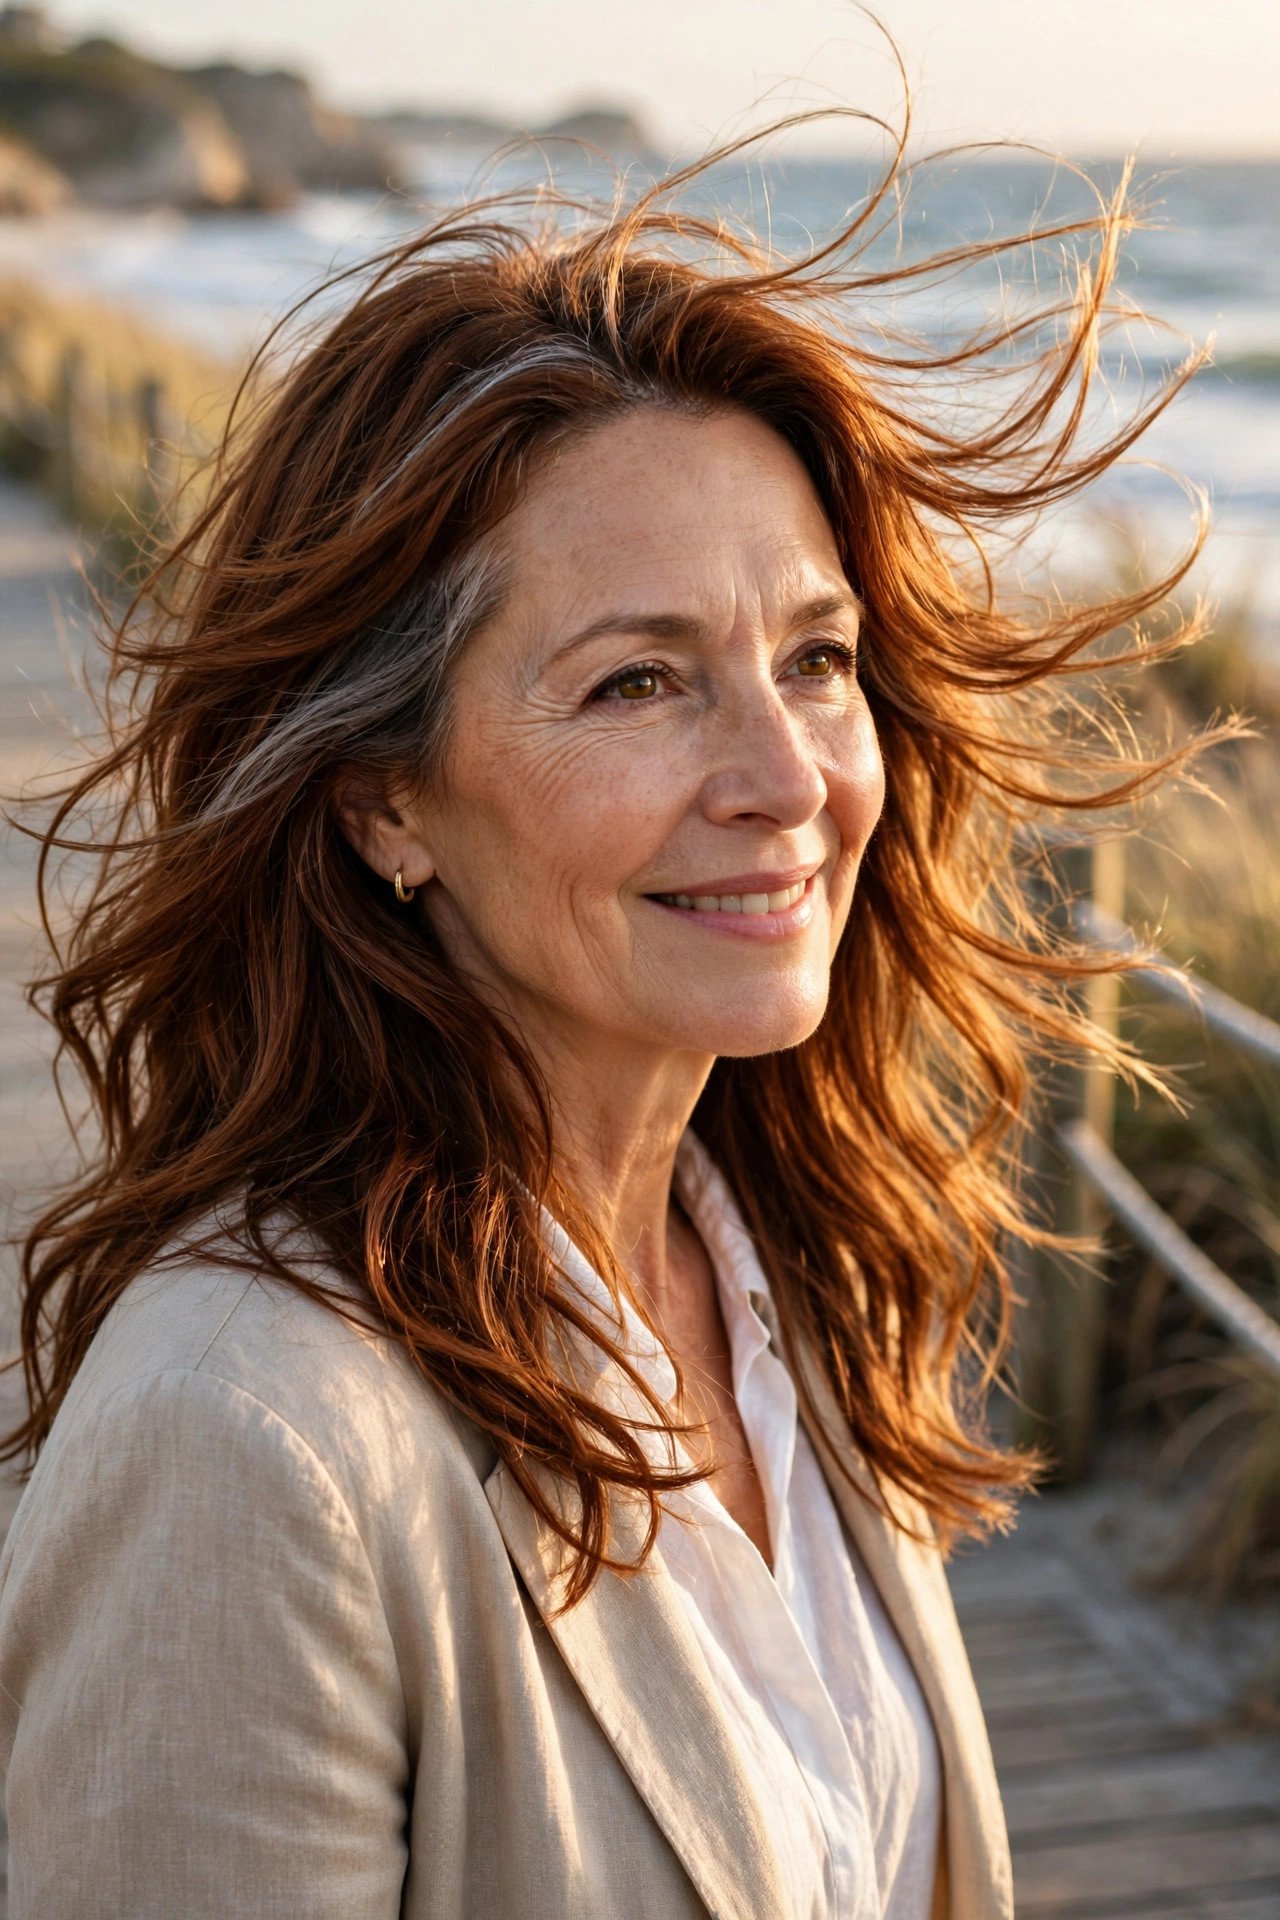
Wavy hair cut in one length often dries into a wide triangle, heavy at the bottom and flat at the crown.
Long layers break that shape up. Shorter pieces through the top lift the roots, and the layers underneath give each wave room to bend instead of stacking into bulk. The result dries with movement already built in, which means less heat styling on busy mornings and less fighting with the brush. Let it air dry and the cut does most of the work for you.
- ▸Scrunch waves upward while damp, then leave them alone to dry.
- ▸Sleep with hair loose, or piled in a high, soft bun.
- ▸Refresh second-day waves with a light mist of water and one more scrunch.
7. Long Layers With Curtain Bangs
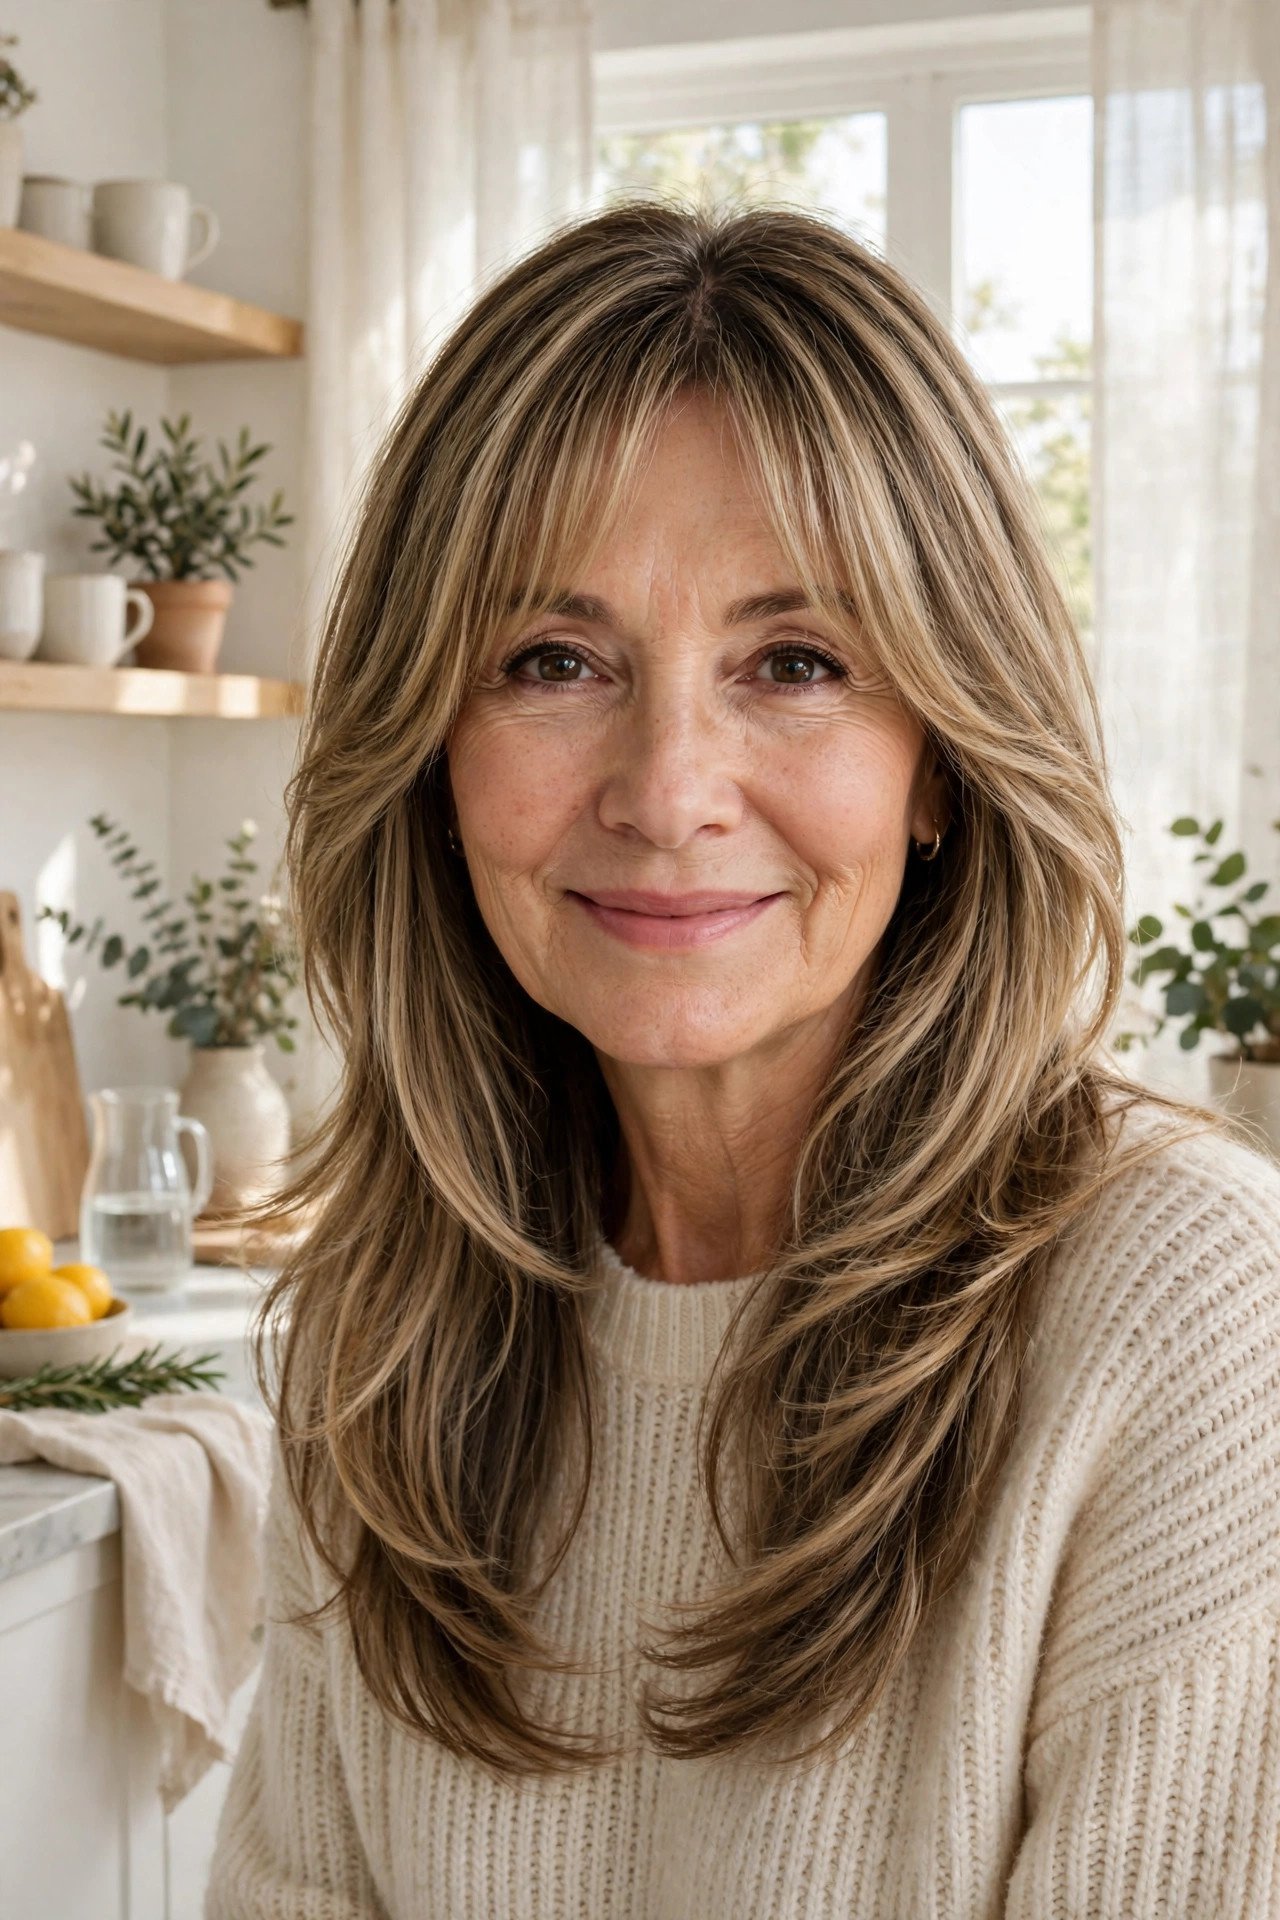
The fringe is the first thing people notice. It parts in the center, brushes the cheekbones, and melts into the layers so there is no hard line anywhere.
Curtain bangs soften a strong forehead and draw attention to the eyes, and they ask very little of you. A quick blast with the dryer and a round brush, rolled away from the face, sets them in under a minute. Because they are long for bangs, a slow grow-out is not a problem. Pin them back and they vanish into the layers until your next trim comes around.
Dry the bangs first, before the rest of the hair sets.
Roll the brush away from the face for that open sweep.
Cutting them shorter than cheekbone length at the first appointment.
Heavy oils or creams near the fringe, which make it separate.
8. Wispy See-Through Bangs With Soft Layers
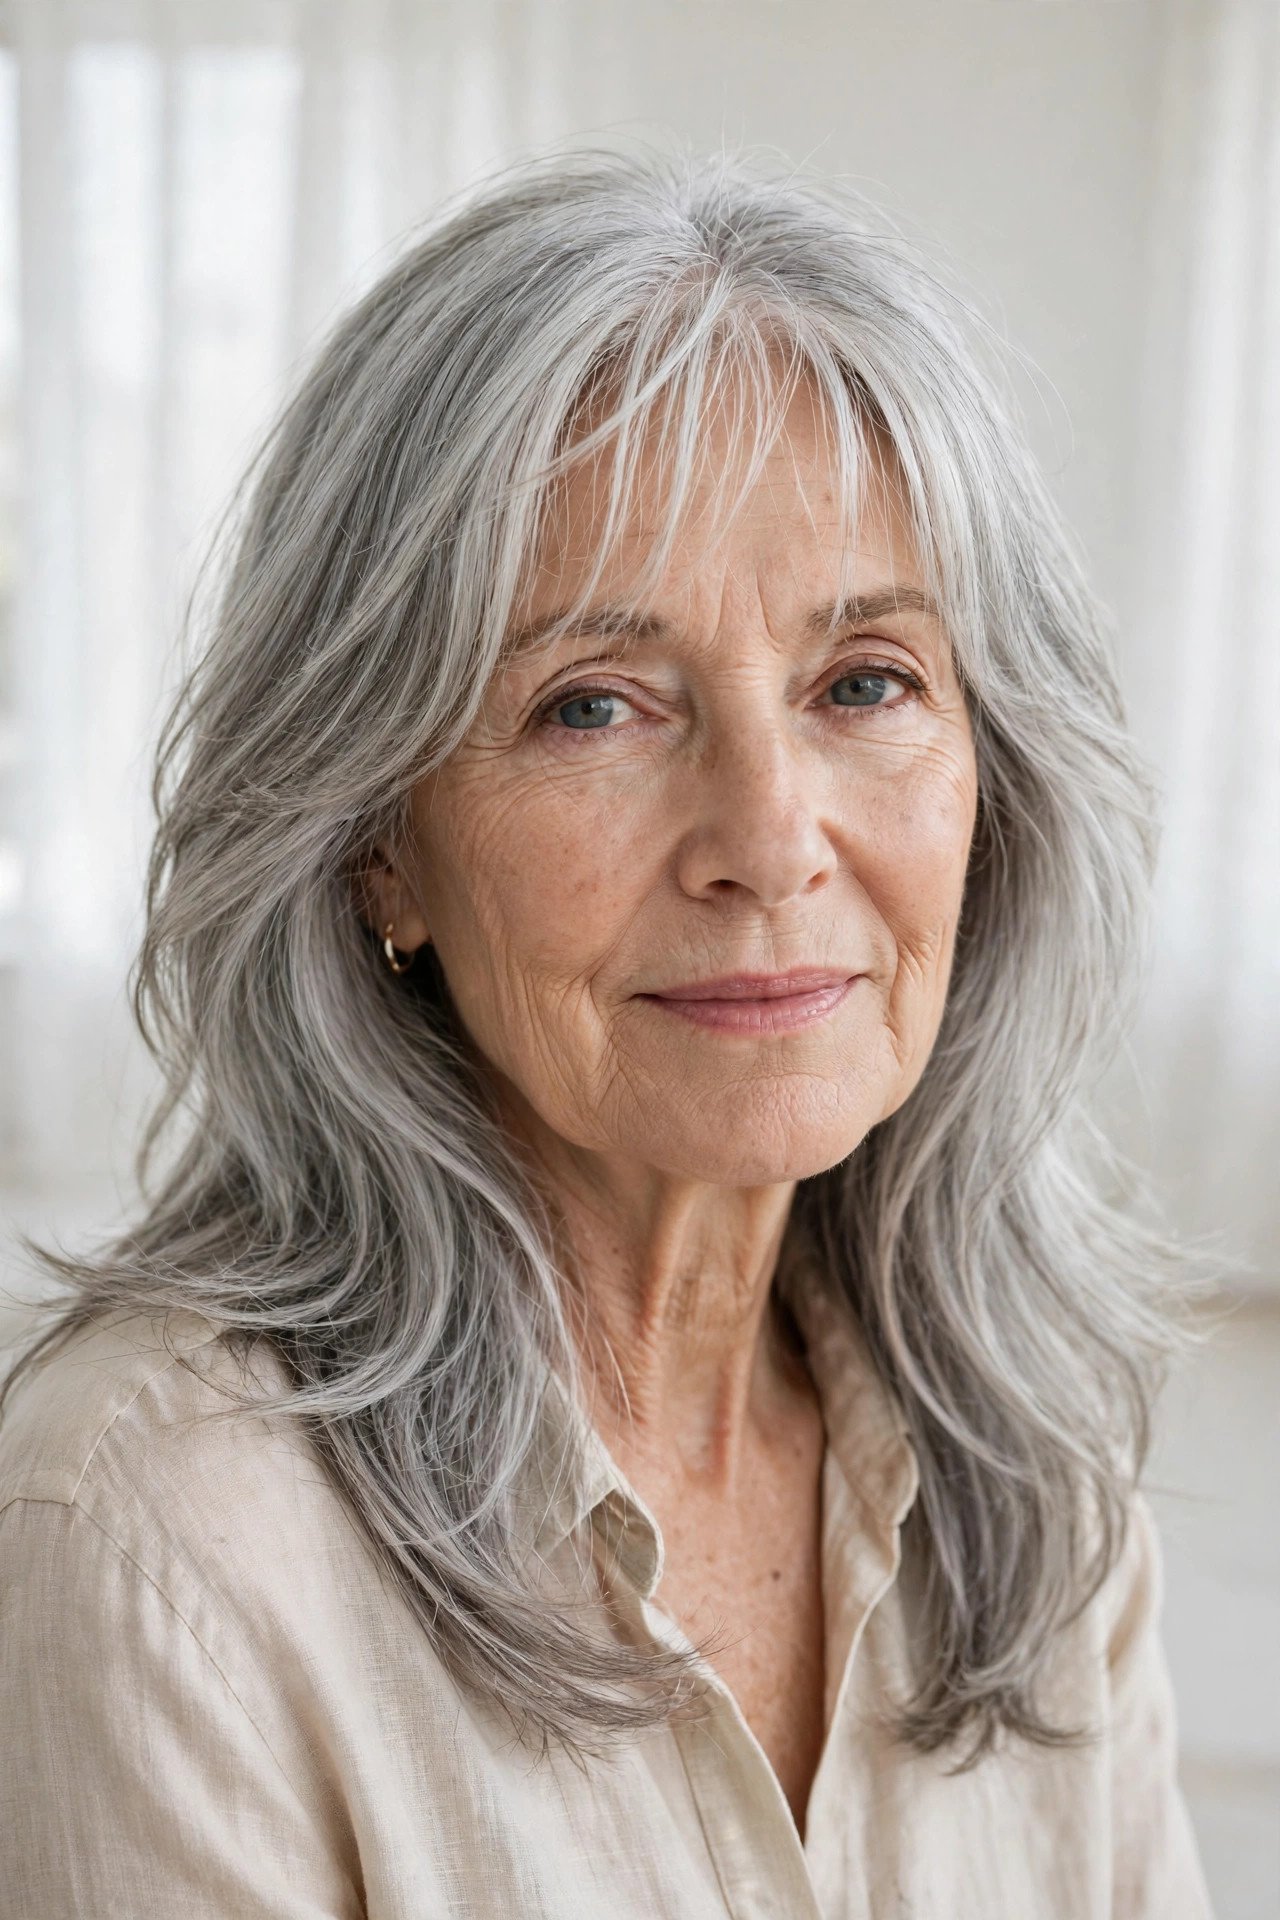
Of all the fringes in this list, this is the one women point at and say, that one feels safe.
A wispy fringe is cut thin on purpose. You can see skin through it, so it softens the forehead without covering it, and it pairs well with long layers because both are light and broken up rather than solid. It is a kind first fringe after fifty, since the commitment is small and the grow-out is quick. One honest warning: a fine fringe needs a fast morning tidy, a few seconds with a dryer or a flat brush, or it can separate into strings by lunchtime.
📌 Good To Know
A thin fringe reaches an awkward length fast. A quick fringe trim between full appointments keeps it wispy instead of heavy, and it takes only a few minutes in the chair.
9. Light Layers for Fine Hair That Never Look Stringy
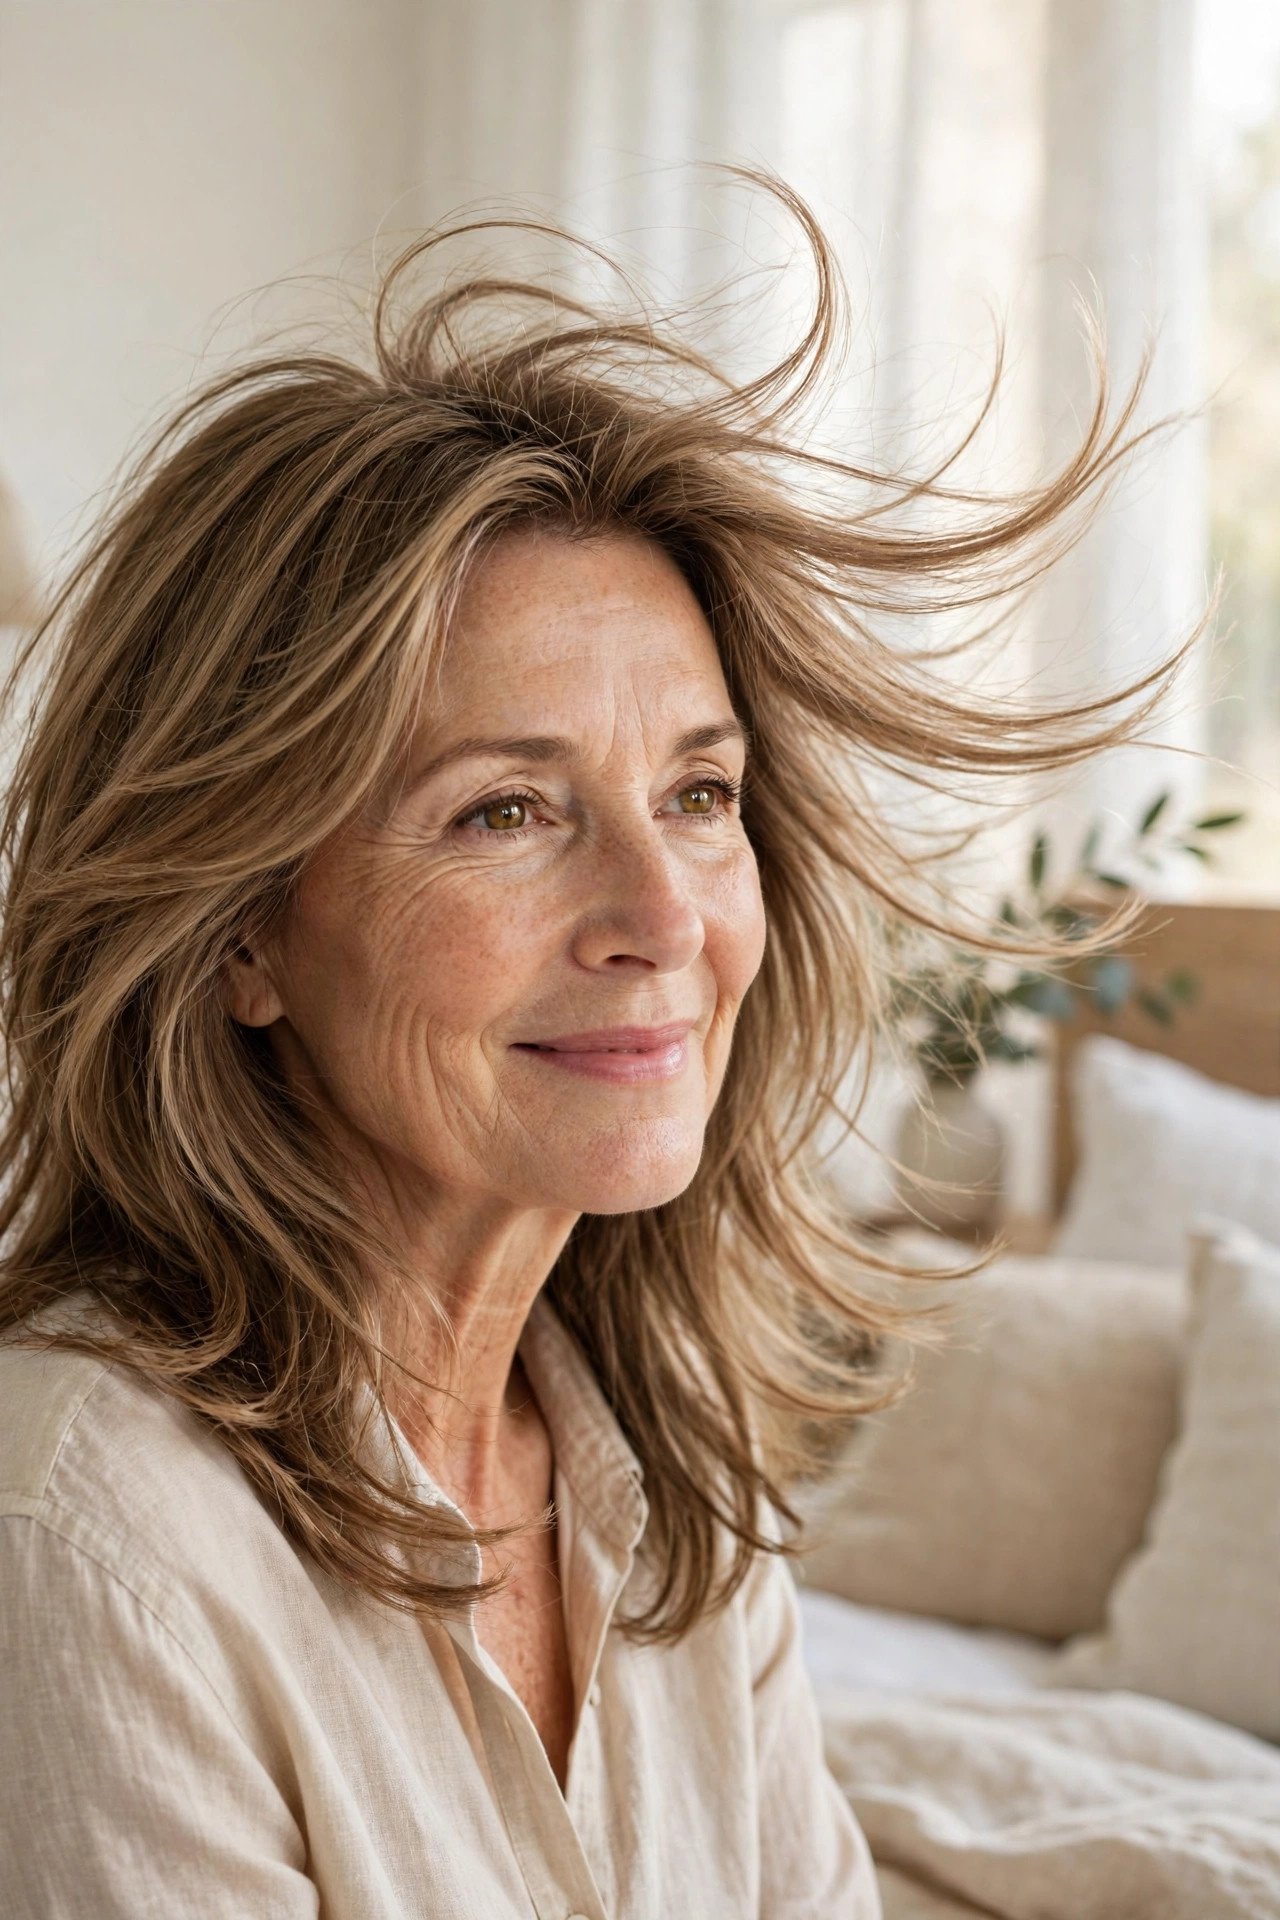
The old advice says fine hair needs lots of layers for volume. On fine hair, that advice backfires.
Too many short layers remove the very weight fine hair needs at the ends, and the result is wispy, see-through lengths. The fix is fewer, longer layers. Keep them long, keep the ends almost blunt, and let the layering live in the last third of the length. You get movement at the surface while the outline stays full. Blow dry with your head tipped forward and the light layers lift instead of lying flat, and the ends hold together instead of splitting into strings.
10. Weight-Removing Layers for Thick Hair
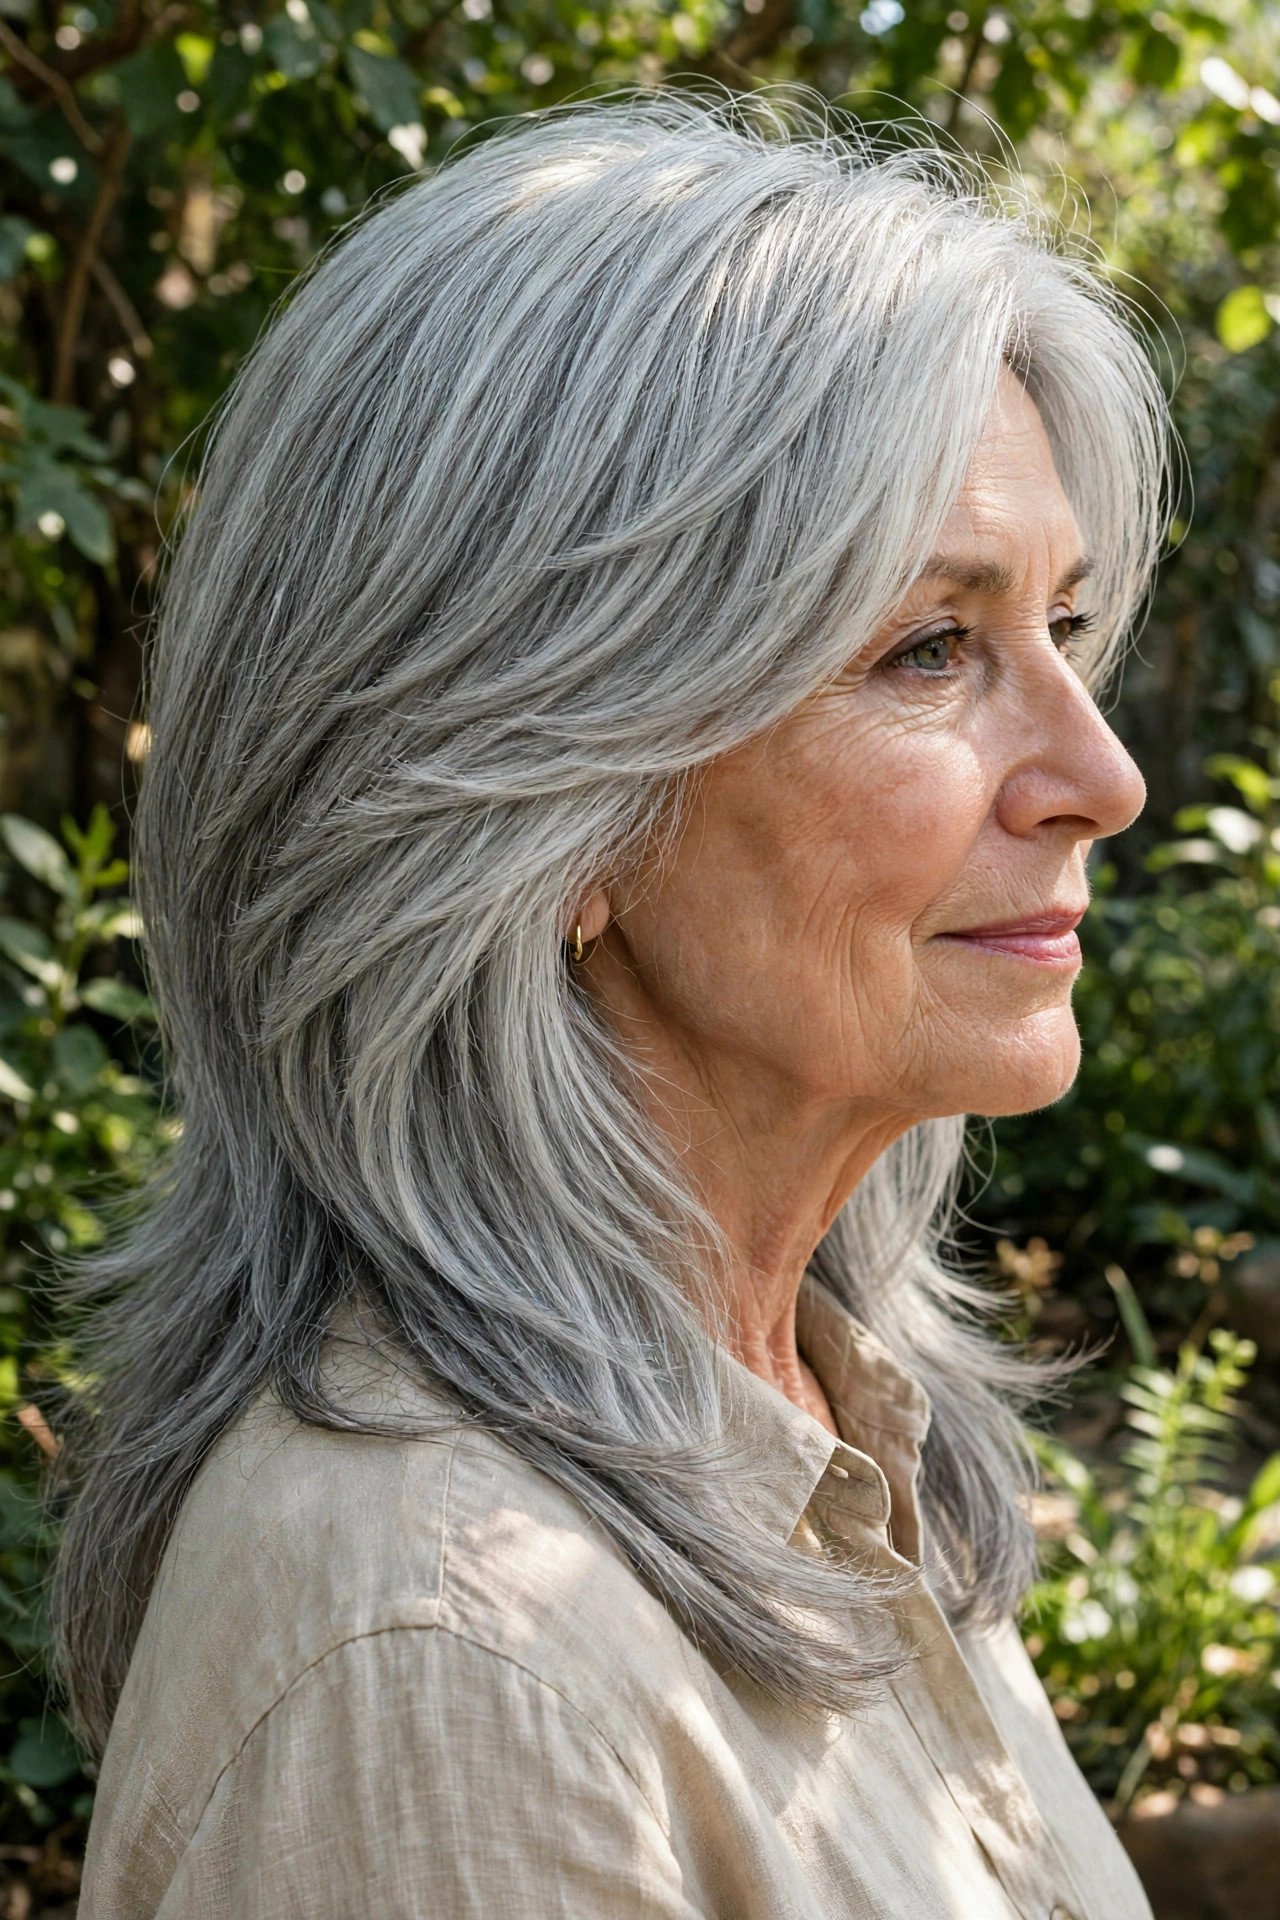
Thick long hair has one main complaint. By midday it feels like wearing a warm blanket you cannot take off.
Weight-removing layers are cut through the mid-lengths and underneath, where the bulk hides. The surface stays smooth, so the cut never looks choppy, but the whole head of hair sits closer, dries faster and moves instead of swinging in one heavy sheet. Ask your stylist to show you the removed hair at the end of the appointment. On thick hair, the pile on the floor is often the best proof that the cut did its job.
Work a smoothing cream through the mid-lengths only, keeping it away from the roots.
Dry in sections, since thick layered hair holds water deep inside the lengths.
Finish by running your palms down the surface to settle the top layer flat.
11. Silver Layers Worn Long and Proud
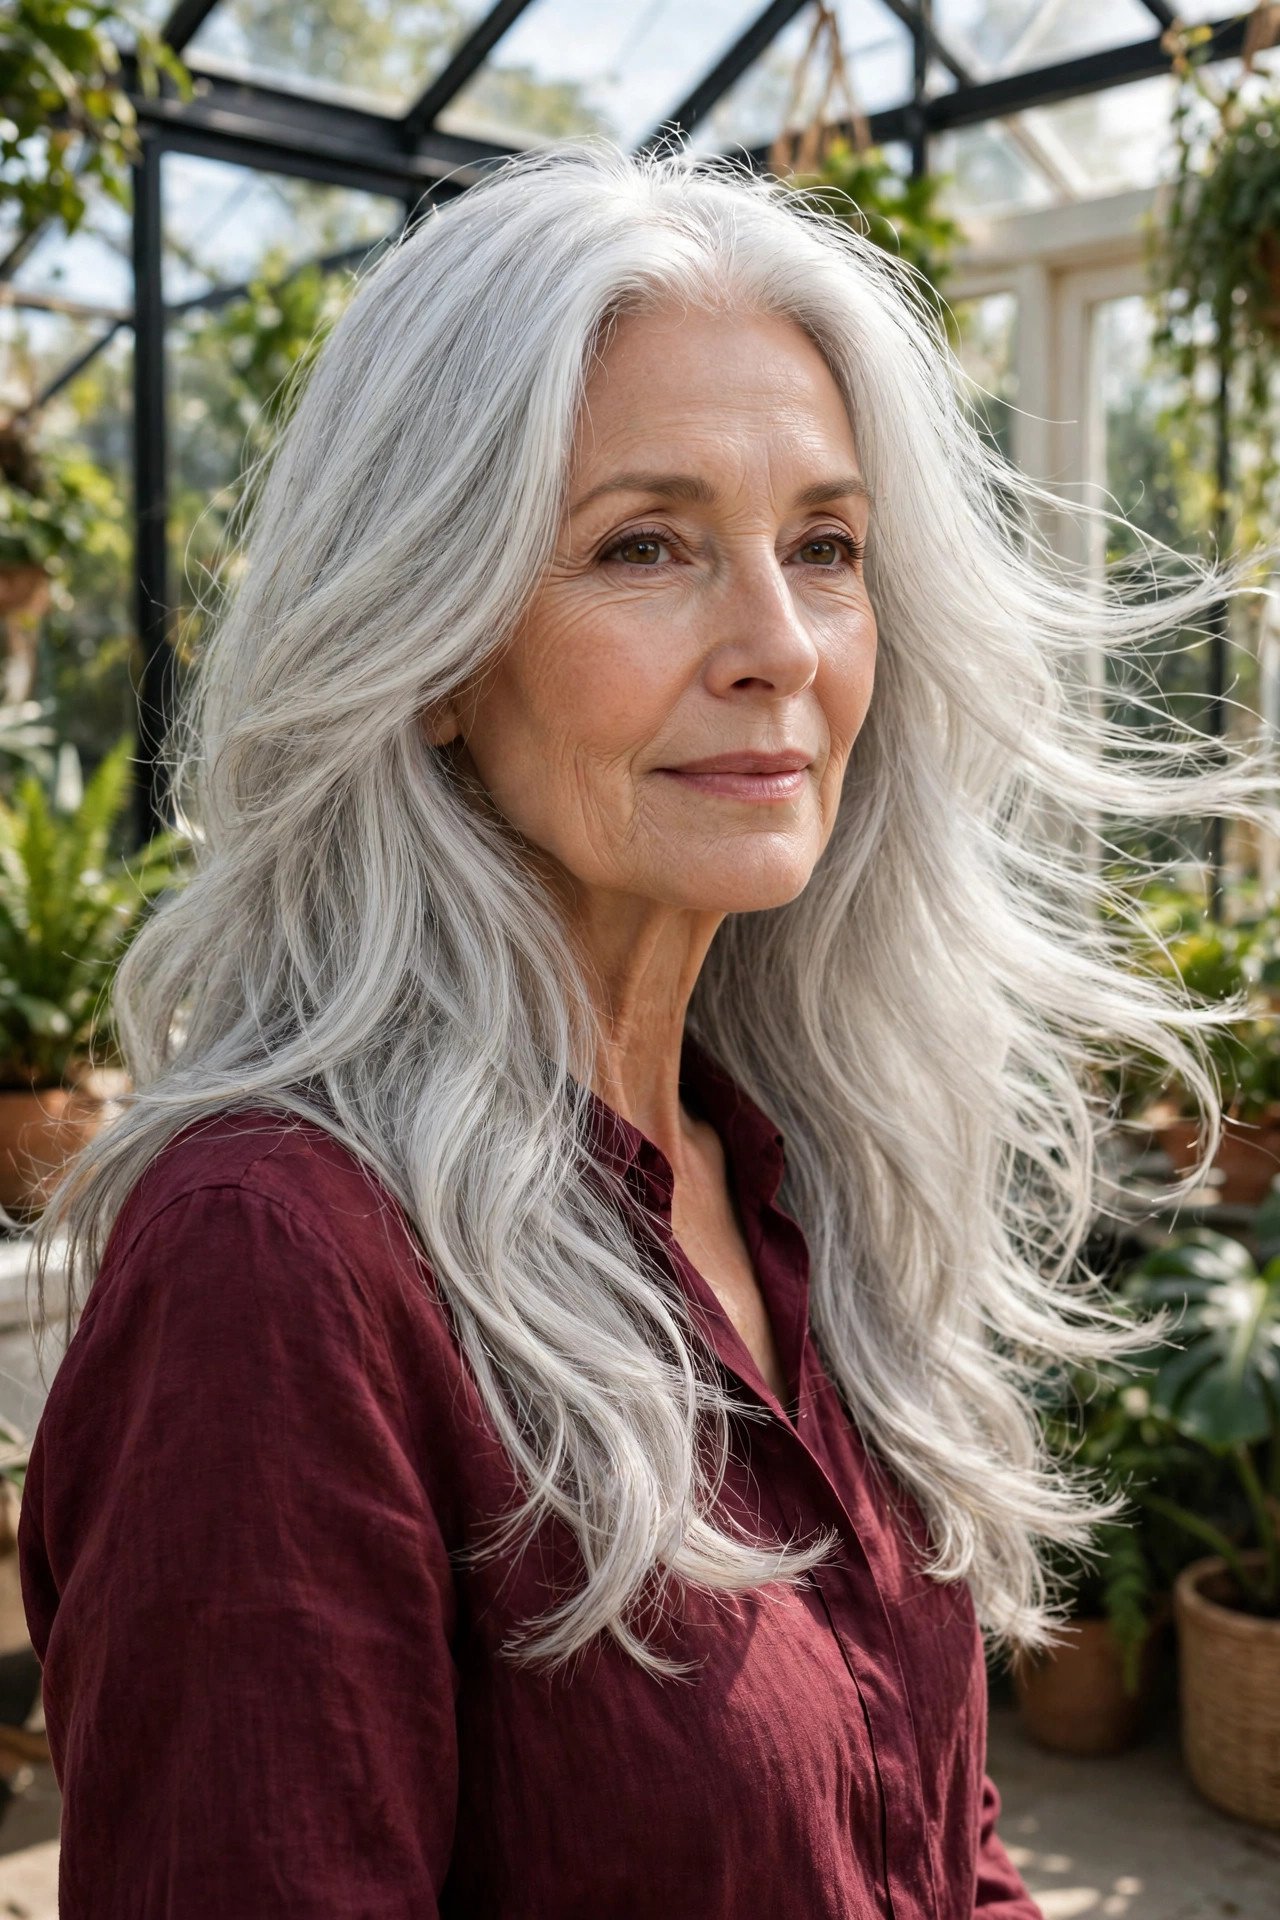
Nothing in the rule book says silver hair has to be short, and long silver layers make that point beautifully.
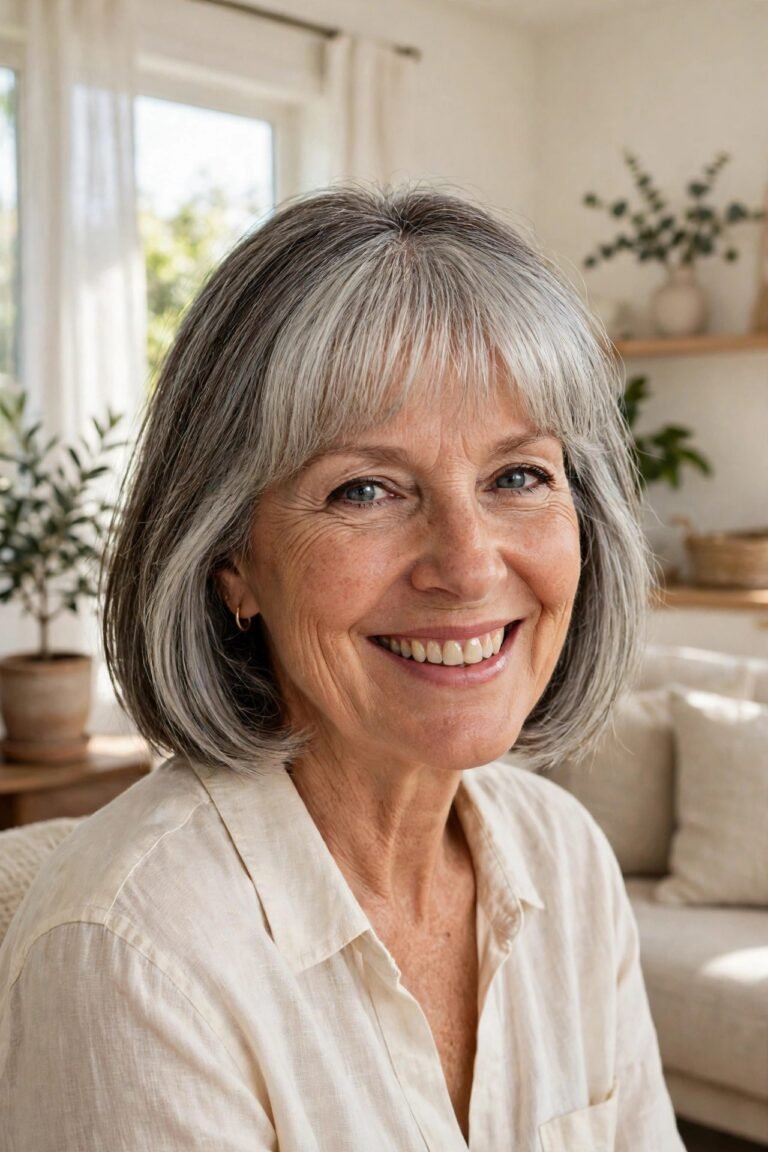
Grey hair has a different texture, often coarser and drier than pigmented hair, and layers help it behave. They remove the stiff, wiry ends, let light travel through the lengths, and stop the colour from reading as one flat sheet. Worn past the shoulders with a clean side or middle part, silver layers look deliberate and striking. Keep up the moisture, since dry silver ends can turn frizzy faster than the rest, and a small amount of oil on the ends keeps the shine.
Silver hair past the shoulders reads as a choice, not an oversight. Clean layers and healthy ends are what make the choice look good.
12. Choppy Layers for a Modern Edge
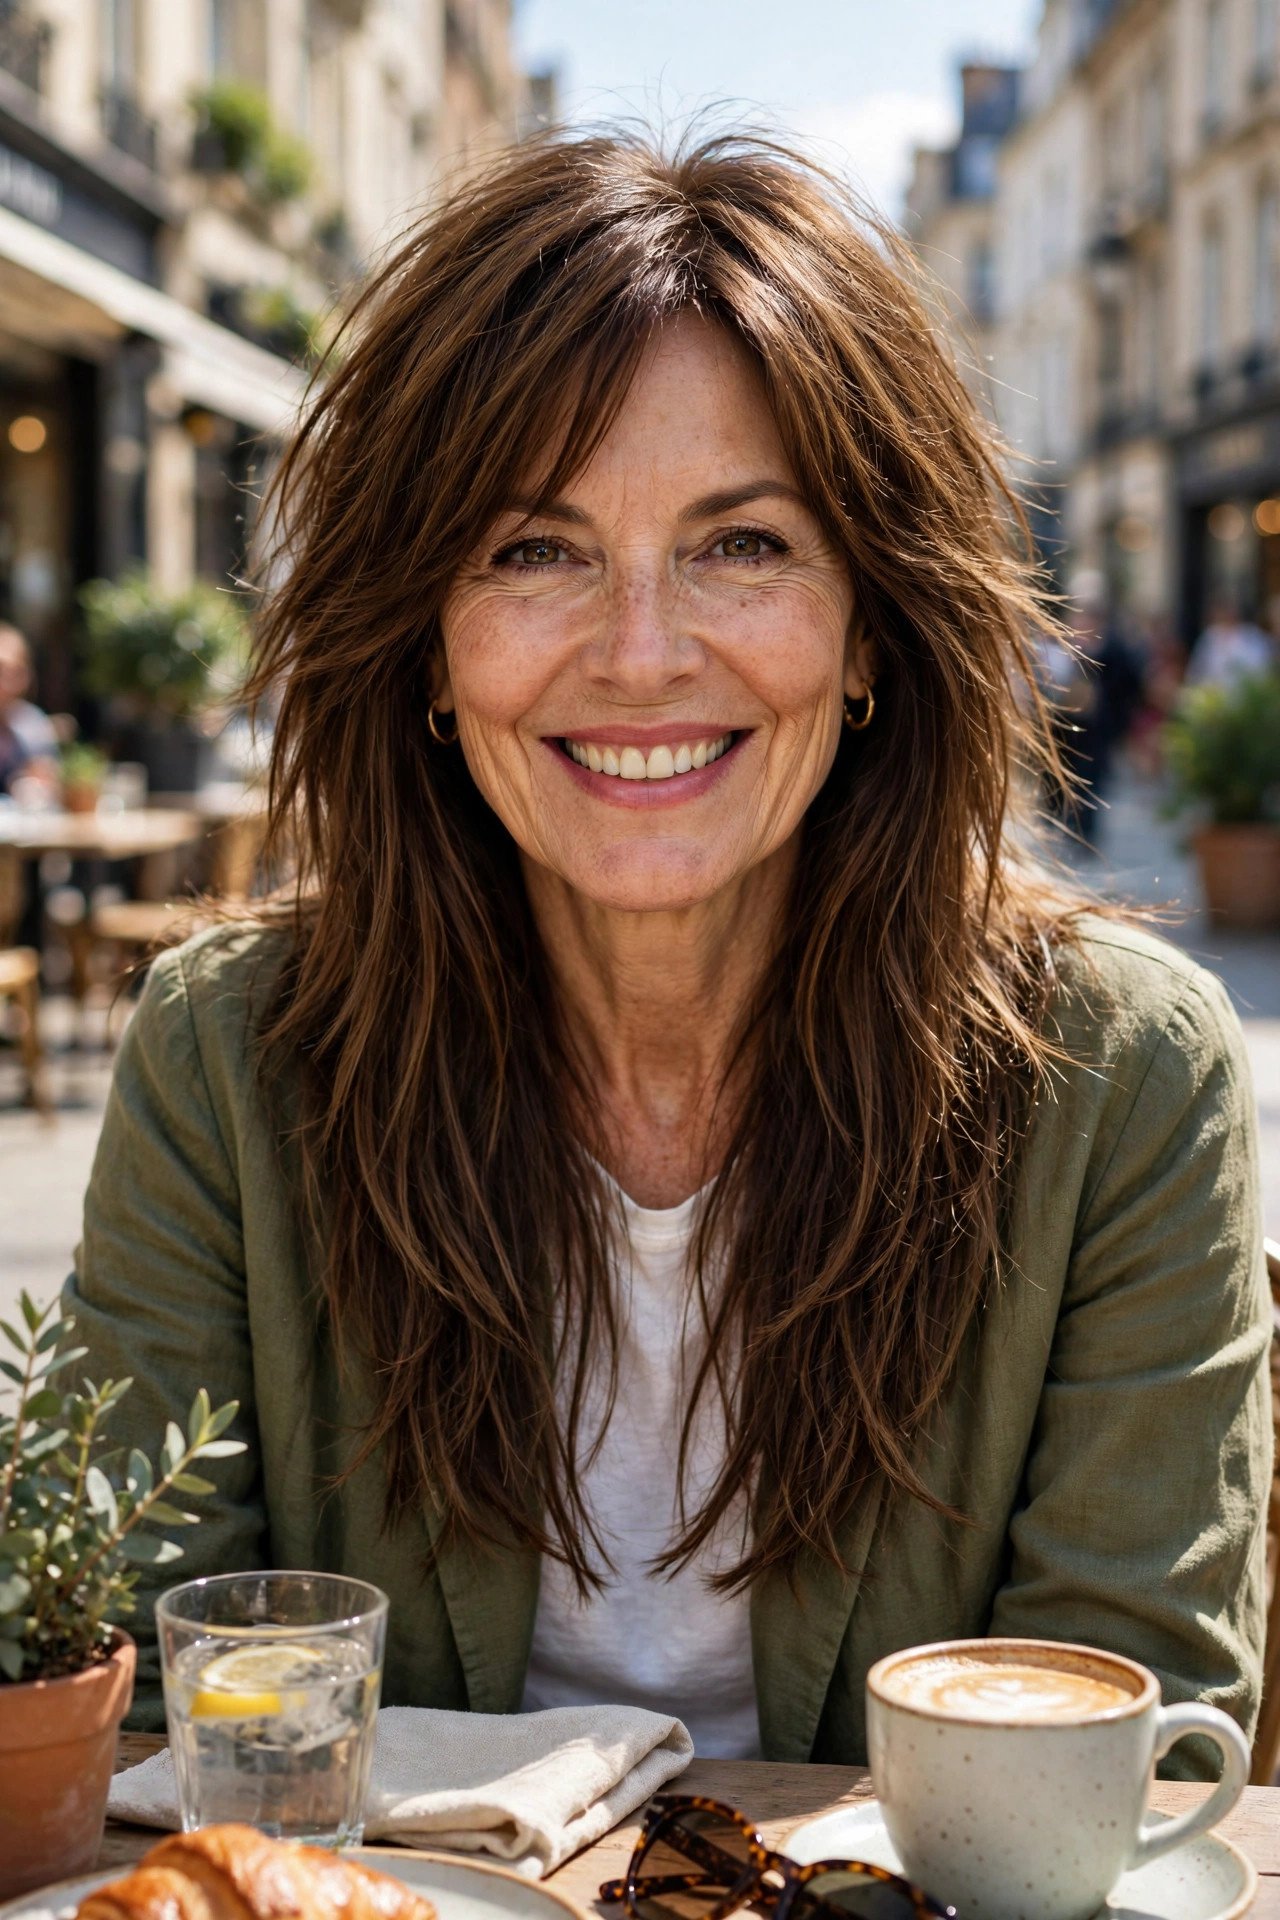
Ask for texture, not steps. That one word changes the whole cut.
Choppy layers are cut with point cutting and lightly razored ends, so each layer lands at a slightly uneven length. The finish is piecey and modern rather than soft and blended, and it gives long hair an edge that still works with a classic wardrobe. Styling stays simple. Work a small amount of texture product through the ends with your fingers and pinch a few pieces into place. The cut is meant to look a little undone, so stop fussing once the pieces sit right and walk away from the mirror.
Your styling kit
13. A Deep Side Part With Sweeping Layers
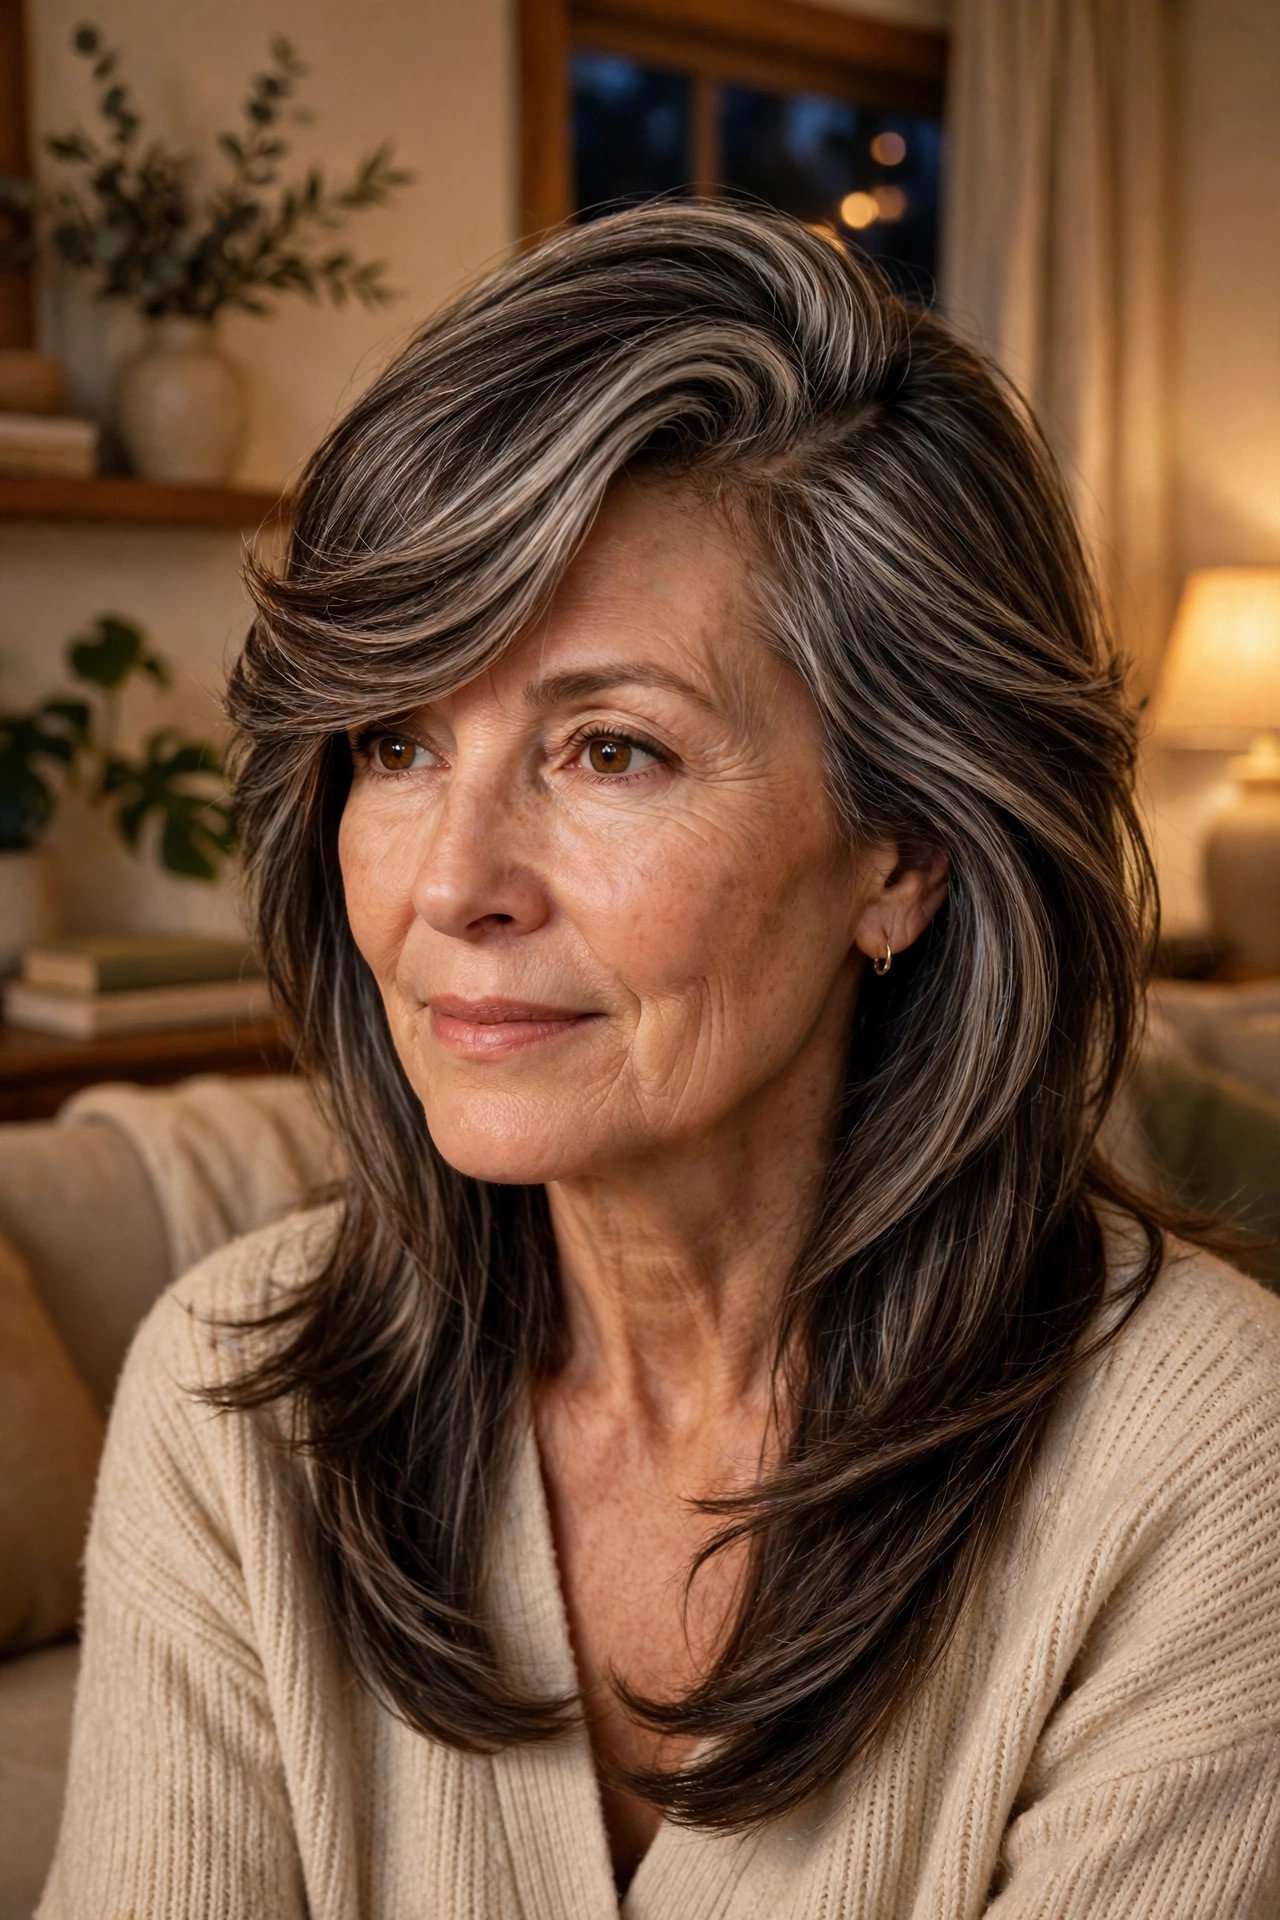
Move your part two inches to the side and the whole cut changes. That is the rule, and it costs nothing.
A deep side part throws the front layers across the forehead in one long sweep, which lifts the roots on the heavy side and gives instant shape to hair that normally dries flat. It flatters almost every face, softens a strong jaw, and makes fine hair look thicker at the front, where people notice most. Flip the part to the other side on day two and the roots stand up again, a small refresh between washes that takes ten seconds.
14. Butterfly Layers: Short in Front, Long in Back
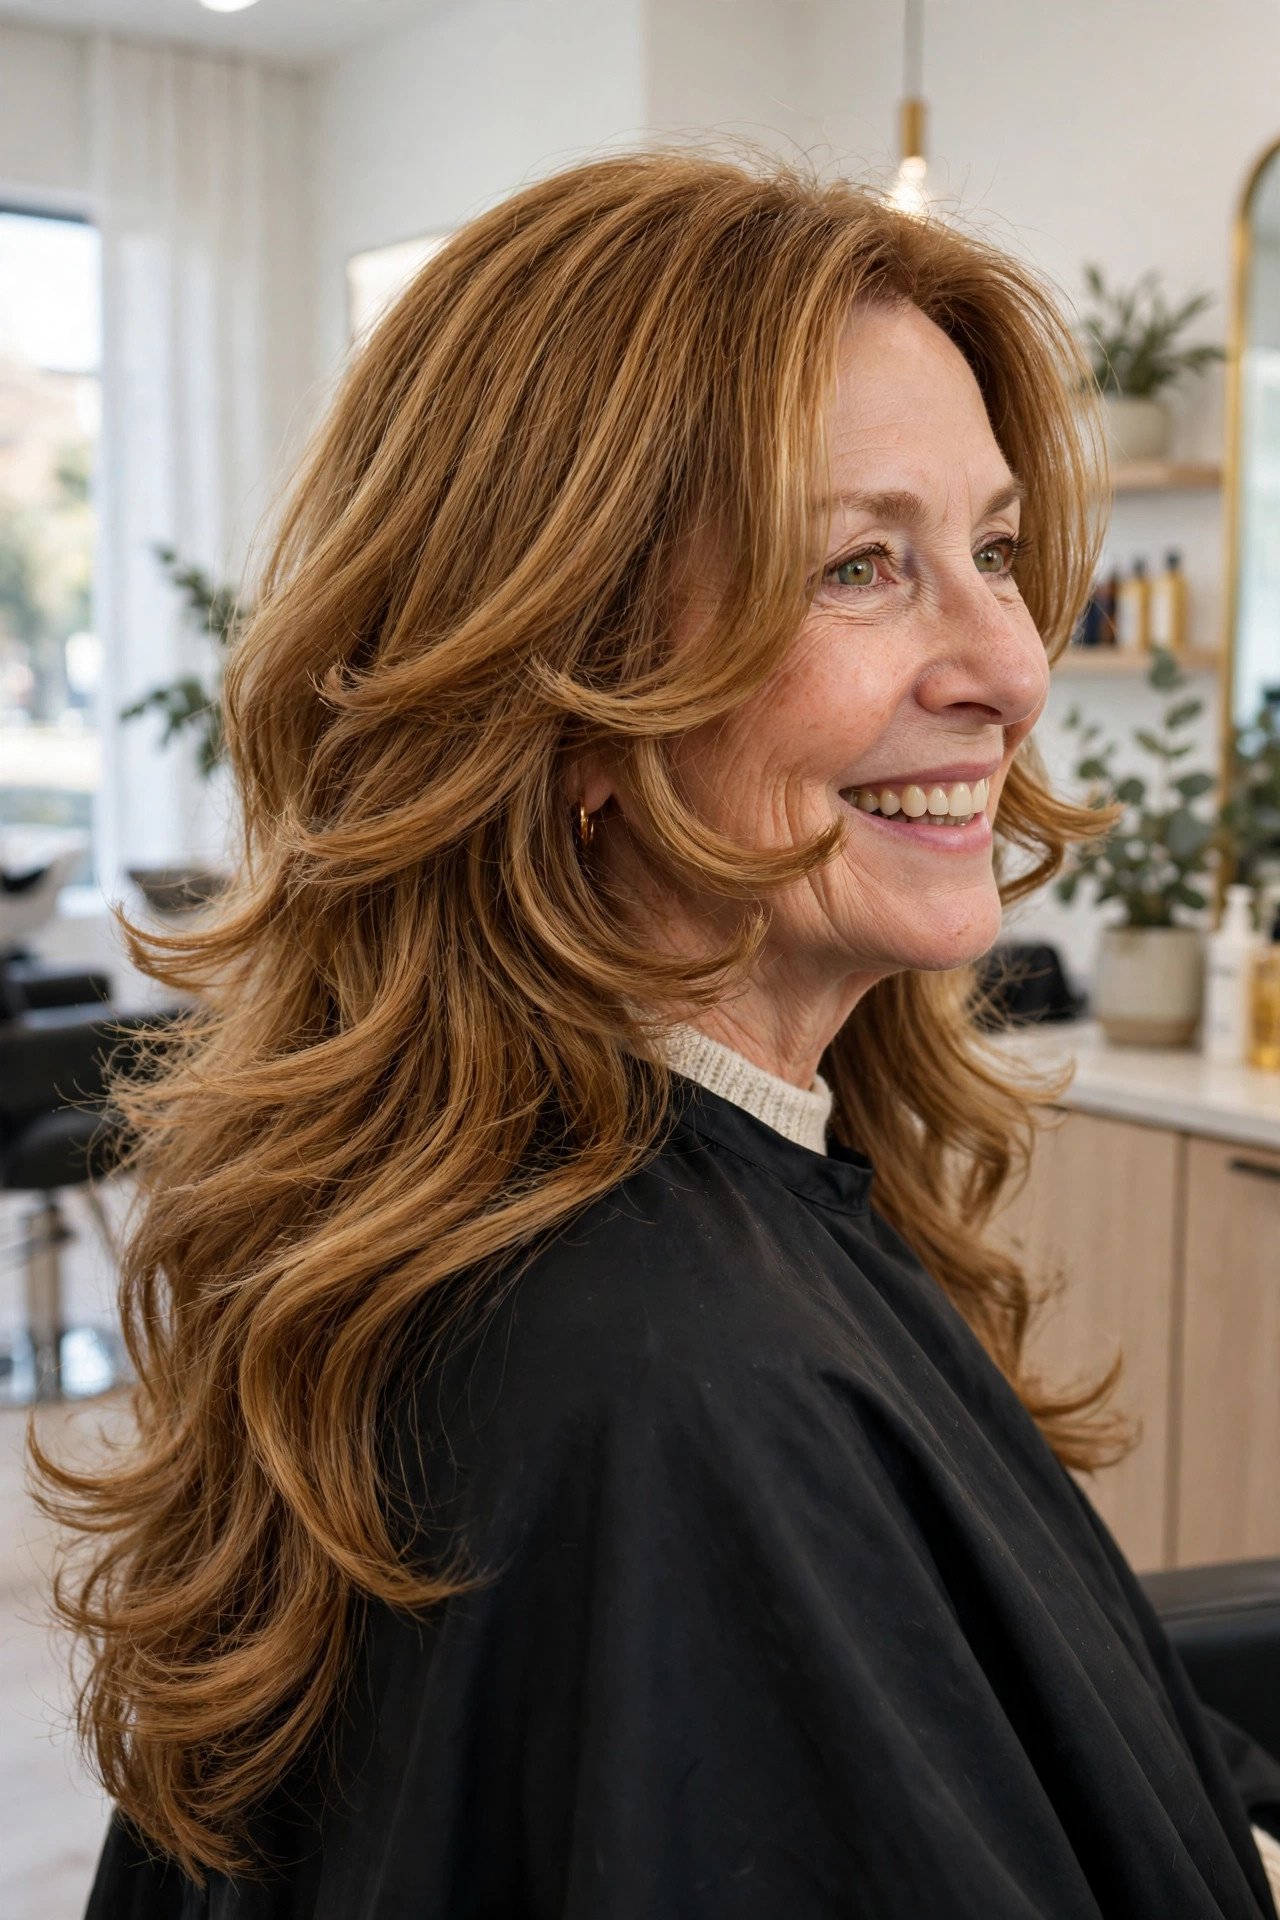
From the front, it looks like a bouncy medium cut. From the back, the length is all still there.
Butterfly layers pair short, wing-like pieces around the face with long layers through the back. The front pieces curve outward at the cheekbones and jaw, which gives the bounce and shape of a shorter style, while the back keeps the long silhouette you are not ready to give up. It is a smart middle path for women thinking about going shorter one day. Live with the short front for a few months first, then decide about the back with real information instead of a guess.
💡 Quick Tip
The front wings need a round brush and about two minutes. Dry them rolling away from the face, and the butterfly shape appears almost on its own.
15. Long Curly Layers That Keep Their Shape
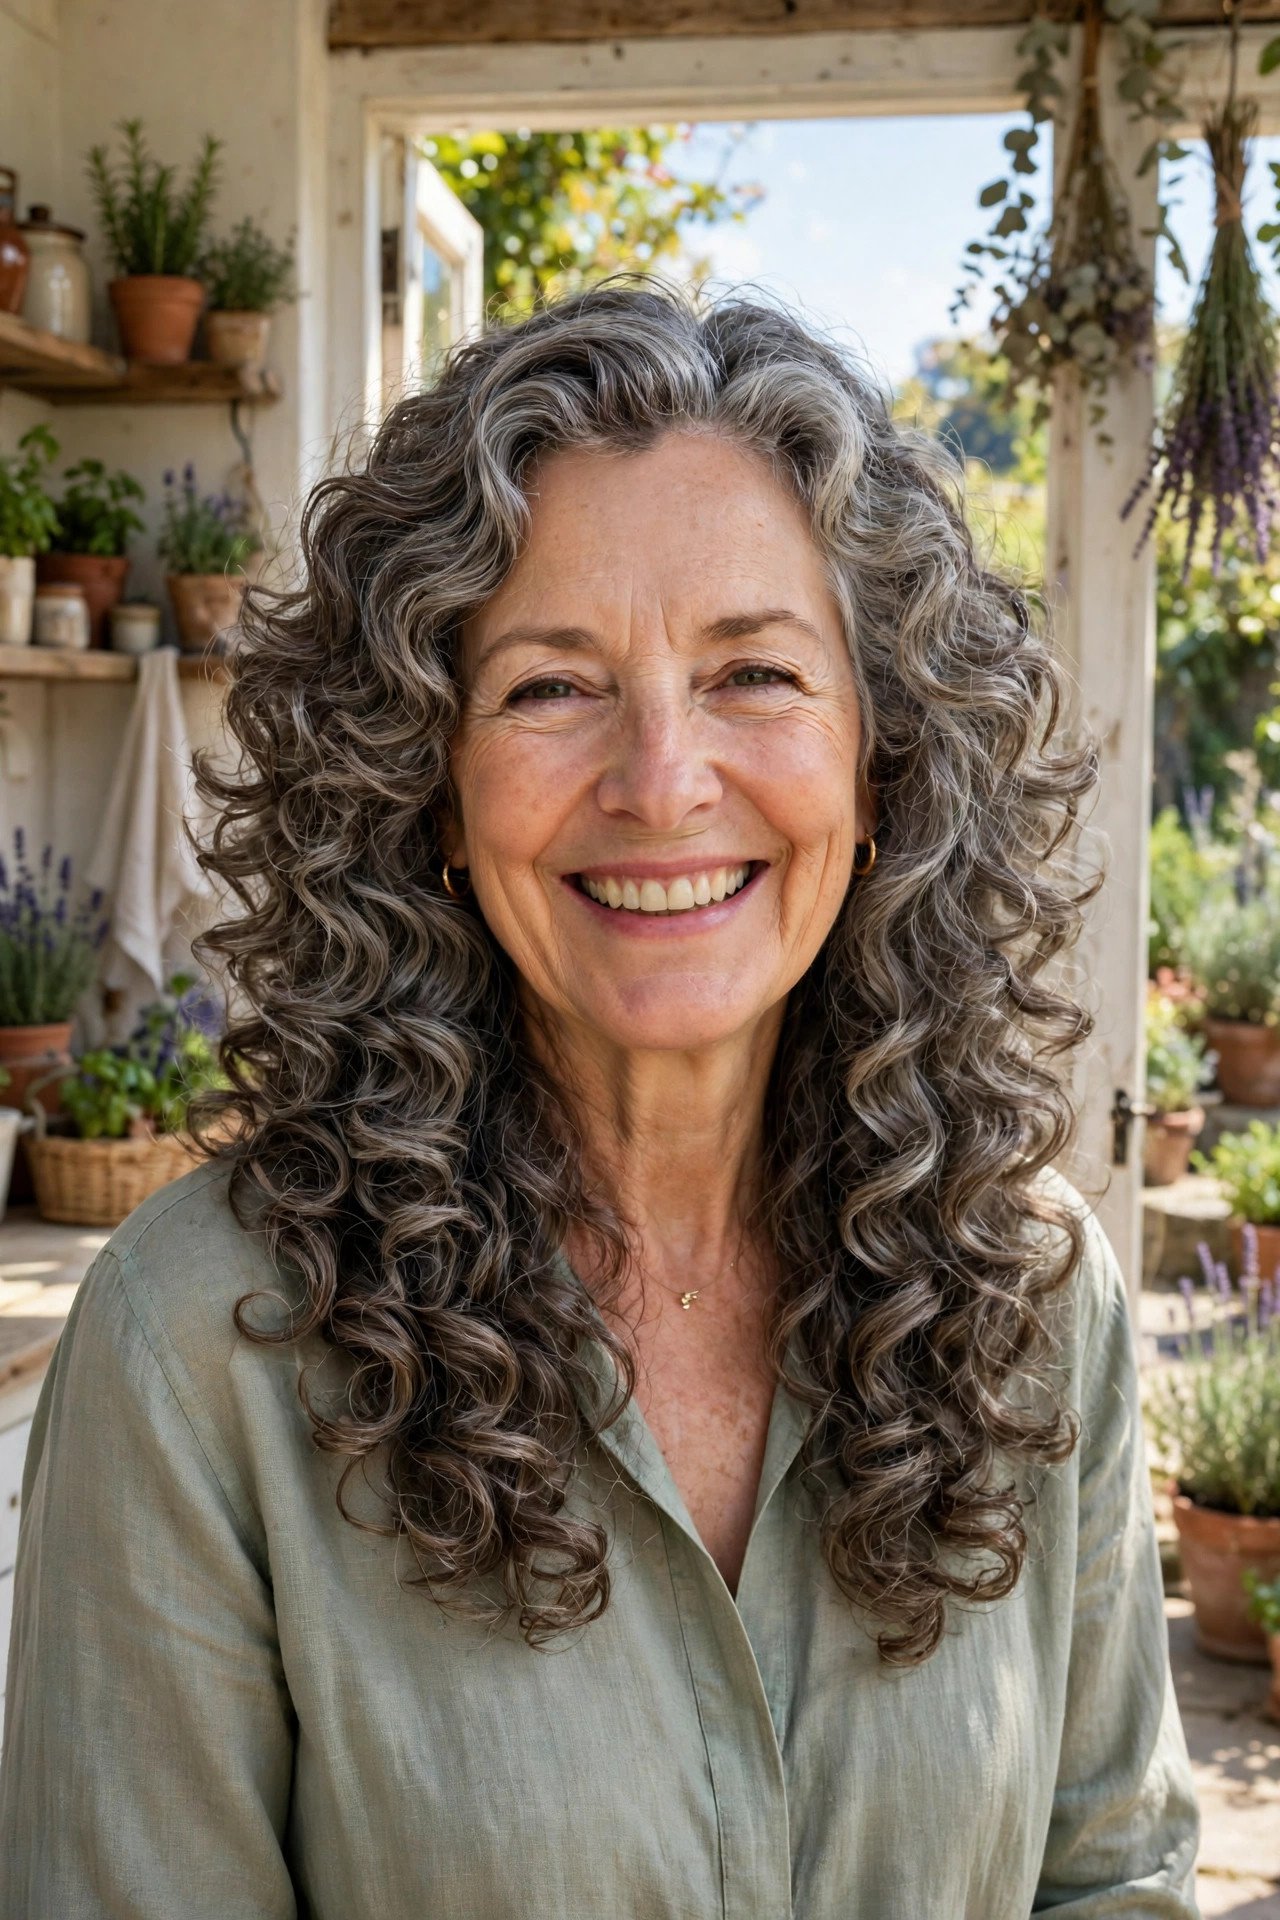
Curly hair in one length spreads sideways at the bottom and sits flat on top, the classic triangle.
Layers fix the geometry. Cut dry, curl by curl, they stack the curls in rounded tiers so the shape stays closer at the sides and fuller through the middle. Each curl gets its own space, which means better definition and less of the frizzy halo that comes from curls fighting for room. Curly layers should always be cut by someone who works with curls often. A wet cut that ignores shrinkage can leave you shorter than you planned, and curls take a long time to forgive that.
Book a stylist who cuts curls dry, curl by curl.
Bring photos of your own hair on a good curl day.
Straightening your hair before the cut to make it easier.
Short layers at the crown, which puff up fast and wide.
16. Sleek Straight Layers With a Smooth Finish
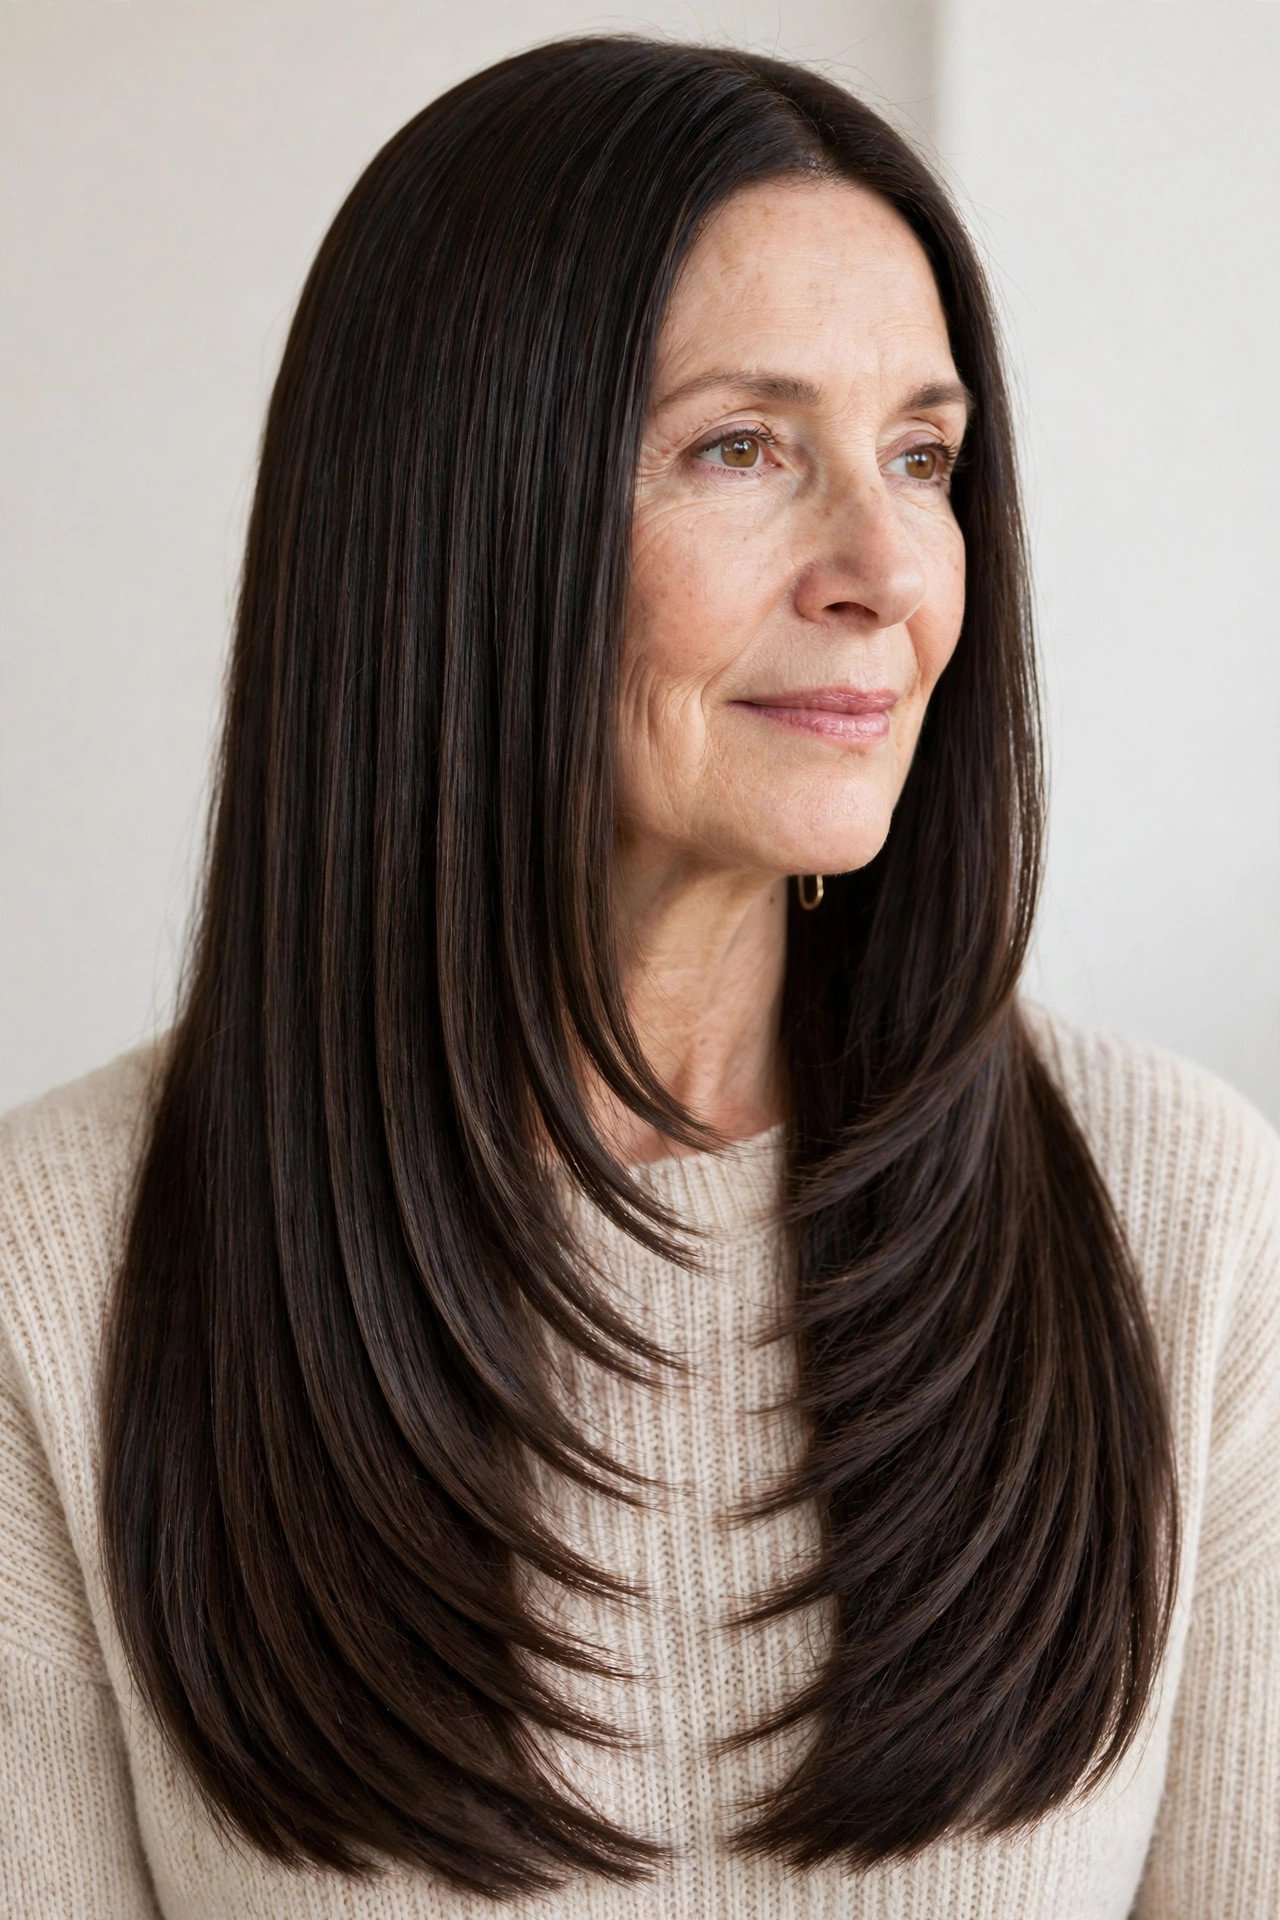
Straight hair shows every cutting line, which is exactly why layers suit it so well.
One-length straight hair can look like a curtain, smooth but static. Long layers slide over each other when you turn your head, so the surface catches light in bands instead of one flat shine. The layers must be blended with care, since any shelf or step shows at once on straight hair. Ask for soft blending, and check the back in a second mirror before you leave the salon. A light serum through the ends keeps the lines glossy rather than fluffy.
- ▸Blow dry downward, following the hair, to keep the surface smooth.
- ▸A paddle brush keeps long straight layers sleek without adding bends.
- ▸Trim small amounts regularly, since split ends show fast on straight hair.
17. Layers That Still Tie Back in a Low Ponytail
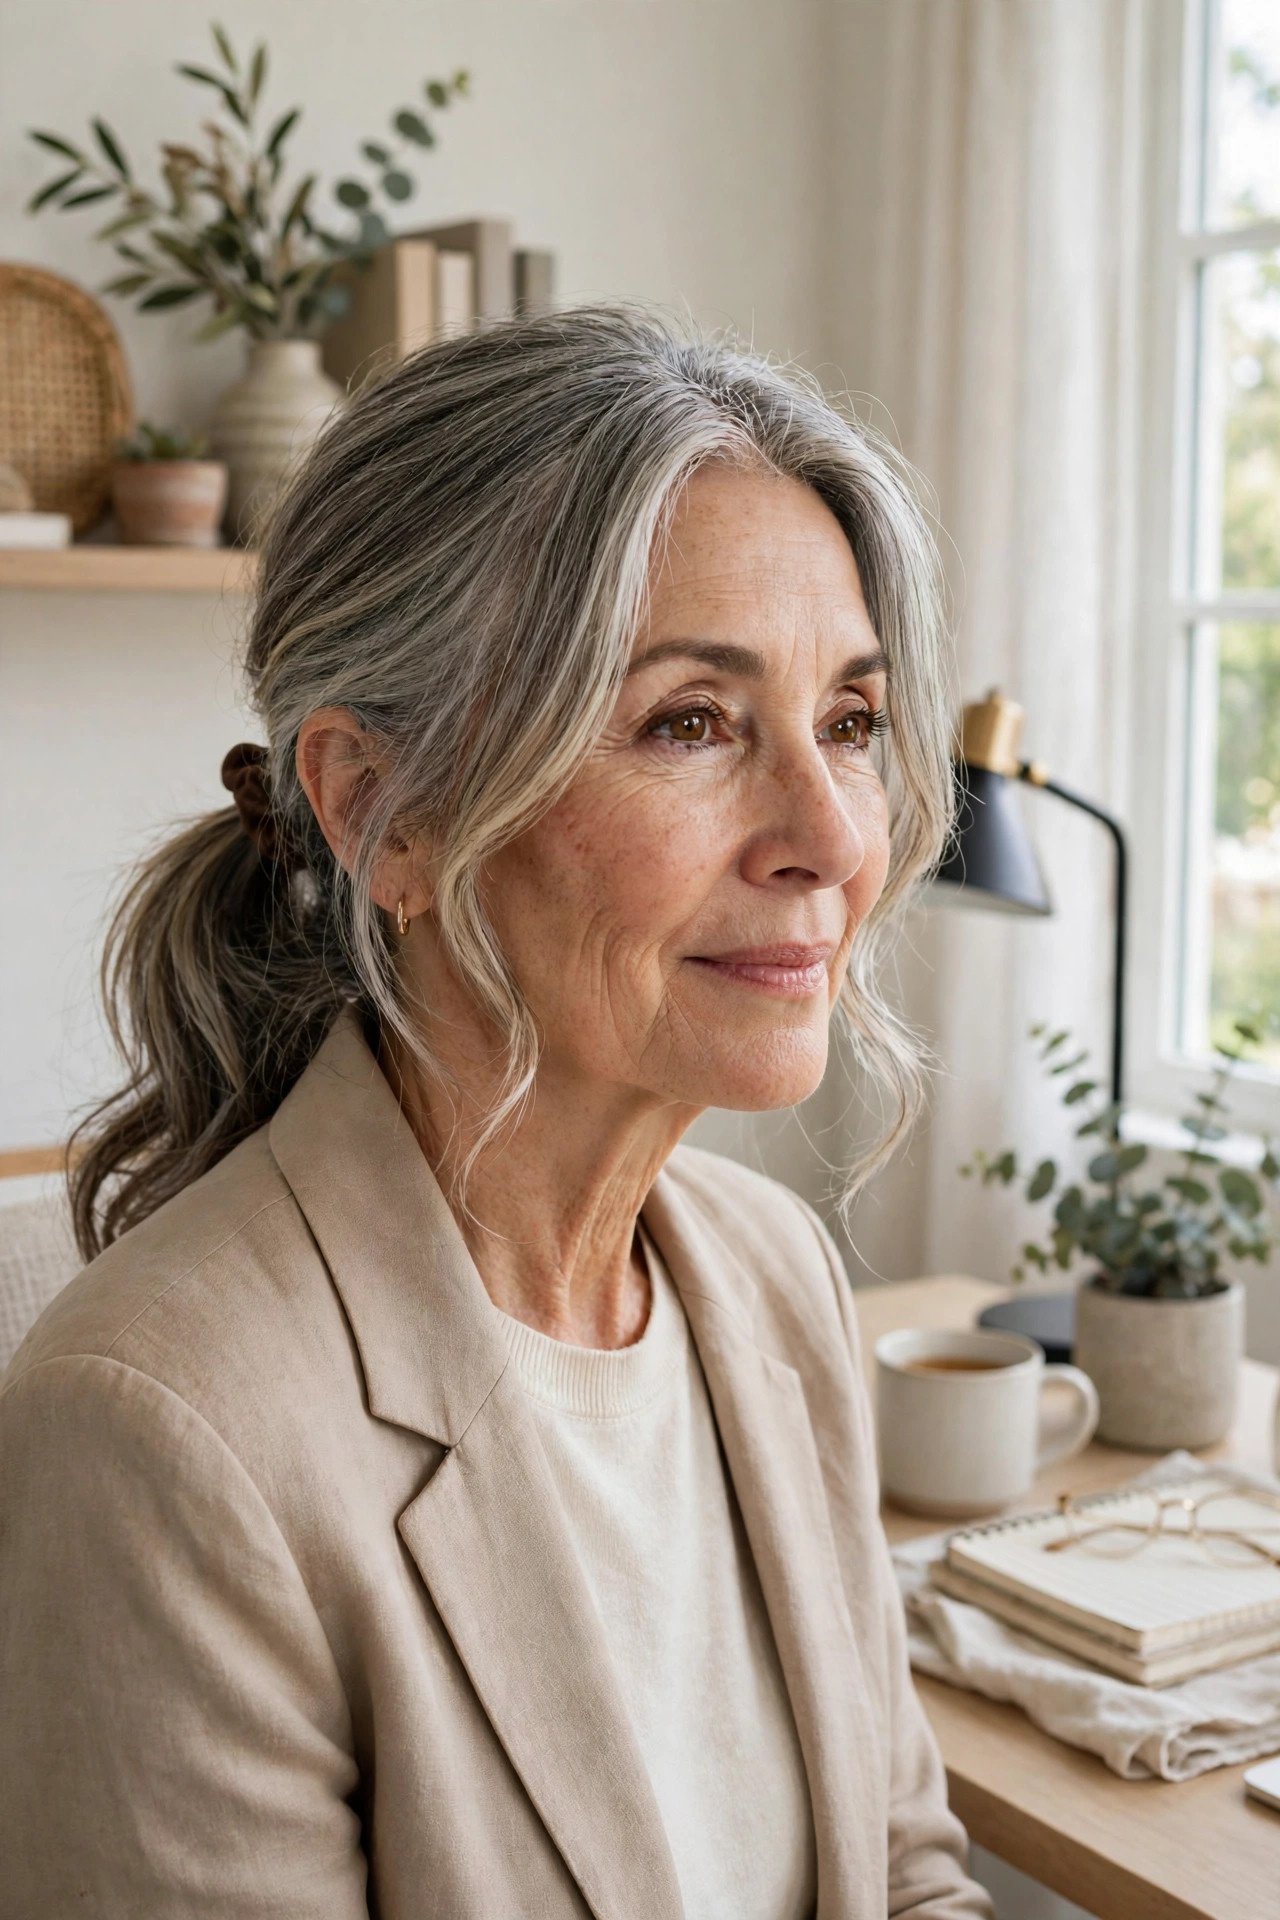
Saturday morning, hair up for the garden, and two soft pieces fall loose at the front. With this cut, that is not a styling failure. It is the design.
If you tie your hair back most days, tell your stylist before the cut begins. Layers can be planned around a low ponytail, with the front pieces cut to frame the face while loose and the back layers left long enough to stay inside the band. You keep the practical side of tied-back hair without the scraped-back severity a one-length cut gives, and the loose front pieces soften everything, including a bare forehead.
18. Shoulder-Grazing Layers, the Gentle First Step
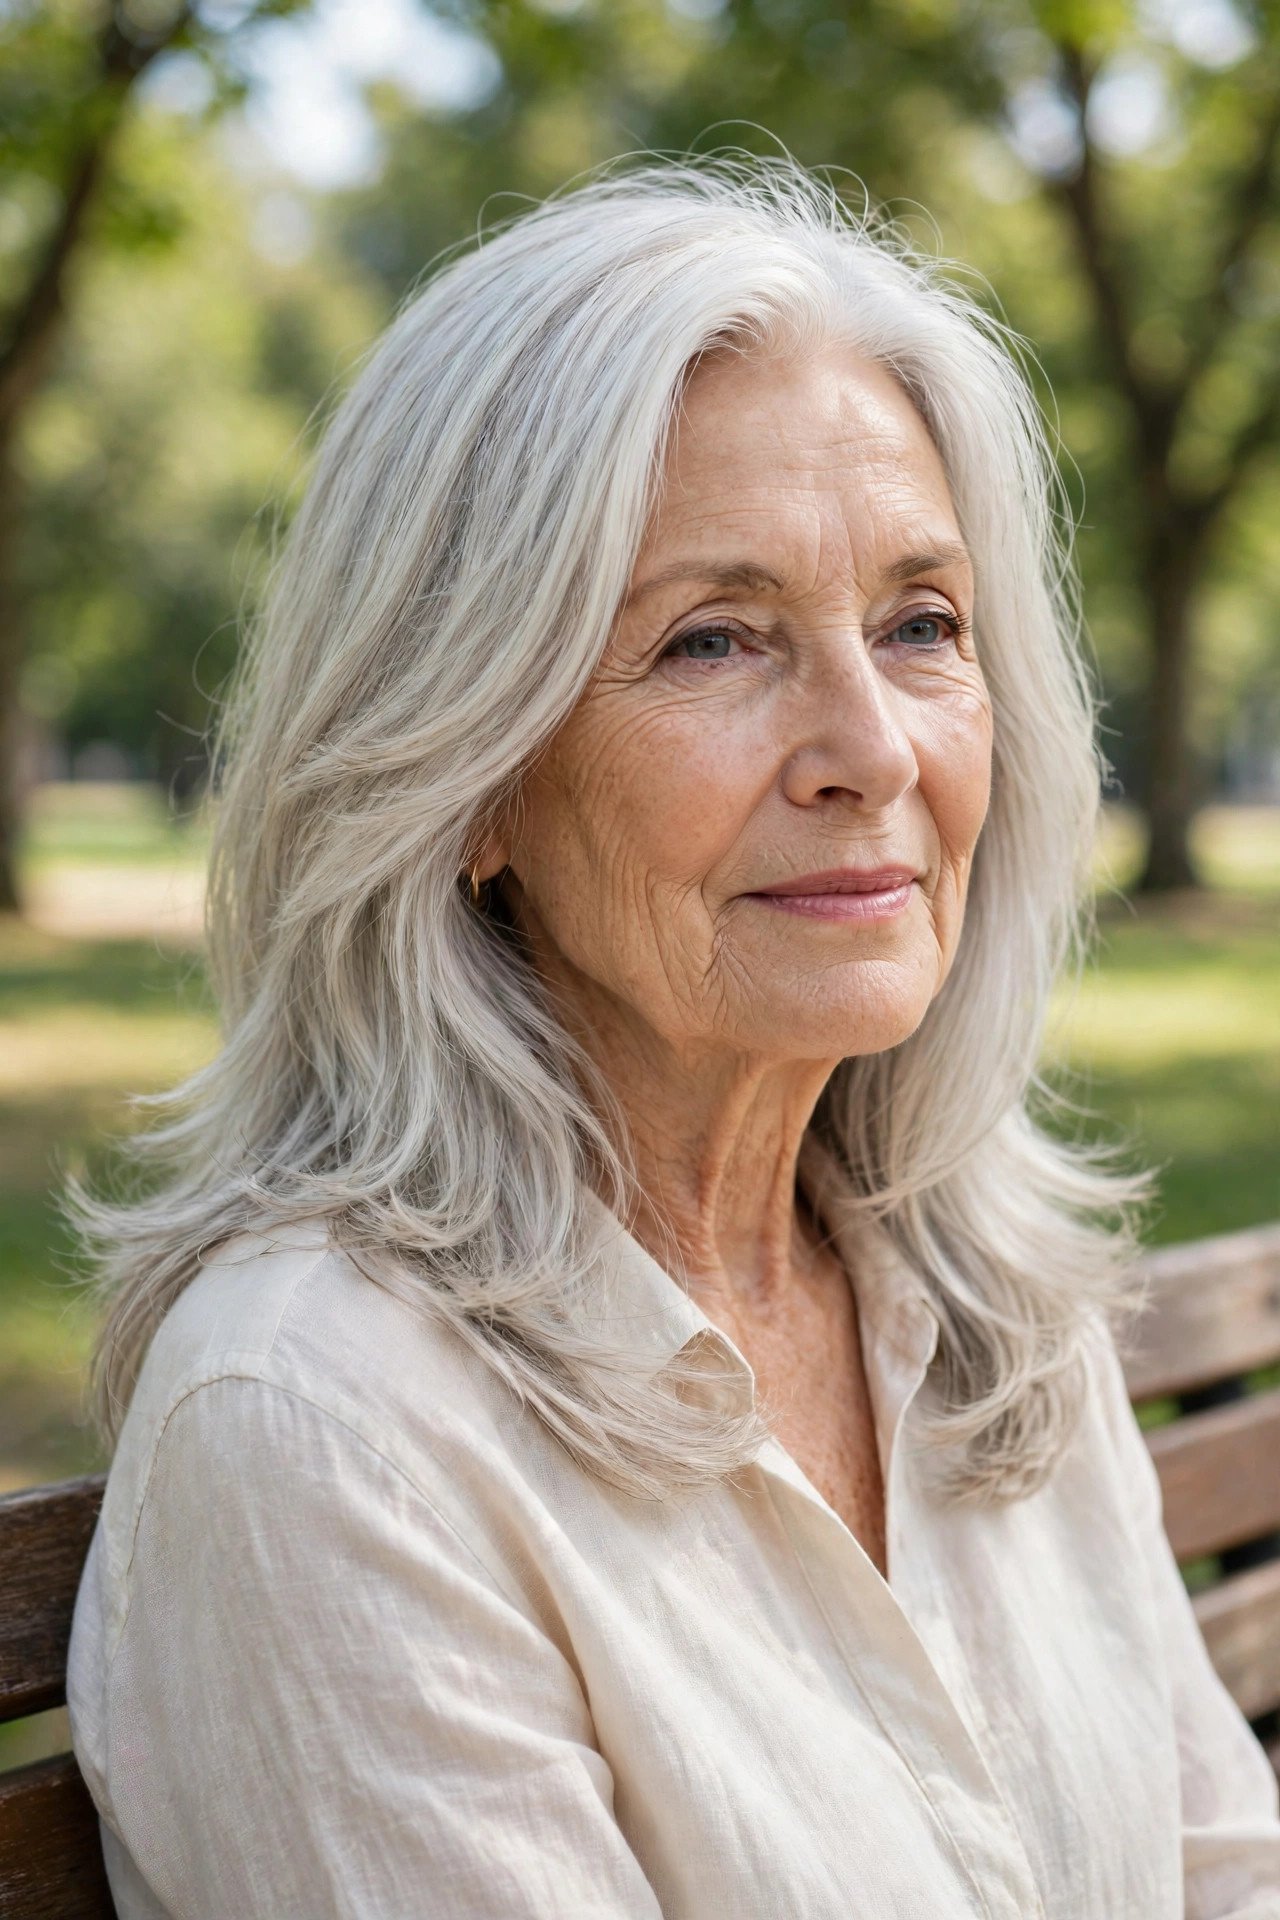
Plenty of women over fifty land here first, somewhere between the bob they are tired of and the long hair they are not sure they can still carry.
Shoulder-grazing layers are the gentle answer. The length just clears the shoulders, long enough to tie back and long enough to feel like long hair, while the layers keep it from sitting like a heavy curtain on the neck. It is also the kindest length for thinner ends, since wear and breakage get less room to show. Wear it for a season. If you love it, growing further from this length is easy.
Say the length first: just past the shoulders, and no shorter.
Ask for layers through the last few inches only, so the shape stays soft.
Check the front in the mirror while seated, since length reads differently standing up.
19. Layers With Soft Balayage Dimension
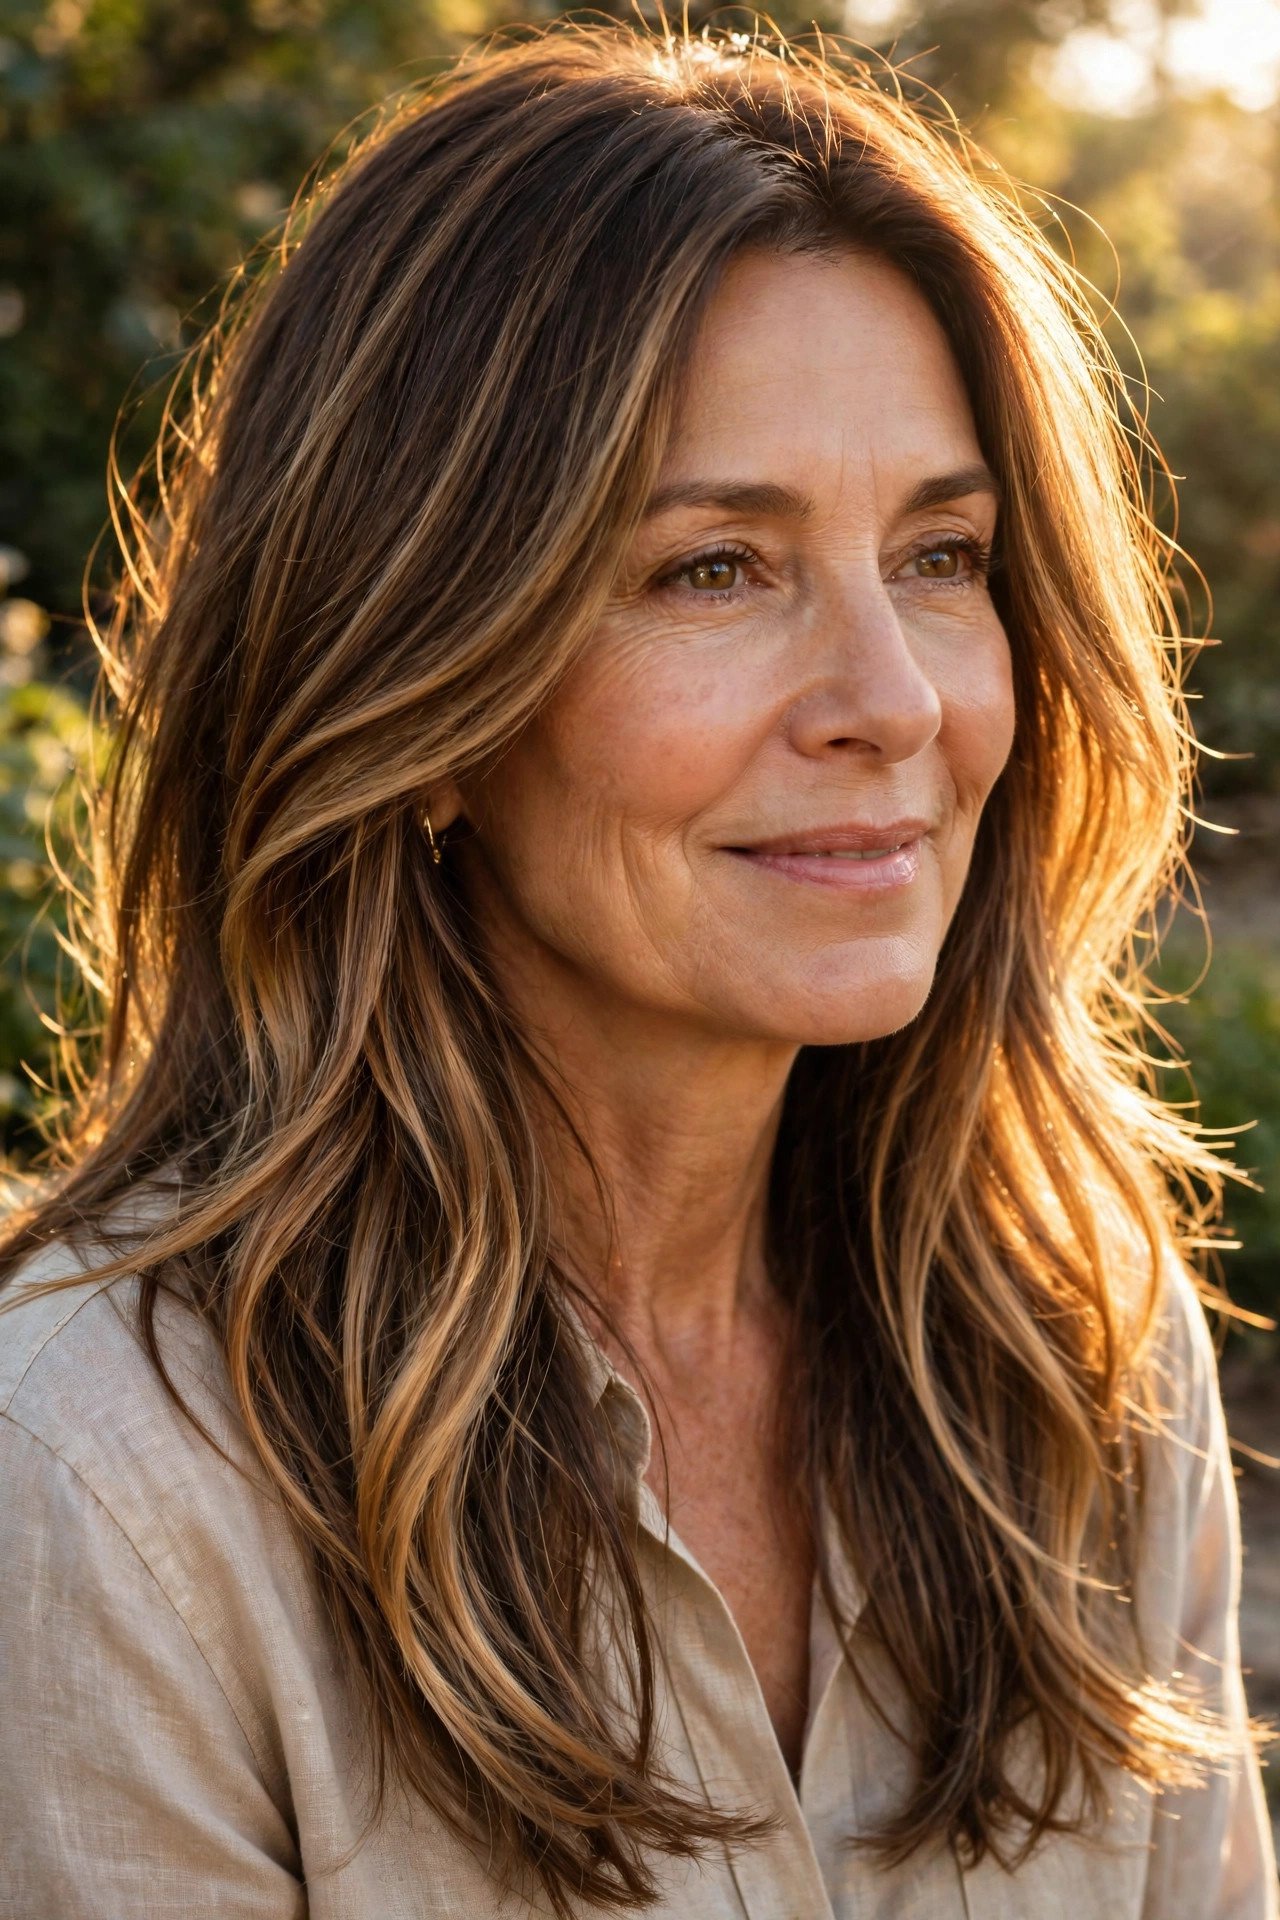
Layers you cannot see might as well not be there, and on dark one-colour hair, layers often disappear.
Balayage fixes that by painting lighter pieces exactly where the layers fall. The eye follows the light ribbons down the lengths, so every step and flick of the cut shows up. Keep the contrast gentle, one or two shades lighter than your base, and the result looks sunlit rather than striped. Because balayage grows out softly with no hard root line, it suits women who want colour without a strict salon schedule hanging over them.
One flat colour hides the layering, and the cut reads as a single dark sheet.
Soft lighter pieces trace each layer, so the movement shows even when the hair hangs still.
20. Long Layers for Round Faces
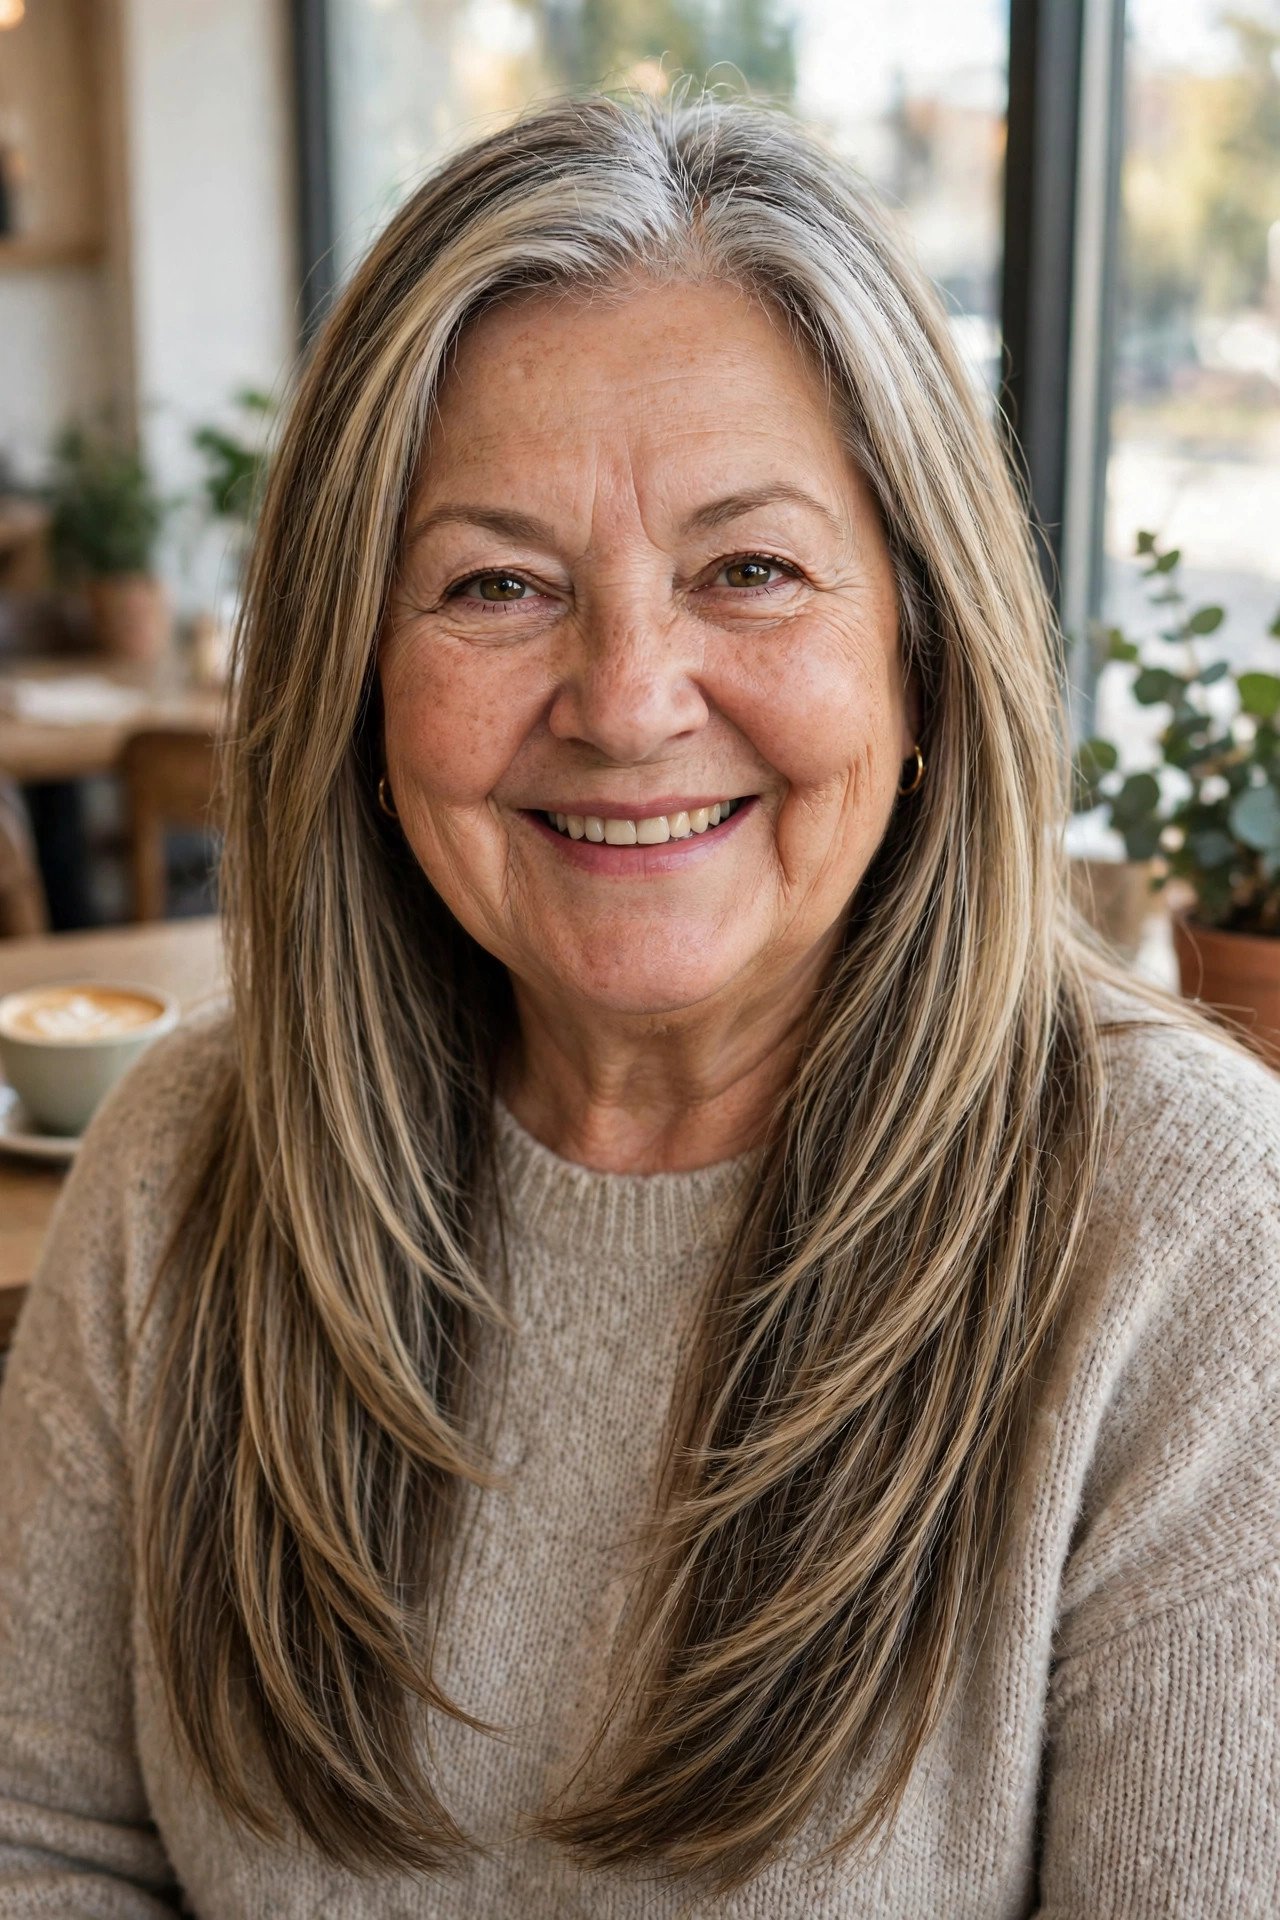
One rule does most of the work here. No layer should end at the widest part of your face.
Layers that stop at cheek height add width exactly where a round face already has it. Layers that start below the chin do the opposite. They draw two long vertical lines down the front, and the face reads longer and slimmer between them. Keep the front pieces smooth rather than curled outward, and part the hair slightly off center to break up the round outline. The length itself helps too, since long lines pull the eye downward every time.
⚠️ Watch Out
Cheek-height layers plus outward curl is the one combination that widens a round face. If your current cut does both, growing the front pieces past the chin changes the whole effect.
21. Beachy Textured Layers With Loose Waves
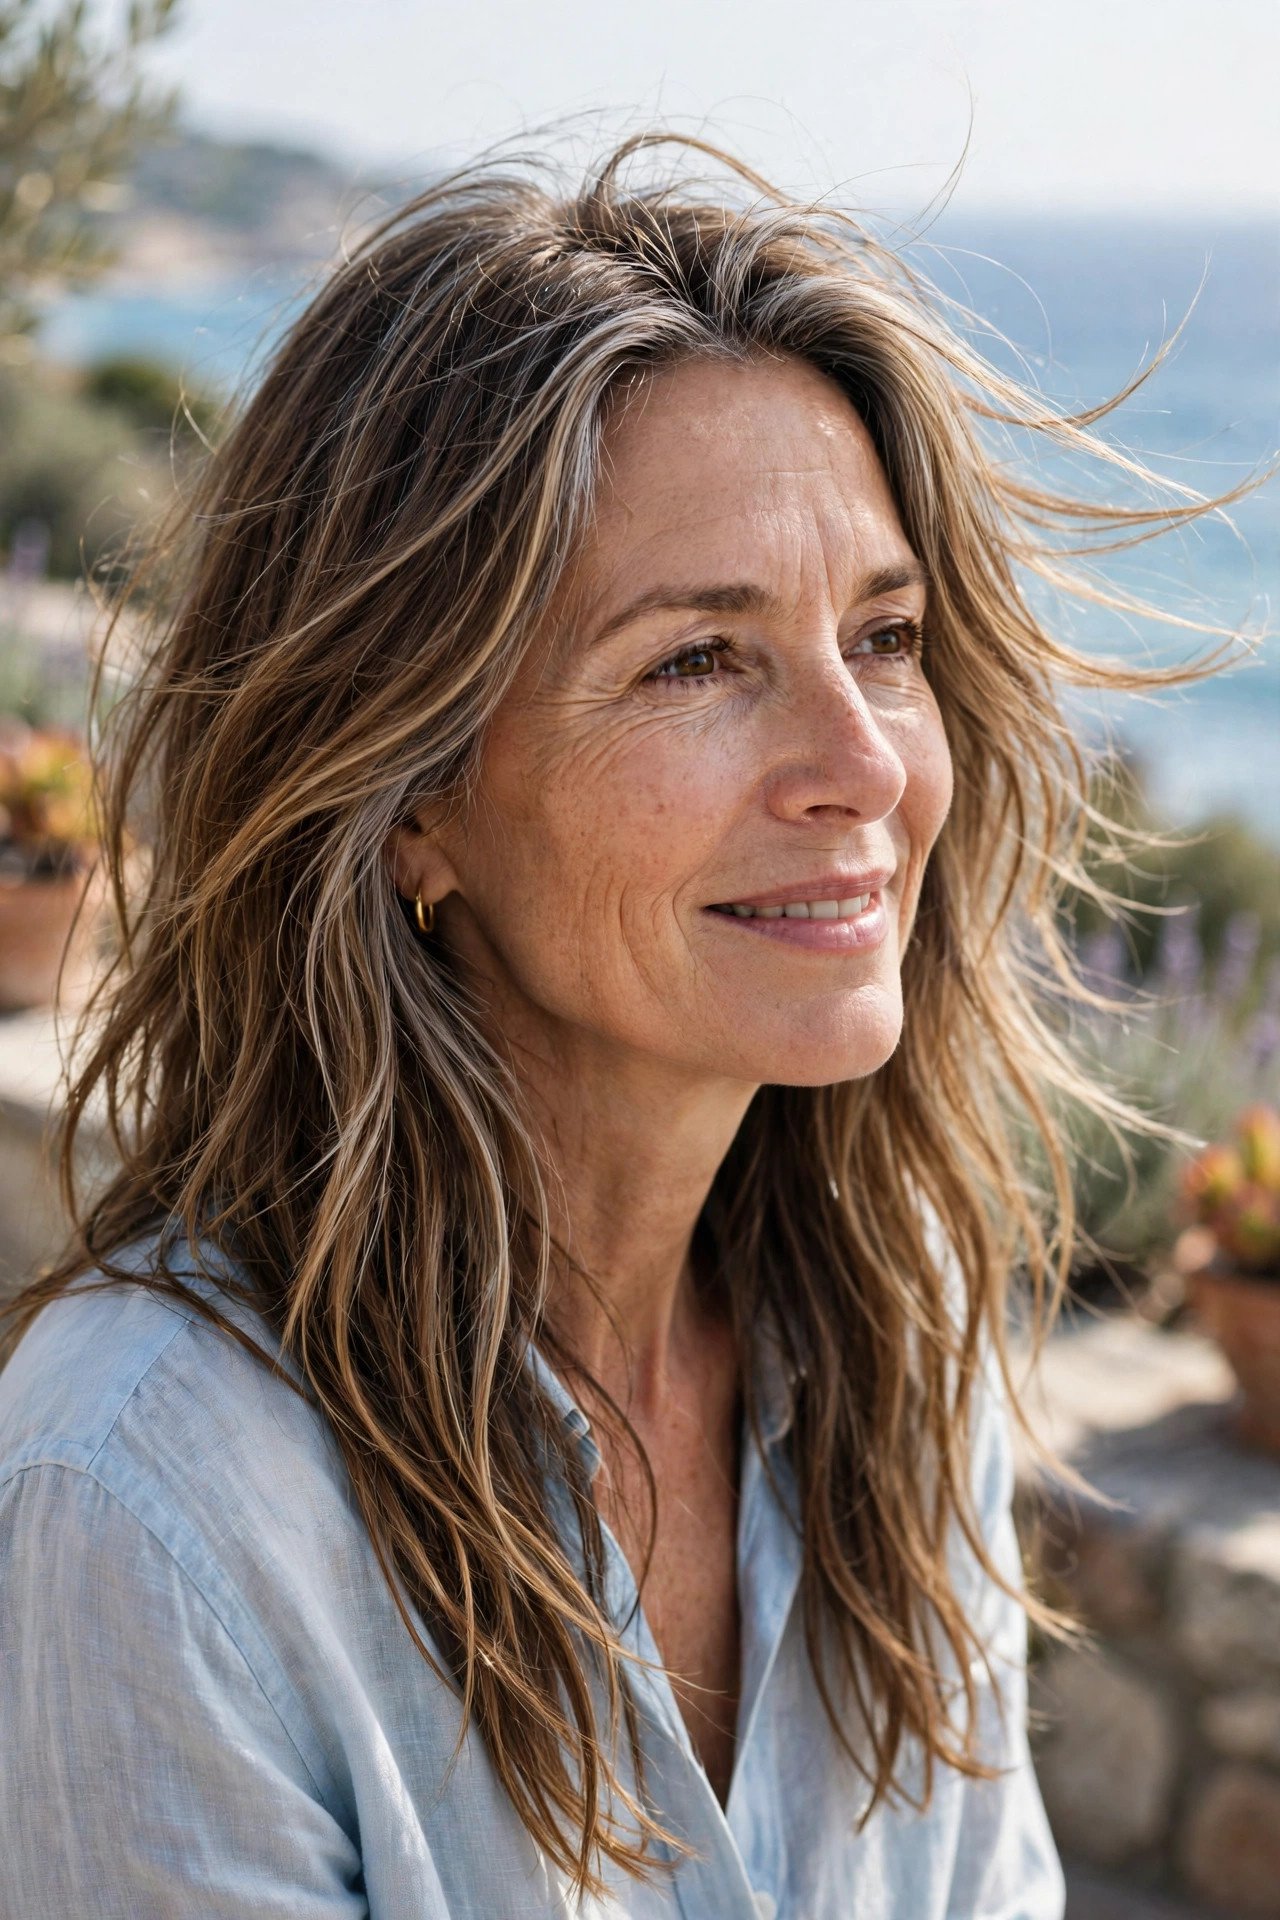
This is the cut for women who want their hair to look good on the days they do almost nothing to it.
Beachy layers are cut with plenty of texture through the ends, then styled in loose, undone waves that never match each other exactly. The irregular finish is forgiving. A section that dries straighter just reads as part of the pattern, and grey streaks blend in like natural lightening. Scrunch damp hair with a little sea salt spray, or air dry it after twisting a few sections with your fingers, and you are done. It is holiday hair that happens to work all year round.
Undone is the finish, not a flaw. When beachy layers look a little different every day, the cut is doing its job.
22. Bouncy Blowout Layers With Curved Ends
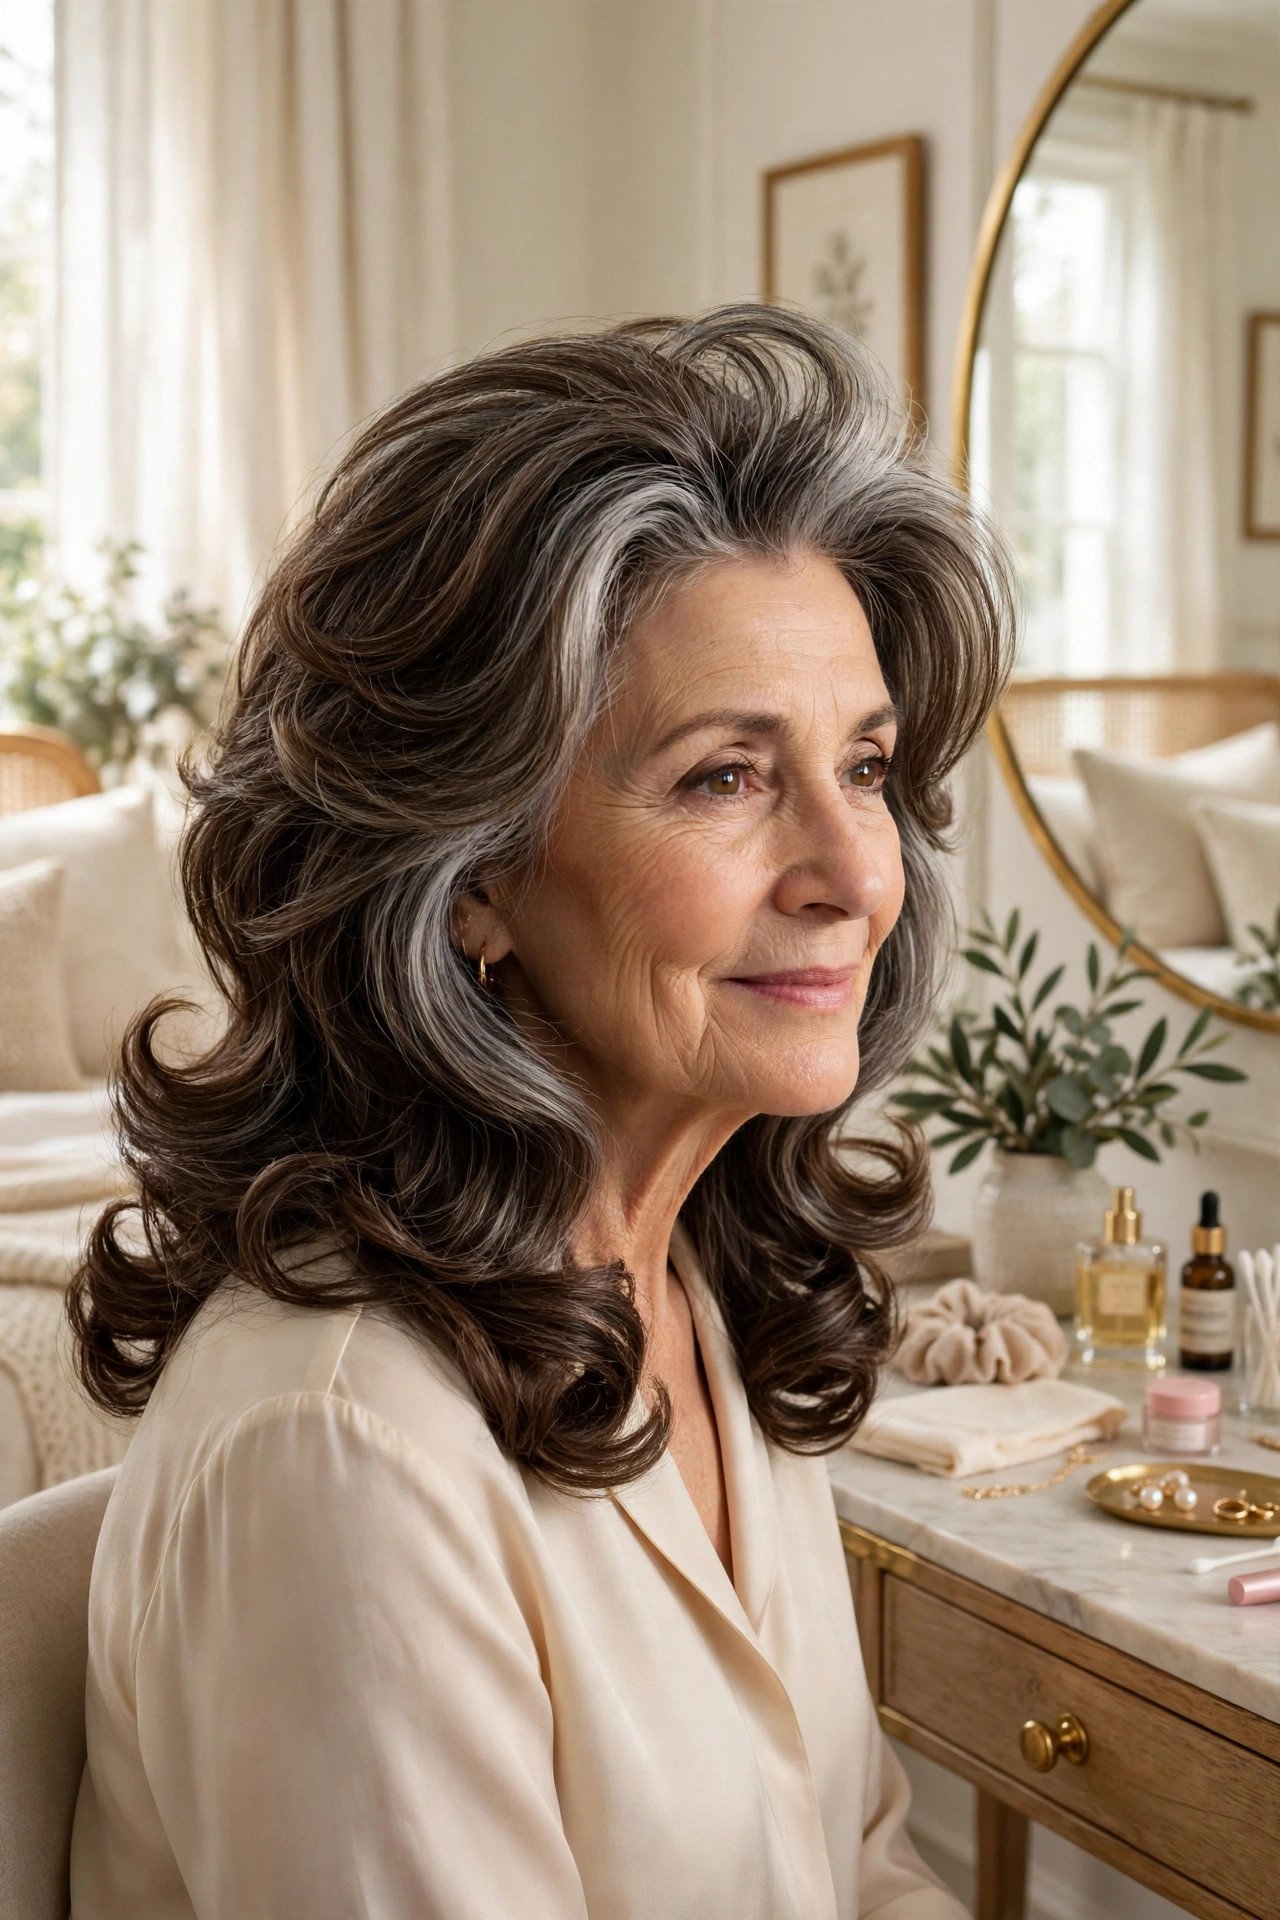
Save this one for the days you want the full salon feeling at home.
Blowout layers are cut to be styled with a round brush, with lengths that curve under at the ends and lift at the roots. The cut itself is simple and well blended. The real work is in the drying. Work in sections, roll the brush through each layer until it cools in the curve, and the ends keep that bouncy bend for days. It is the most polished option in this list and the one that asks the most of your arms, so many women keep it for weekends and events.
Your blowout kit
Long hair after fifty is not something to grow out of. With the right layers, it swings, shines and frames your face instead of hanging heavy and flat. Start with the cut that matches your texture, fine, thick, curly or straight, then borrow the styling notes that sit under it.
Save this list of long layered cuts over 50 to your hair board before your next salon visit. When you sit down in the chair, you will have clear photos, clear words for what you want, and a much better chance of walking out with movement you can actually see.