18 Vintage Christmas Nails 1950s Style You’ll Want To Save Right Now
Some of the prettiest holiday manicures are also the oldest. Every design in this list riffs on vintage christmas nails 1950s women actually wore, back when a manicure meant red polish, a steady hand, and one small painted detail done well. You will find the bare half moons that defined the decade, polka dots lifted from rockabilly dresses, and holly painted in the flat, bold style of old Christmas cards. A few looks borrow the era’s favorite party tricks, like atomic starbursts, gingham checks, and gold tinsel glitter. Nothing here needs a salon appointment or a drawer of tools. Most designs use two or three polish colors, a dotting tool or a thin brush, and a glossy top coat. Shapes stay simple too, mostly oval and almond, the way nails were worn then. Work through the list, pick the one that matches your December plans, and save the rest for later. Each idea comes with the colors to grab and the small details that make it read as true fifties, not costume.
1. Bright Red Half-Moon Nails With Bare Moons
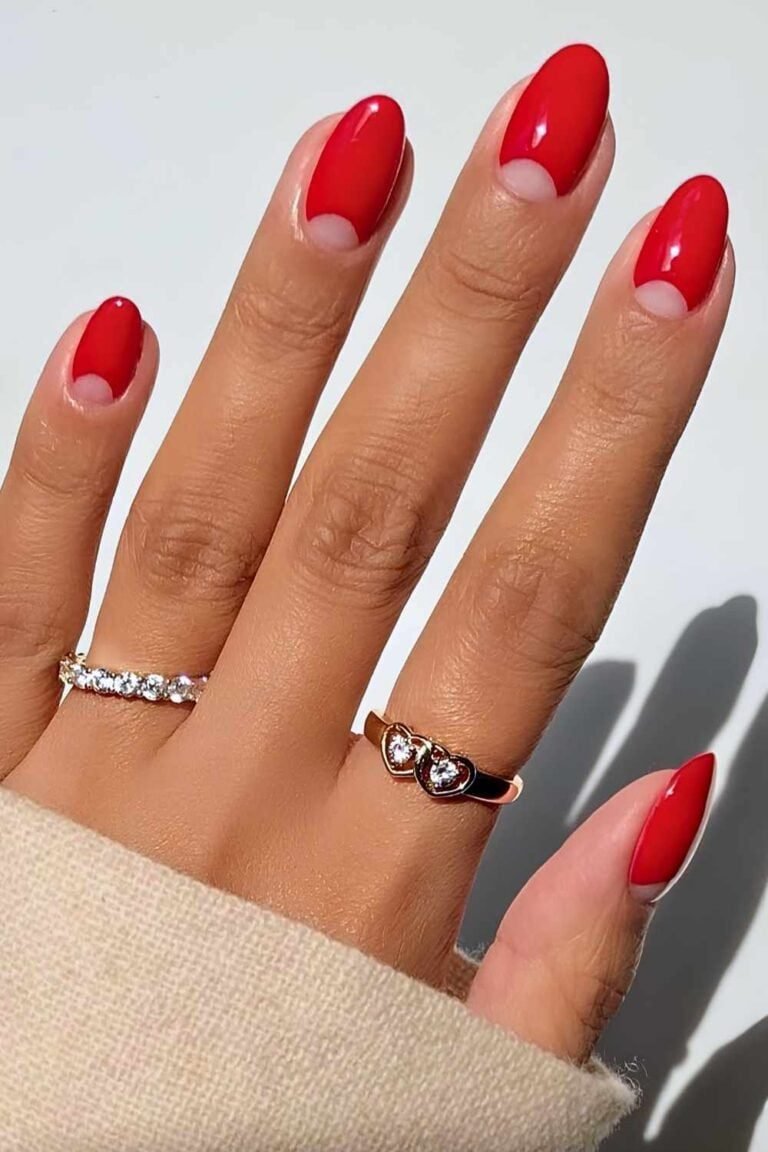
The half moon was the signature manicure of the fifties, and this is the real version. Bright red polish covers most of the nail, while the little half circle at the base stays bare and natural. On these almond nails the contrast is clean and graphic, like the manicures in old magazine ads. Two rings and a cream sweater keep the photo simple, so the shape of that bare moon does all the talking.
To copy it, paint the red first and leave the base moon uncovered, or paint the whole nail and wipe the moon clean with a small brush dipped in remover. A guide sticker at the base makes the curve even on every nail. Finish with a glossy top coat so the bare section shines at the same level as the red.
2. White Polka Dots And Deep Red French Tips
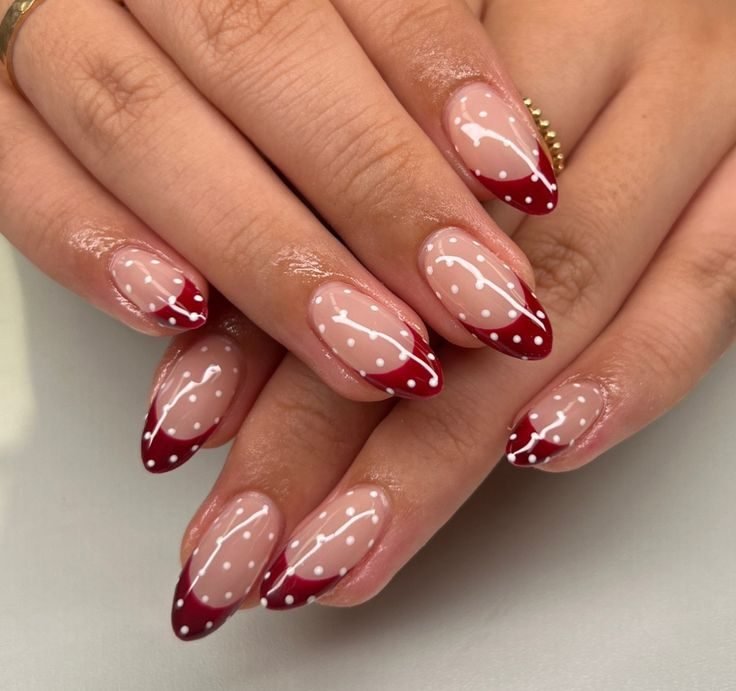
Polka dots were everywhere in the fifties, on dresses, scarves, and wrapping paper, so they feel right at home on nails. Here the dots float over a sheer natural base in neat white rows, and each almond tip ends in a deep red French edge that is dotted too. The mix keeps the pattern light instead of busy. Because the base is sheer, regrowth lines stay soft, which makes this a smart pick for the busy middle of December.
A dotting tool in two sizes keeps the dots even. Work in rows from the cuticle down, then paint the red tip last so the edge stays crisp over the finished dots.
Recreate this look
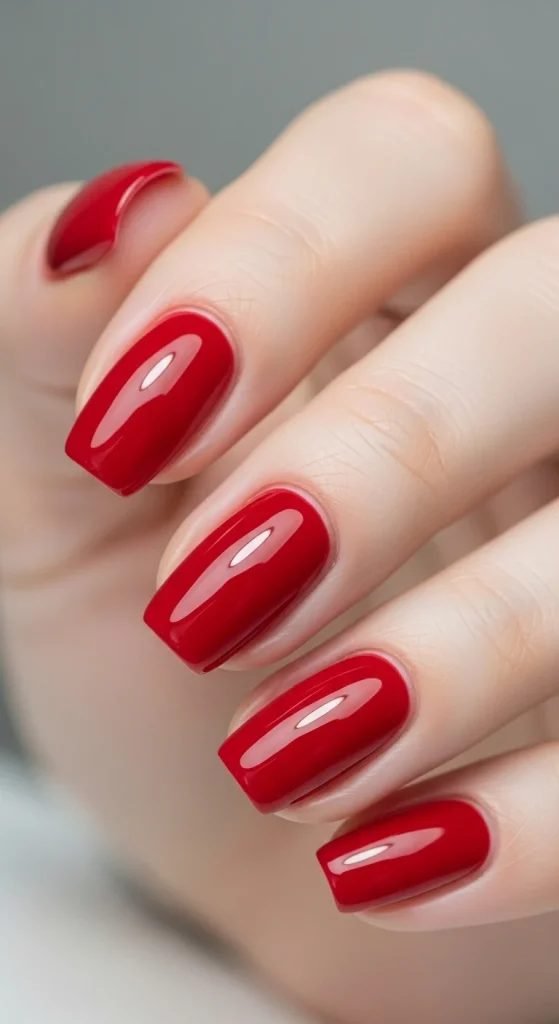
3. Pin-Up Glossy Red Oval Nails
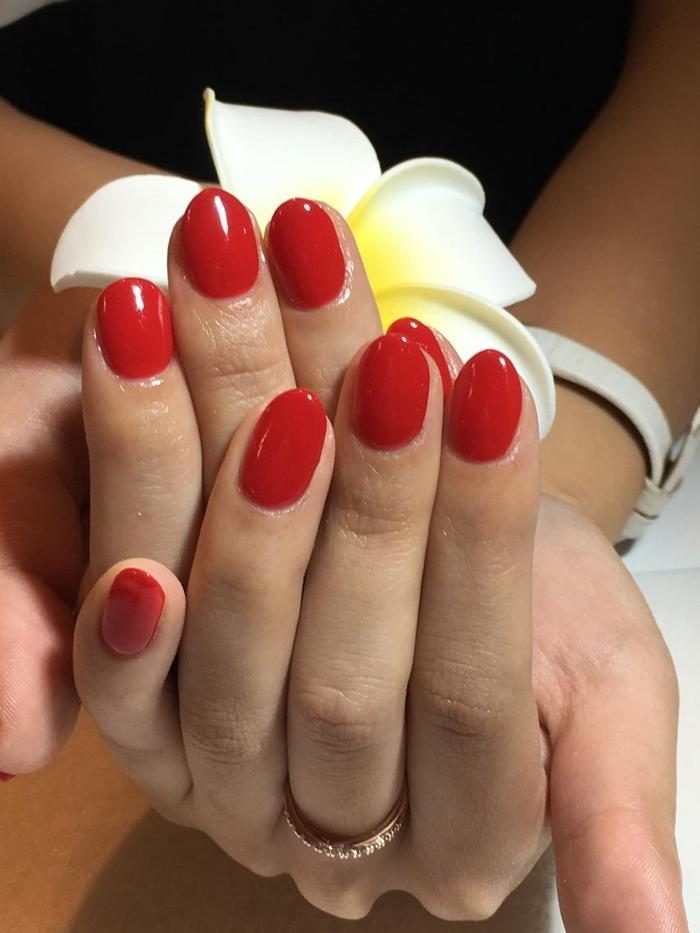
Before nail art took over, the glamorous choice was one perfect red worn on an oval nail. This set keeps that formula. The polish is a bright, true red with a glassy shine, and the oval shape softens the hands in the same way it did on pin-up posters. There is no art to chip, fade, or grow out unevenly, so the manicure looks fresh for the longest stretch of any design on this list.
Shape does the heavy lifting here. File the sides in smooth curves toward a rounded point, keep every nail the same length, and push the polish close to the cuticle for that neat fifties frame. A second thin coat beats one thick coat for depth of color.
One glossy red on a true oval is the exact manicure that sat under 1950s party dresses, and it still reads polished in seconds.
4. Bold Red And White Candy Stripes
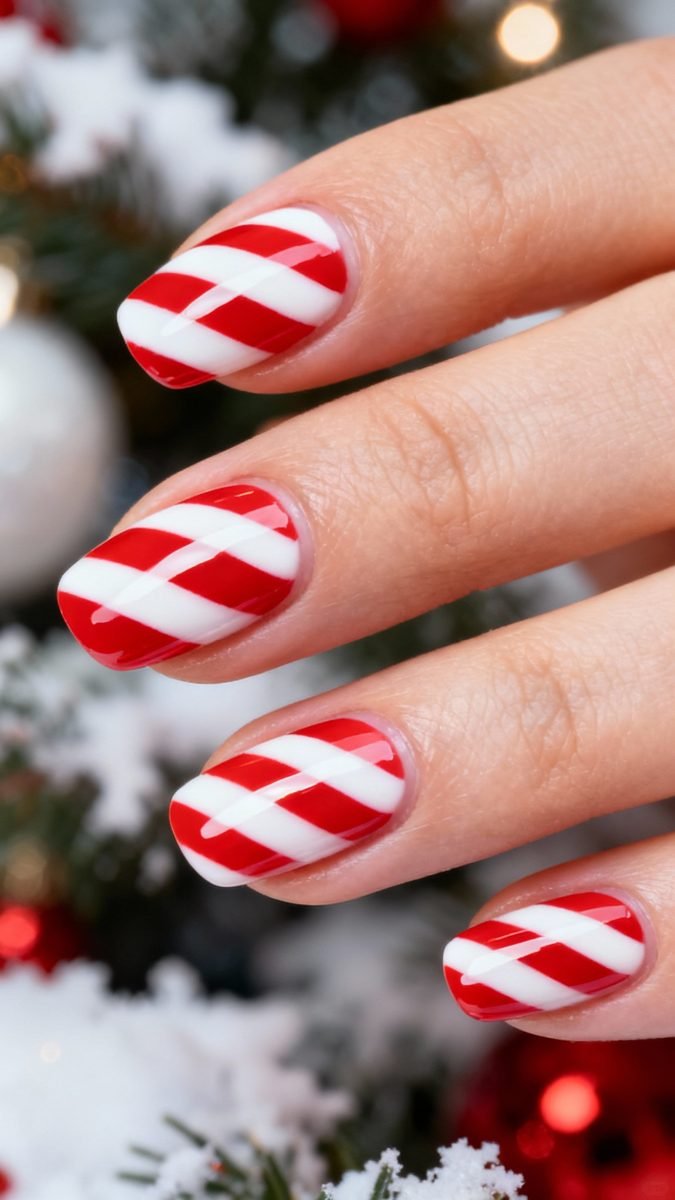
Candy canes were the fifties Christmas sweet, and the stripe pattern copies straight onto nails. Wide diagonal bands of red and white wrap each short oval nail, set against a snowy tree background in the photo. The stripes run corner to corner, which makes short nails look longer. Because the bands are wide, the pattern reads from across the room, and small wobbles hide inside the bold shapes better than they would in a fine line design.
Tape is the easy route to clean edges. Lay thin striping tape diagonally over a dry white base, paint the red bands, and lift the tape while the red is still wet.
Paint two coats of white and let them dry fully.
Place striping tape in diagonal lines, then paint the open bands red.
Lift the tape while the red is wet, wait five minutes, then add top coat.
5. Gold Starbursts With Red And Green Gem Centers
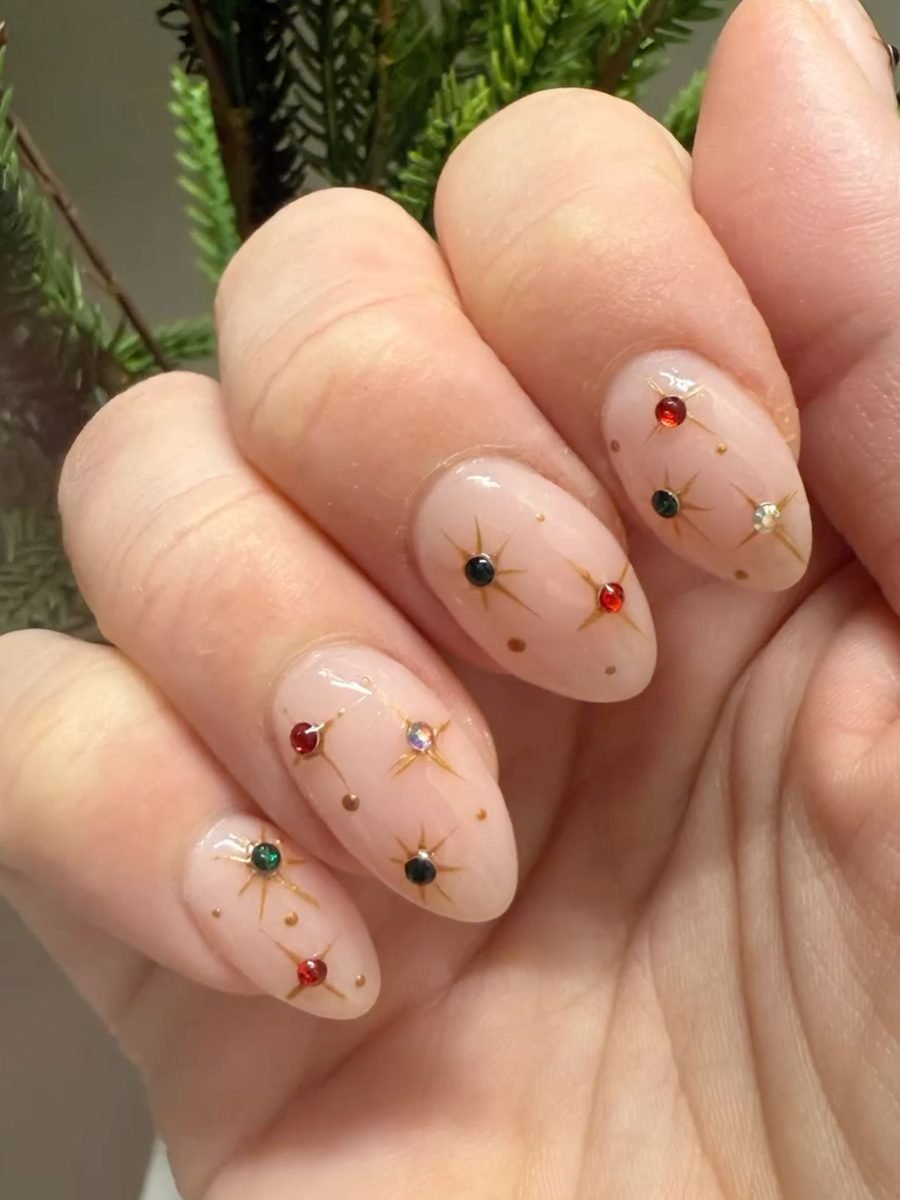
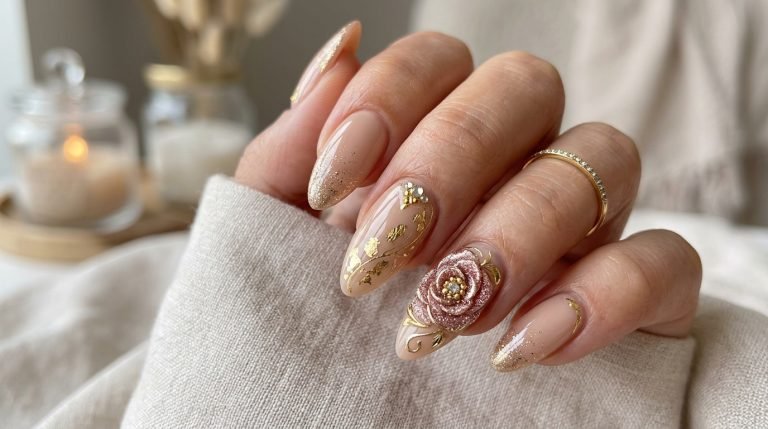
Mid-century design loved a starburst. Clocks, mirrors, and Christmas cards all carried the same spiky gold star, and here it lands on a sheer pink almond nail. Each burst is drawn in fine gold lines with a tiny gem at the center, in red, green, or clear. The spacing is loose and random, like ornaments scattered on a tree. It is the most authentically fifties pattern in the whole list, and it sits lightly enough for someone who finds full glitter too much.
Draw the bursts with the thinnest brush you own, four long points and four short ones. Set the gem while the gold is still tacky, then seal everything under top coat so the stones stay put.
6. Cream Tartan Plaid With Red And Green Lines
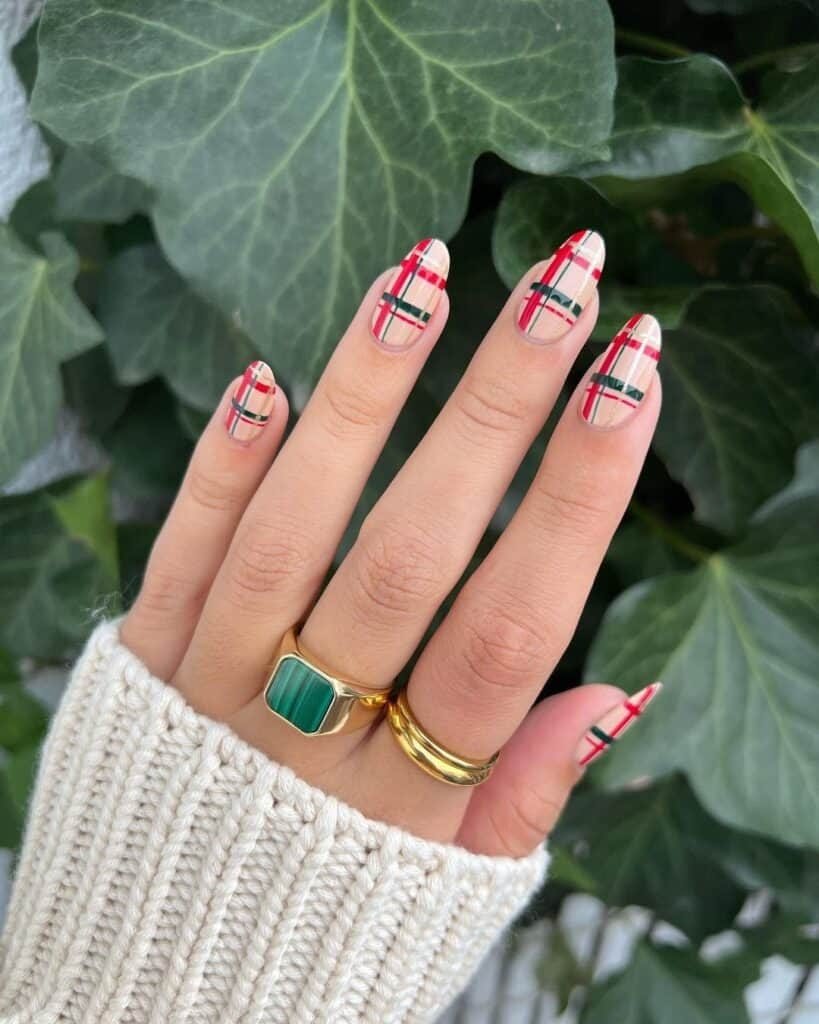
Tartan was the winter fabric of the decade, and this soft version swaps the usual dark base for cream. Thin red and dark green lines cross over a creamy almond nail, photographed against ivy leaves with a chunky knit sleeve. The pale base keeps plaid wearable for daytime and office parties, where a full red and green check can feel loud. Gold rings in the photo echo the warm tone of the cream nicely.
Plaid is built in layers, and the order matters. Paint the widest bands first, then the thin lines over the top once the base is dry. A long striping brush pulled in one steady stroke gives the straightest lines.
| Cream Base Plaid | Red Base Plaid |
|---|---|
| Soft and bright, reads like a wool scarf | Bold and dark, reads like wrapping paper |
| Lines in red and green over the pale base | Lines in white, black, and gold over the red |
| Best pick for work and daytime events | Best pick for evening parties |
7. Holly Sprigs In A Flat 1950s Illustration Style

Old Christmas cards drew holly in flat shapes with hard edges, and these nails copy that style exactly. Big green holly leaves with three red berries sit on cream nails, mixed with plain glossy red nails across the set. There is no shading and no outline detail, which is what makes it look vintage instead of realistic. The square shape adds to the graphic, printed feel.
Flat art is forgiving art. Block the leaf shape in green first, add the pointed edges with the corner of the brush, then dot the berries in red once the leaves are dry. Keep the red nails plain so the holly gets the attention.
Keep leaves as bold flat shapes with pointed tips.
Limit holly to two or three nails and leave the rest plain red.
Fine veins and shading, which push the look modern.
Glitter over the leaves, which hides the flat shapes.
8. Retro Santa Faces With One Little Tree
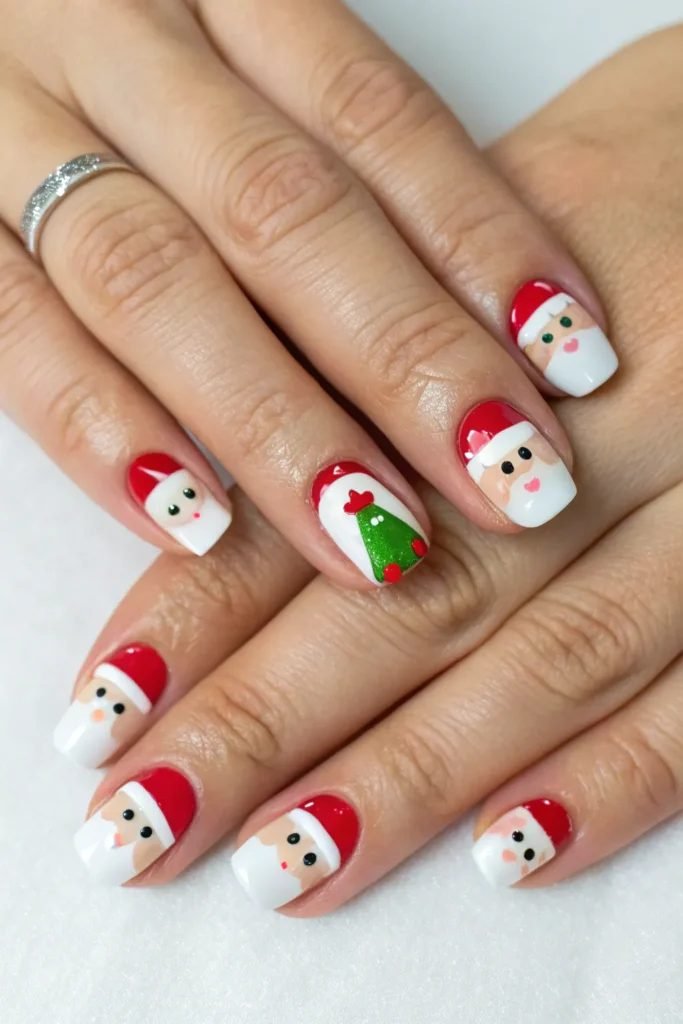
Santa got a friendly cartoon face in the fifties, round cheeks, dot eyes, and a big white beard, and he covers nearly every nail here. Each short square nail carries the same simple portrait, red hat on top and white beard below. One nail swaps the face for a small green tree with red dots, which stops the set from feeling like a repeat print. The look is cheerful in the way old department store windows were cheerful.
The face builds from two blocks of color. Paint the top third red for the hat, the bottom half white for the beard, then add a skin tone band between them and dot the eyes last. Faces forgive uneven lines because the beard hides the joins.
💡 Quick Tip
Paint all the red hats first, then all the beards, then all the faces. Working in rounds keeps every Santa the same size and saves brush cleaning between colors.
9. Cartoon Reindeer Face With Tiny Holly And Snowflakes
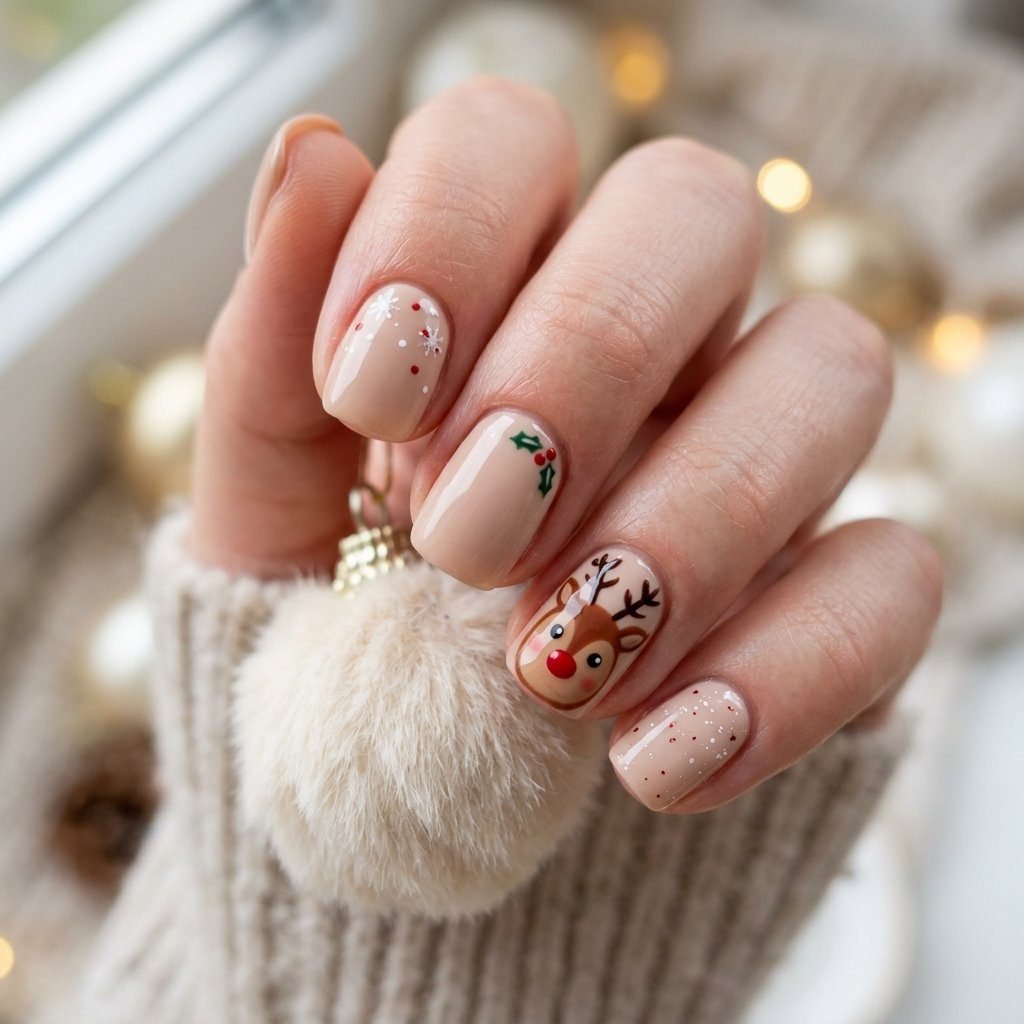
Rudolph was still a new character in the fifties, and his face does the heavy lifting on this soft nude set. One ring nail carries the full cartoon portrait, brown face, dark antlers, and the famous red nose. The nails around him stay quiet, with one tiny holly sprig, a few snowflakes, and a dusting of red and white speckles. The hand holds a fluffy cream bauble, which suits the gentle feel of the design.
A single character nail is the fastest way into nail art. The nude base needs no precision, and the reindeer can be built from a brown oval, two antler strokes, and three dots for the eyes and nose.
A plain nude manicure, neat but easy to overlook at a party.
One painted reindeer turns the same nude base into the set everyone asks about.
10. Cream Nails With Tiny Red Cherries
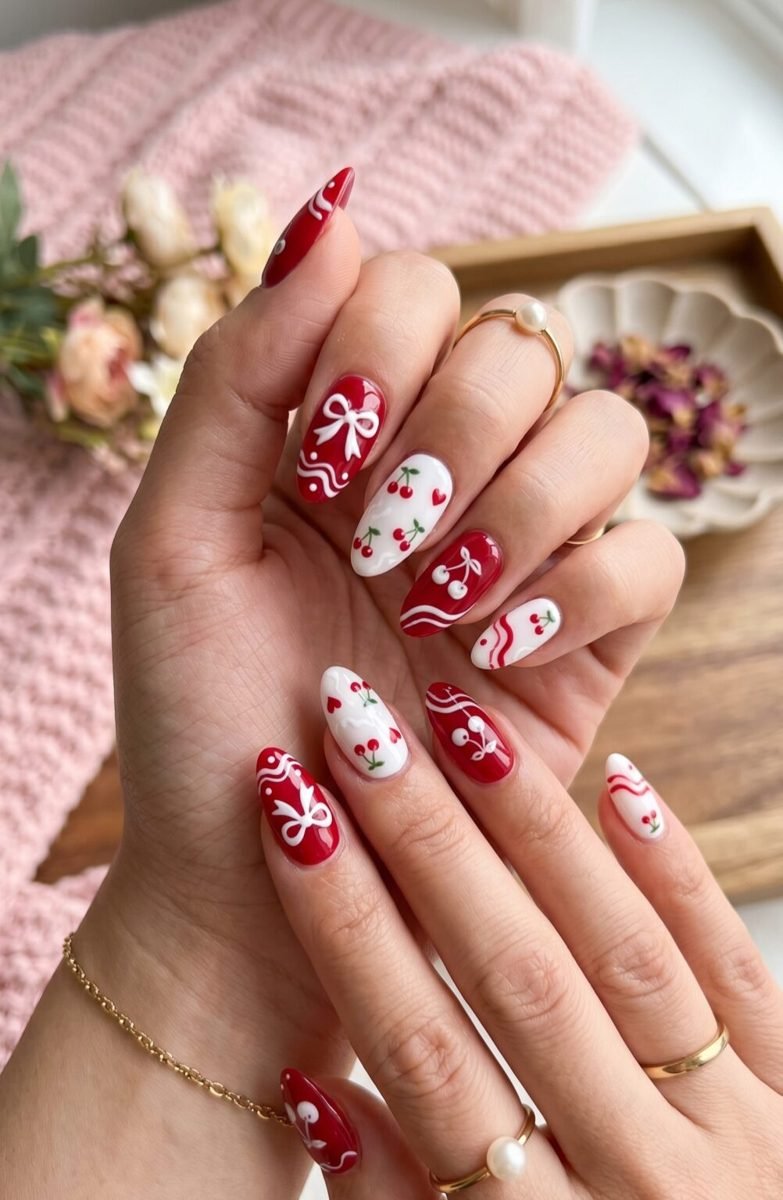
Cherries were a fifties kitchen and dress print long before they were a nail trend. On the cream nails here, small red cherry pairs hang from thin green stems, dotted between tiny red hearts. The red nails in the set carry white cherries and white bows, so the two colors trade places across the hands. It is a sweet design that stays neat because each cherry is just two dots and a stroke.
Paint the cherries in pairs and keep them small. Two red dots close together, one curved green line for the stem, and a leaf dot at the top. Odd numbers of pairs per nail look more natural than even ones.
- ▸Cherry pairs read best at two or three per nail, no more.
- ▸A white dot on each cherry fakes the shine of real fruit.
- ▸Swap the accent color on a few nails, red on cream and cream on red, for the full retro set.
11. Red And White Gingham With Tiny Character Accents
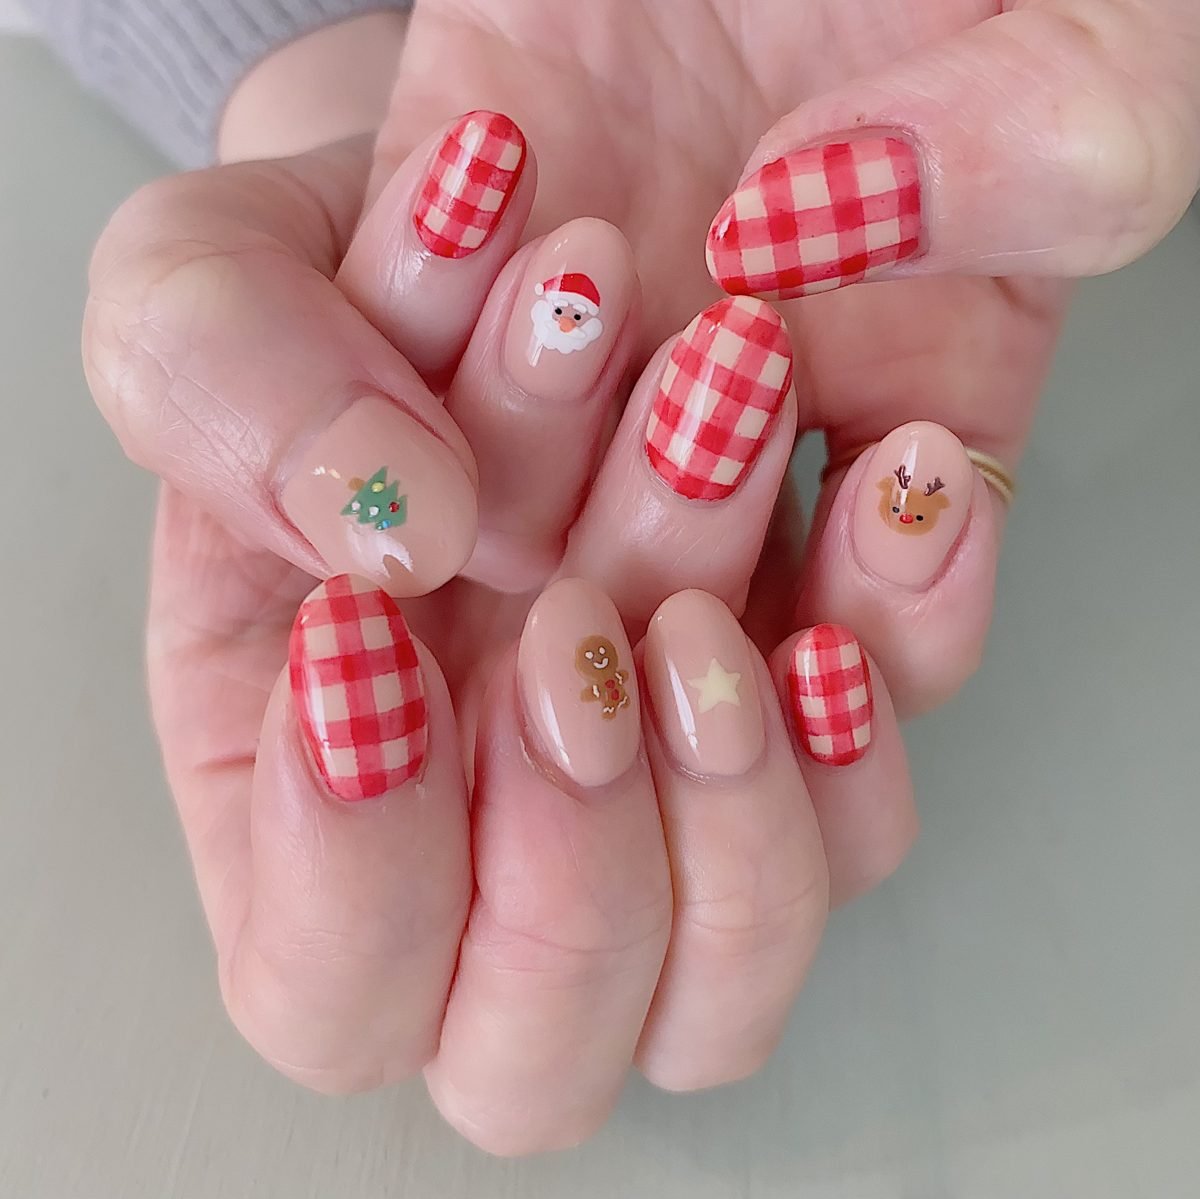
Gingham was the picnic cloth and shirt fabric of the fifties, and its check pattern covers half the nails in this set. The checks are proper gingham, white squares where the red stripes cross and pink tones where they overlap. The other nails stay nude and carry tiny painted characters, a Santa, a reindeer, a gingerbread man, a tree, and a star. Short rounded nails keep the whole thing cute instead of busy.
Gingham takes patience but not skill. Paint white, add vertical red stripes with a light hand, then horizontal stripes over them. The overlap creates the third tone on its own, so never mix a separate pink.
12. Full-Cover Gold Tinsel Glitter
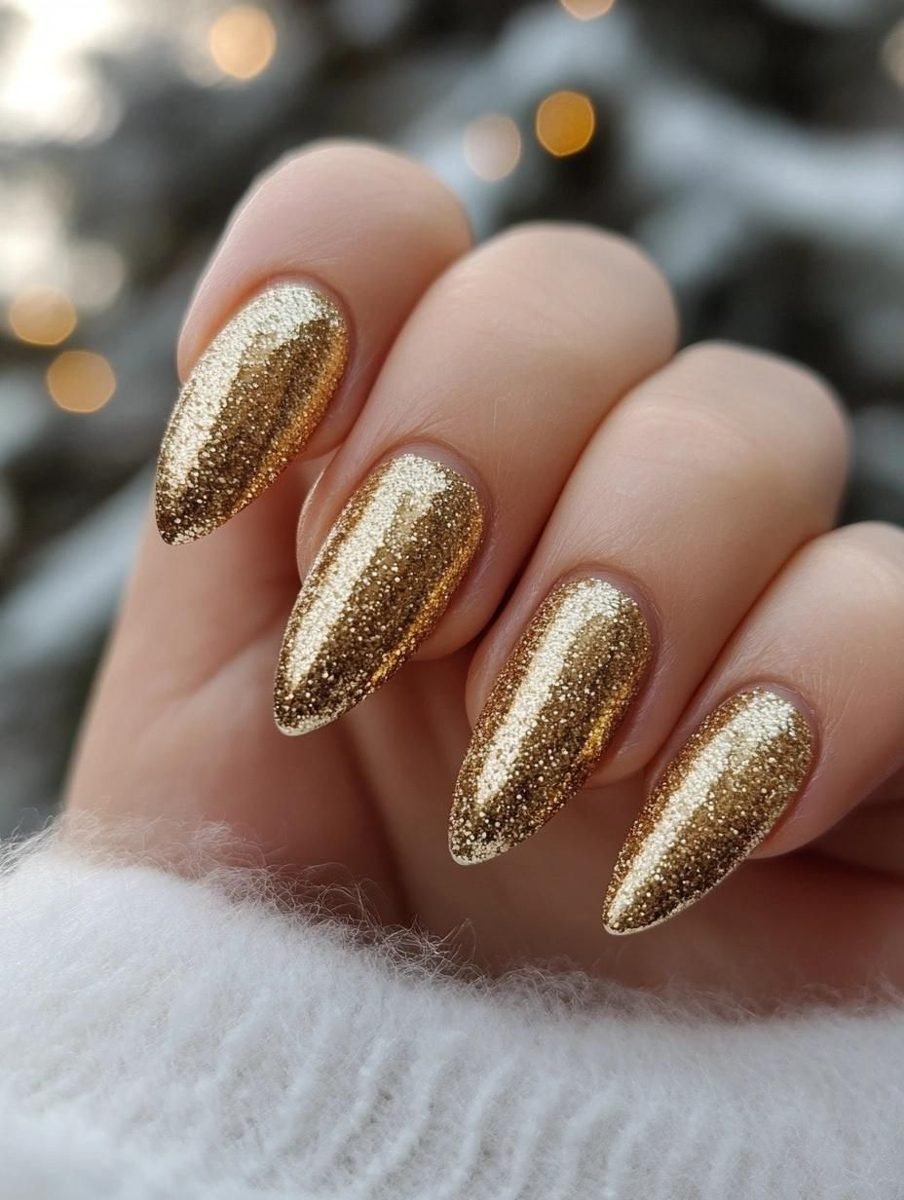
Tinsel went on every fifties tree by the handful, and this manicure treats glitter the same way. Every long almond nail is packed edge to edge with gold glitter, no base color showing through. Snow and blurred tree lights fill the background of the photo, and the nails catch the same warm glow. It is the loudest design on the list, and the easiest to paint, since glitter hides every brush mark.
Density is the whole trick. Sponge the glitter polish on instead of brushing it, and the coverage builds in two passes. A peel off base coat is worth using here, because full glitter is slow to remove with regular remover.
📌 Good To Know
For removal, soak a cotton pad in remover, rest it on the nail for two minutes, and slide the glitter off. Scrubbing spreads glitter everywhere and dries the skin around the nail.
13. Mint Green Nails With Candy Cane Stripes
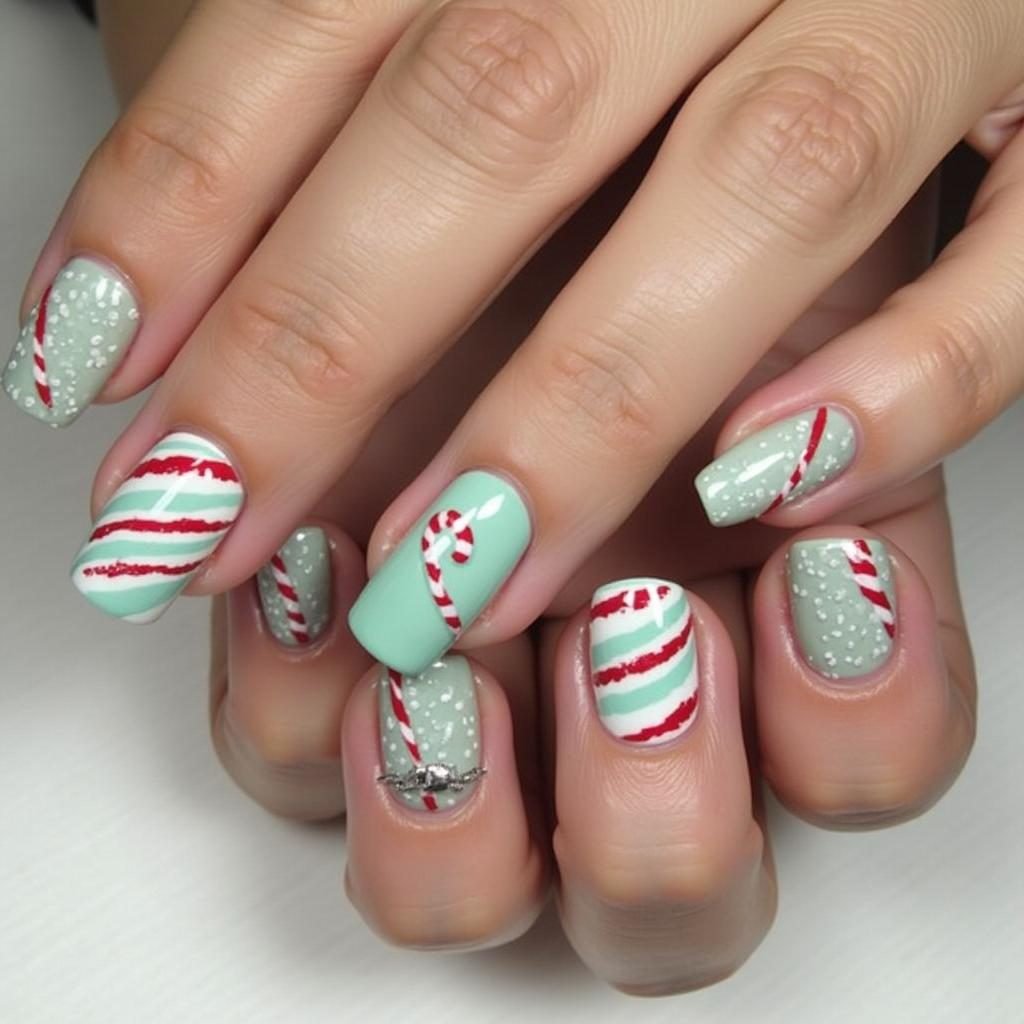
Soft mint green was a fifties kitchen color, and it makes a fresh base for the red and white candy cane stripes painted across this set. Some nails carry wide diagonal stripes, some carry a single candy cane, and a few are speckled like snowfall over the mint. The square shape and the pale green keep the design retro in a different direction from all the red based looks around it.
Because mint is pale, the red needs to be strong. Pick a true Christmas red rather than a soft one, and paint stripes over a fully dry base so the colors stay separate. One mint nail with a single candy cane makes a good accent if a full striped set feels like too much.
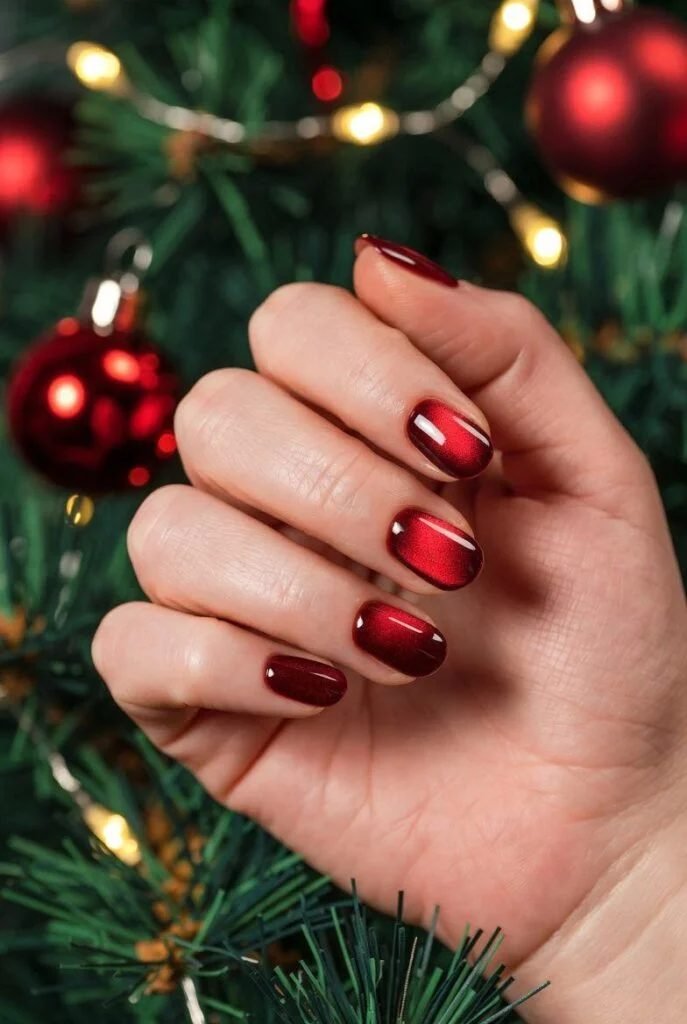
14. Cat-Eye Red Shimmer With Tiny Gold Stars
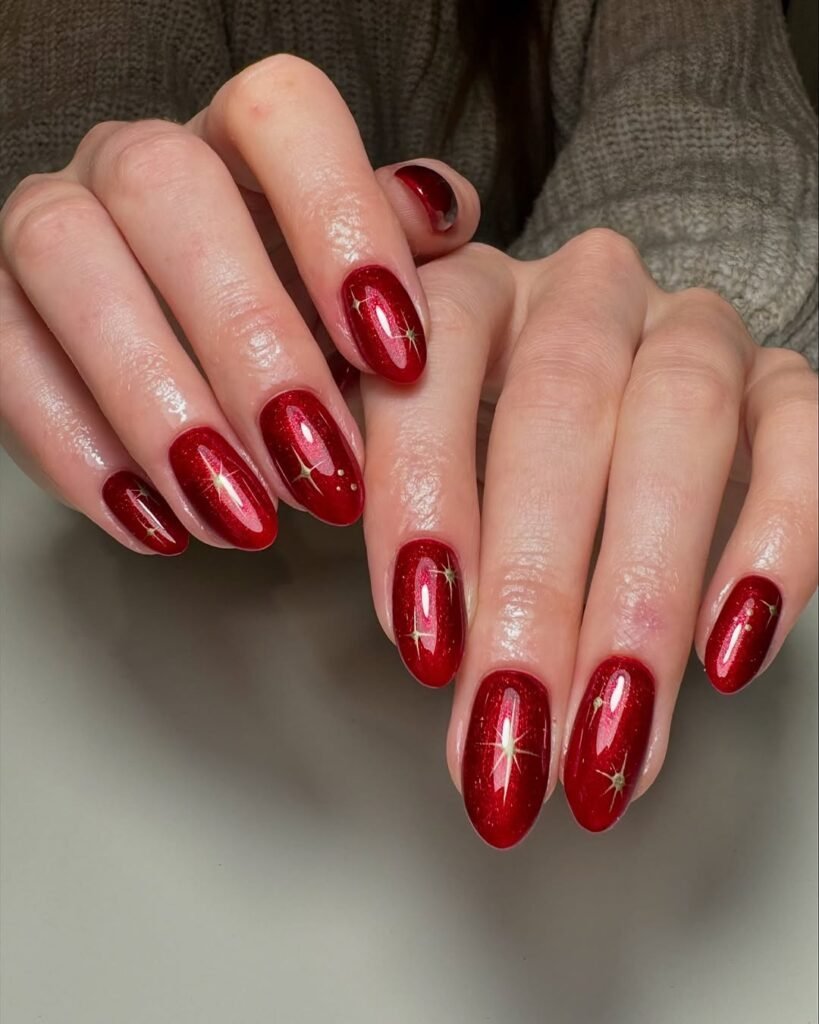
Shimmer polishes were the party upgrade of the fifties, and the modern cat-eye version keeps the same spirit. The deep red on these oval nails shifts as the hands move, with a bright band of light running through each nail. Tiny gold stars are scattered sparsely over the top, two or three per nail at most. A plain knit sleeve in the photo keeps the focus on the way the color moves.
Cat-eye polish needs a small magnet held over each wet nail for a few seconds to pull the shimmer into line. Add the stars after the effect sets, with a fine brush or small decals, and keep them off the lightest band so they stay visible.
Recreate this look
15. White Almond Nails With Red Bows
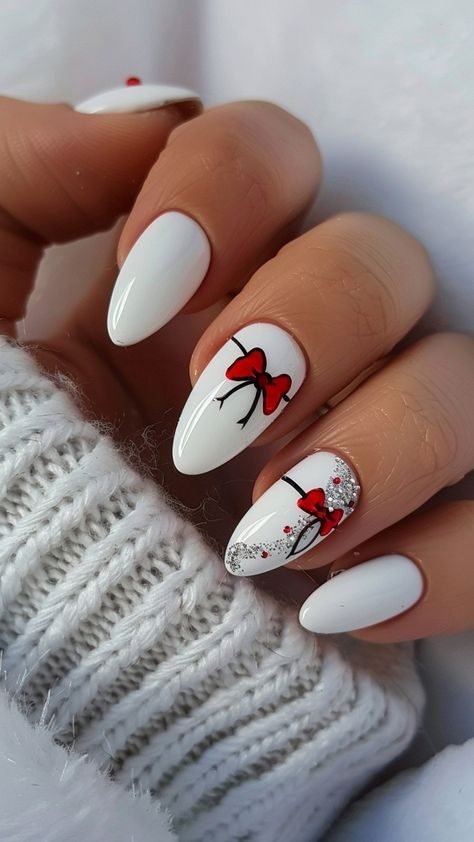
Every fifties gift box finished with a bow, and these white almond nails borrow the idea. Most nails stay plain glossy white, like fresh snow or gift wrap. Two nails carry a small red bow painted at the center, and one of them adds a sweep of silver glitter along the edge. The restraint is the point. With this much white space, the bows read clearly and the set looks tidy rather than themed.
Draw the bow as two triangles meeting at a center dot, then add two short ribbon tails. If freehand bows feel risky, a bow sticker on the ring nail gives the same effect and keeps the rest of the set pure white.
Keep bows small and limit them to two nails.
Use two thin coats of white so the base stays streak free.
A bow on every nail, which turns the set into a pattern.
Chunky 3D bow charms, which catch on knitwear and hair.
16. Emerald Nails With Gold Atomic Stars
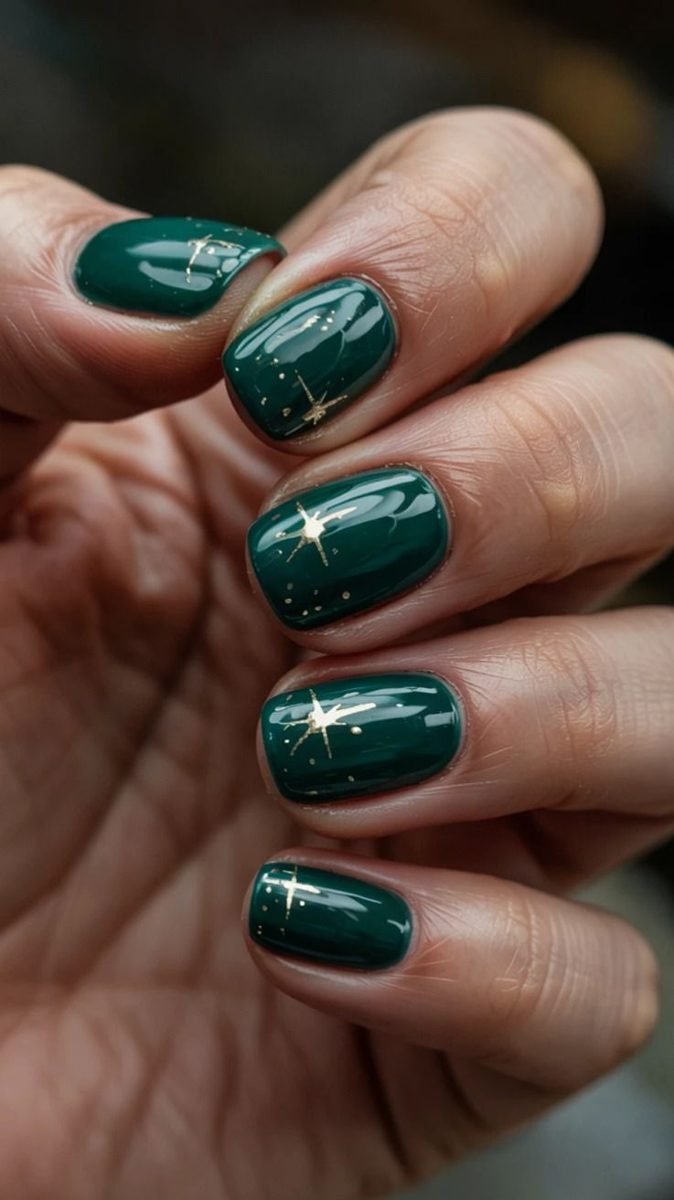
The atomic star, a four pointed sparkle with long and short rays, was the fifties symbol for anything bright and new. Here it is drawn in fine gold lines over a deep emerald gloss, one or two stars per short nail, with tiny gold dots scattered between them. The green is rich enough to feel festive without red anywhere in sight. Short nails suit the design, since each small nail becomes one tidy framed picture.
Each star is four strokes from a center point, two long and two short. A liner brush and metallic gold polish give the cleanest lines. Place the biggest star off center on each nail, like the photo, so the set looks scattered rather than stamped.
Paint two coats of deep emerald and let them dry.
Draw one gold star per nail, two long points and two short points from a center dot.
Add a few tiny gold dots in the empty space, then seal with top coat.
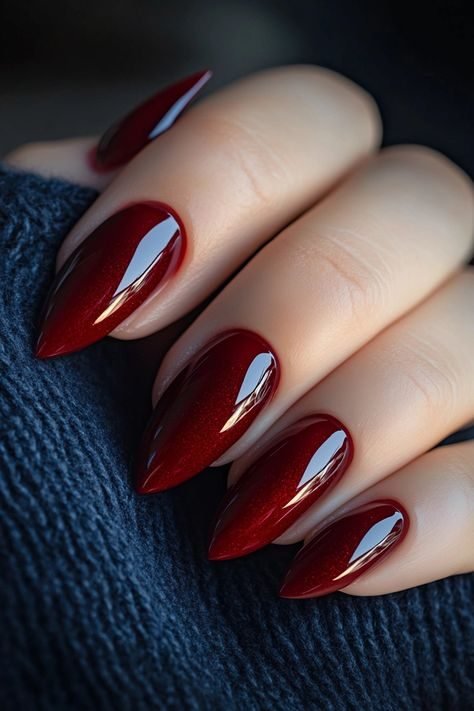
17. Deep Burgundy Almond Nails With A Retro Gloss
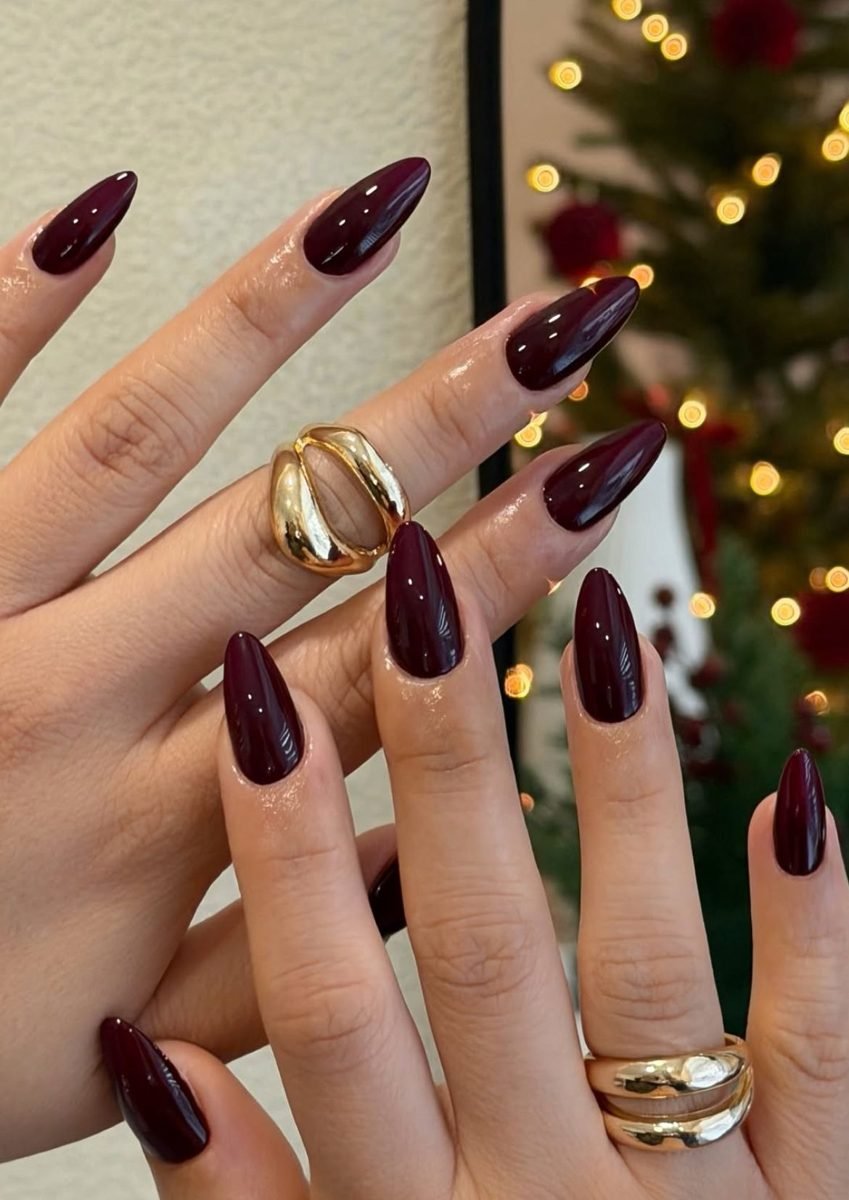
Red had a grown up end of the scale in the fifties, and burgundy was it. These long almond nails wear a deep wine burgundy with a wet look gloss, plain from cuticle to tip. Chunky gold rings and a lit Christmas tree sit in the photo with it, and the combination feels like evening wear. This is the design to pick when the invitation says dressy and nail art feels too young for the outfit.
Dark polish shows every filing flaw, so shape carefully and wrap the tip edge with polish to stop early wear. Two thin coats give a deeper color than one thick coat, and a plumping top coat adds the glassy finish in the photo.
Burgundy on a long almond with a glassy top coat is the evening version of the classic fifties red, no art needed.
18. Melting Snowman Face With Snowflake Nails
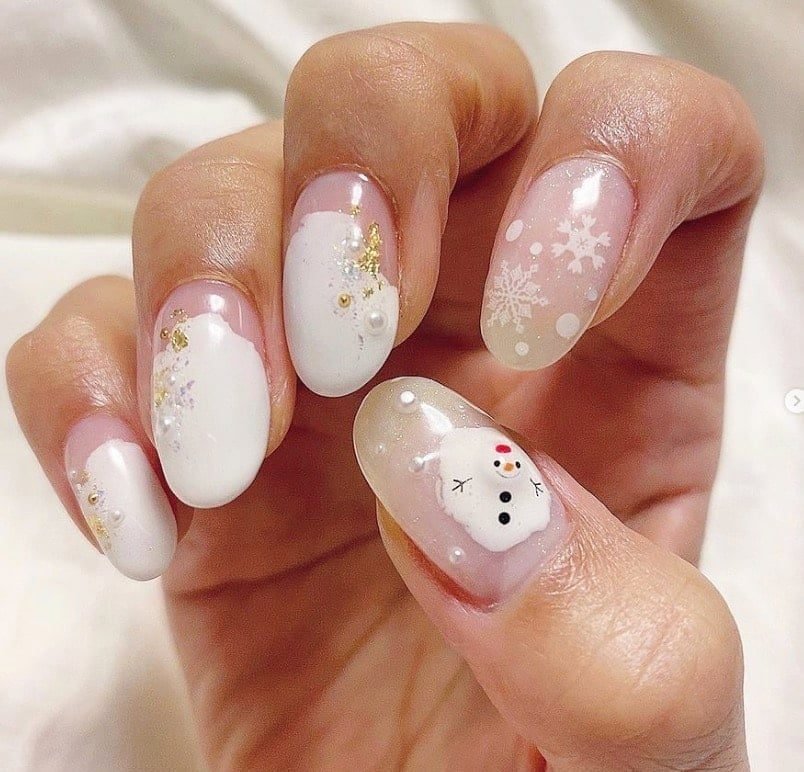
The last design is the softest one. A small snowman face melts across the thumbnail, white dripping down over a clear base, with coal dots for buttons and a tiny red hat detail. The other nails look like fresh snow, white tips fading into clear, with white snowflakes, small pearls, and gold flecks scattered over them. Melting snowmen showed up on fifties cards and decorations often, usually as the joke at the end of the set, which makes this a fitting final entry.
Build the snowman on the thumb where there is room. Blob the white in a puddle shape, let the edges stay uneven, then dot the face with a toothpick once the white sets. The snow nails need only a sponged white tip and one snowflake each.
| One Thumb Snowman | Snowman On Every Nail |
|---|---|
| One face to paint, the rest is snow and flakes | Ten faces to keep the same size |
| About twenty minutes for the full set | An hour or more, with drying breaks |
| Quiet from a distance, fun up close | Bold from across the room |
That is the full set, eighteen ways to wear vintage christmas nails 1950s style without a chrome powder or sticker pack in sight. The half moons and the plain burgundy almond are the quiet ones for workdays and dinners. The Santa faces, the reindeer, and the melting snowman are the party pieces. If you try one this week, start with the polka dots or the candy stripes, since both forgive a wobbly hand. Save this list for your next polish change, and pass it to a friend who loves a retro Christmas as much as you do.