22 Makeup Looks Over 50 That Never Settle Into Lines
You want your makeup to look like good skin on a good day. Then an hour later the mirror shows foundation settled into every line around your mouth, blush sitting low, and eyeshadow gathered in the crease. The products were fine. The placement and the textures were the problem.
Makeup settles when it is too thick, too dry, or sitting in the wrong spot. Thin cream layers behave differently. They move with the skin, they blend at the edges, and they leave the surface looking like skin rather than a coat of paint.
The makeup looks over 50 in this list all follow the same logic. Each one is built on a single technique that keeps makeup on top of the skin: hydration under the base, cream colour placed high, powder kept to a minimum, and definition drawn where it lifts instead of drags.
Work through the list and steal the techniques that fit your face. You do not need all twenty-two. Three or four of them, used together, change how your makeup wears through the whole day.
1. Start With a Hydrated Base and a Sheer Skin Tint
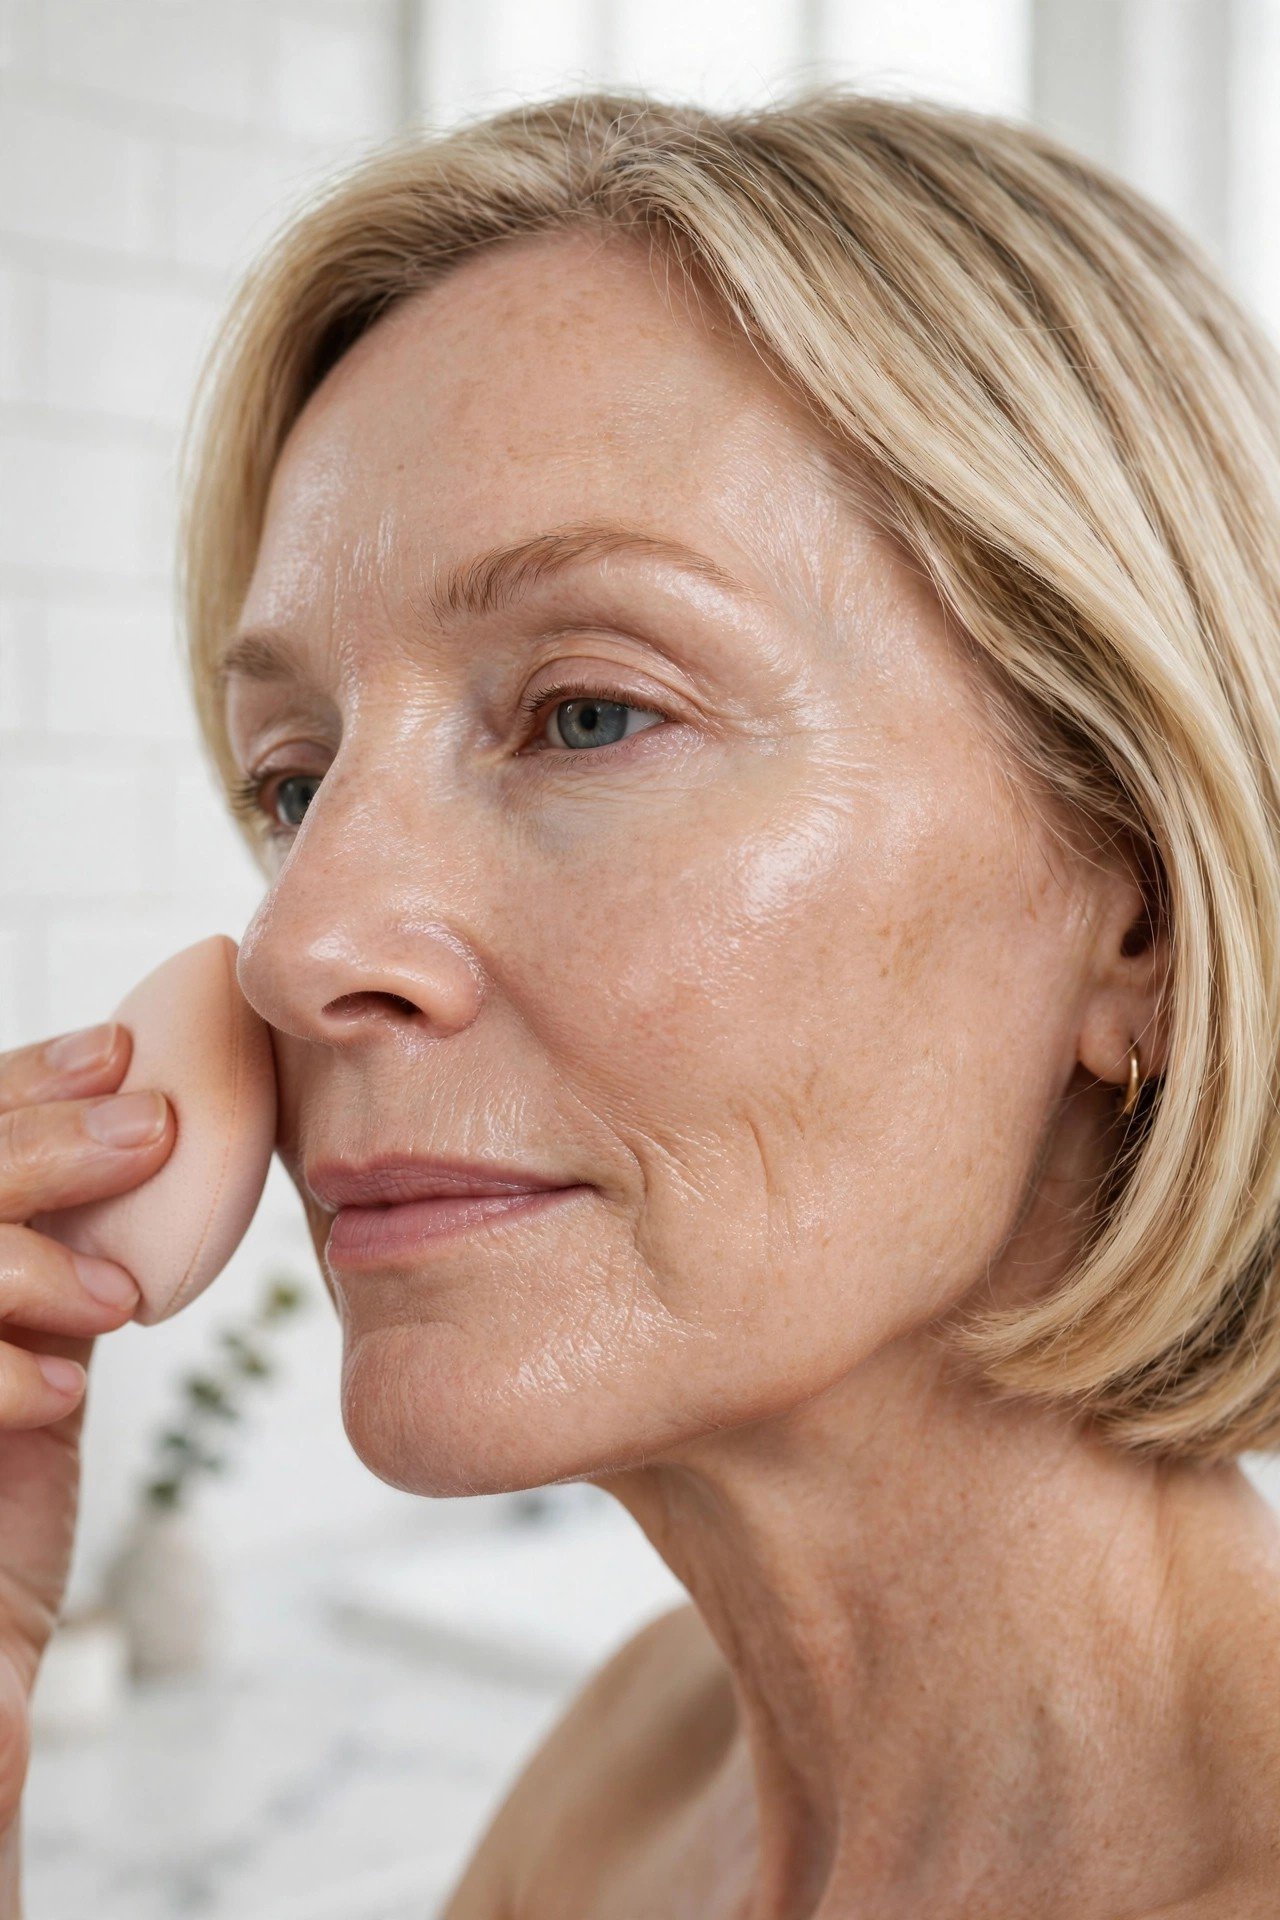
Foundation is not the enemy. Thickness is.
Start with moisturiser and give it two minutes to sink in. Then press a pea sized amount of hydrating primer over the centre of the face, where makeup tends to grab and sit in lines. Choose a skin tint instead of full foundation and apply it in one thin layer with a damp sponge, bouncing rather than dragging. Build a second thin layer only where redness shows through. Two sheer passes sit far better than one thick coat, and the skin underneath still reads as skin, with its own light and movement.
2. Place Cream Blush High So Cheeks Look Lifted
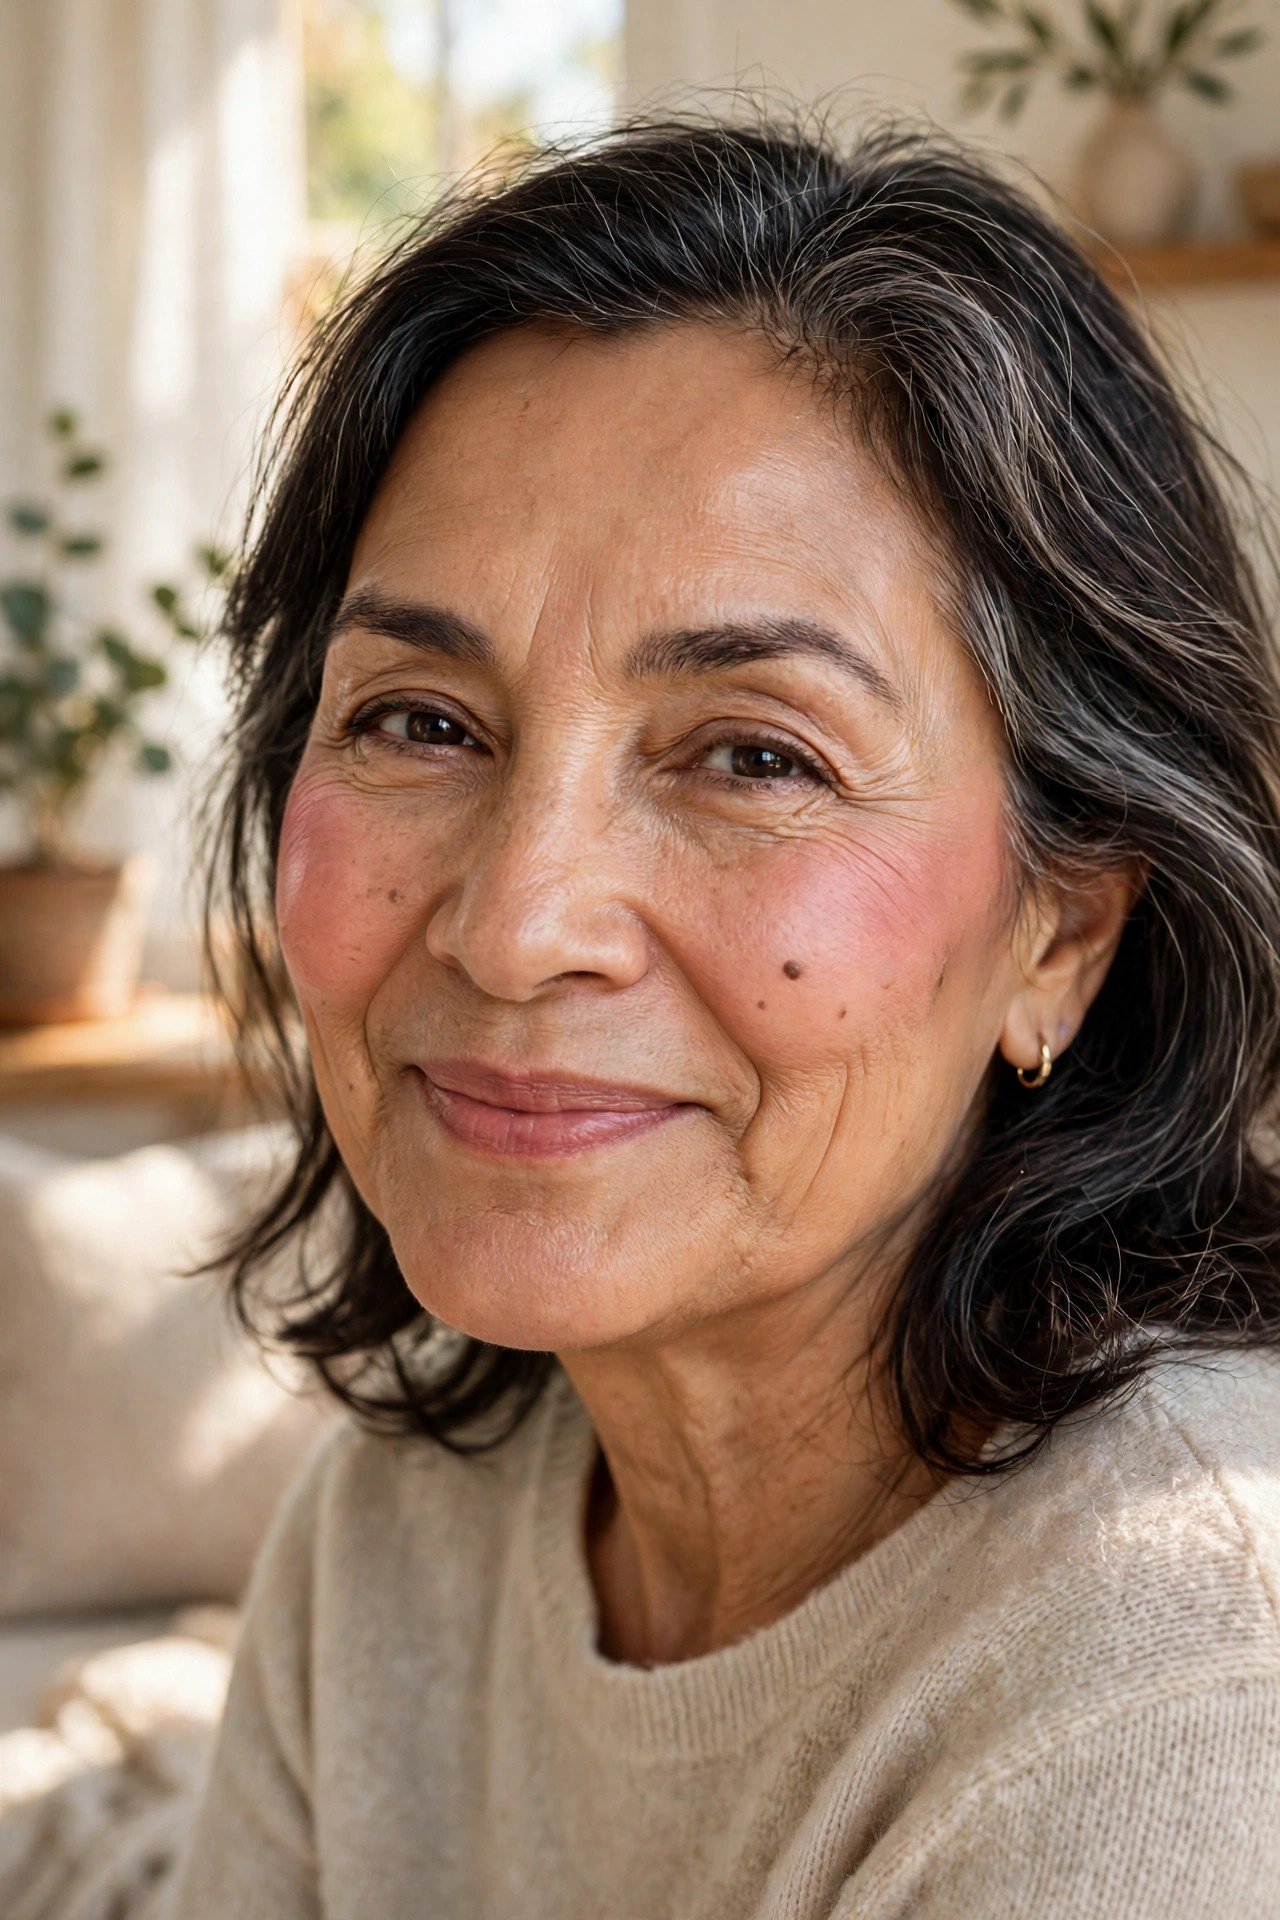
Blush on the apples of the cheeks can drag a face down once the smile relaxes.
Smile lightly, then place the cream blush on the high point of the cheekbone instead, roughly below the outer corner of the eye. Blend it upward toward the temple with warm fingers or a dense brush, and keep the lower edge clean. The colour sits where light lands on the face, so the cheeks read lifted even at rest. Cream melts straight into a skin tint base with no hard edge, and a rose or warm peach shade keeps the whole effect soft and believable.
💡 Quick Tip
Warm the blush on the back of your hand first. It sheers out as it warms, so the first touch on the cheek never lands too strong, and you can build the colour in two light passes.
3. Tightline the Lash Roots Instead of Drawing a Hard Line
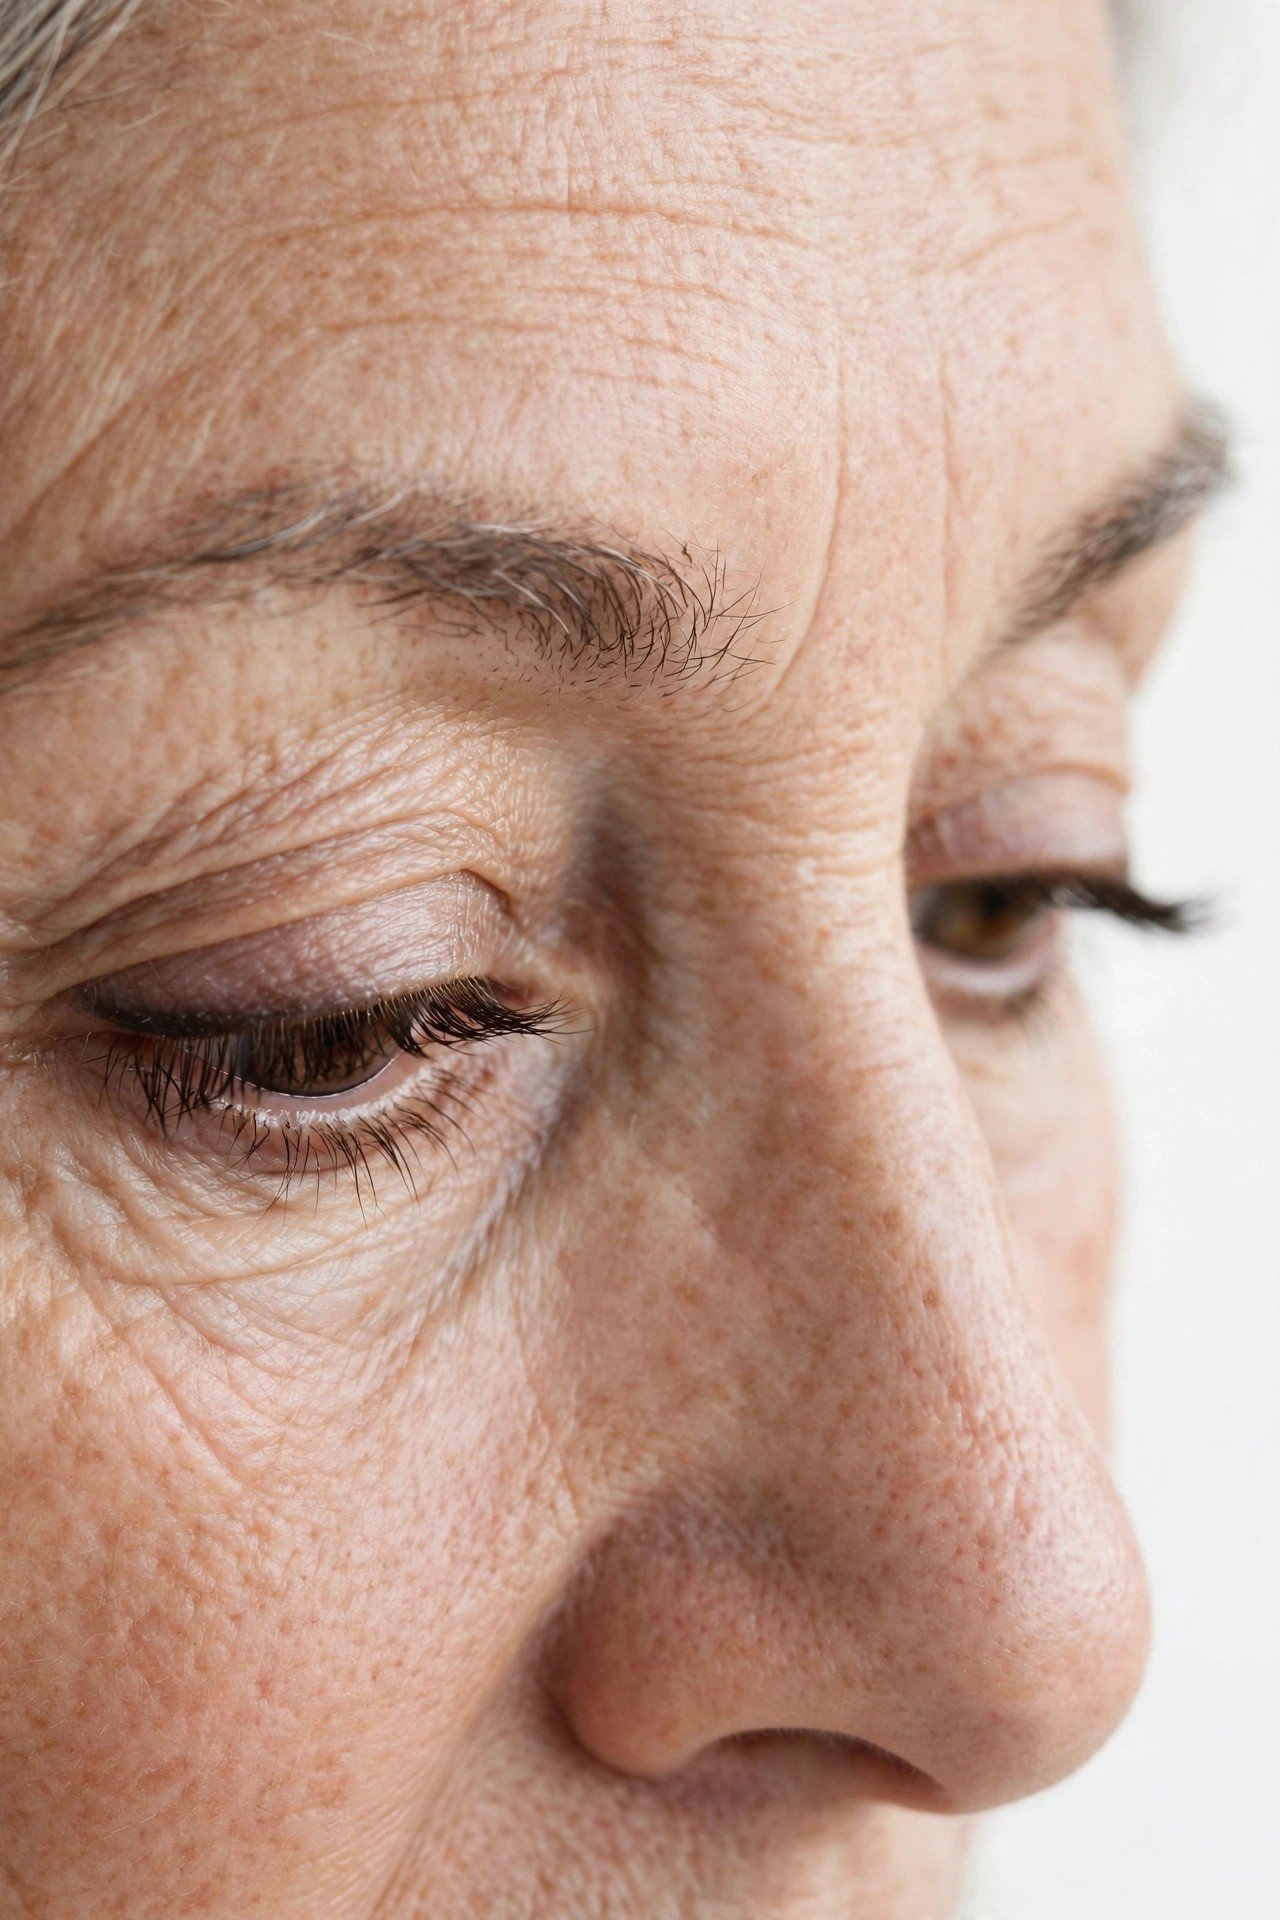
A thick line drawn on the lid can shrink the eye and gather in the crease by midday.
Tightlining puts the colour into the roots of the lashes instead. The lash base looks thicker, the eye gains clear definition, and no stripe of liner sits on the lid to crease, flake, or print upward. A soft brown or deep plum pencil reads gentler than black against mature skin, and the effect holds all day without a smudge check in the mirror.
Rest the pencil tip at the roots of the upper lashes, right against the skin.
Dot along the lash line in short presses, filling the pale gaps between lashes.
Blink, then lift the lid gently and check for any gaps you missed.
4. Choose Satin Taupe Shadow Over Chunky Sparkle
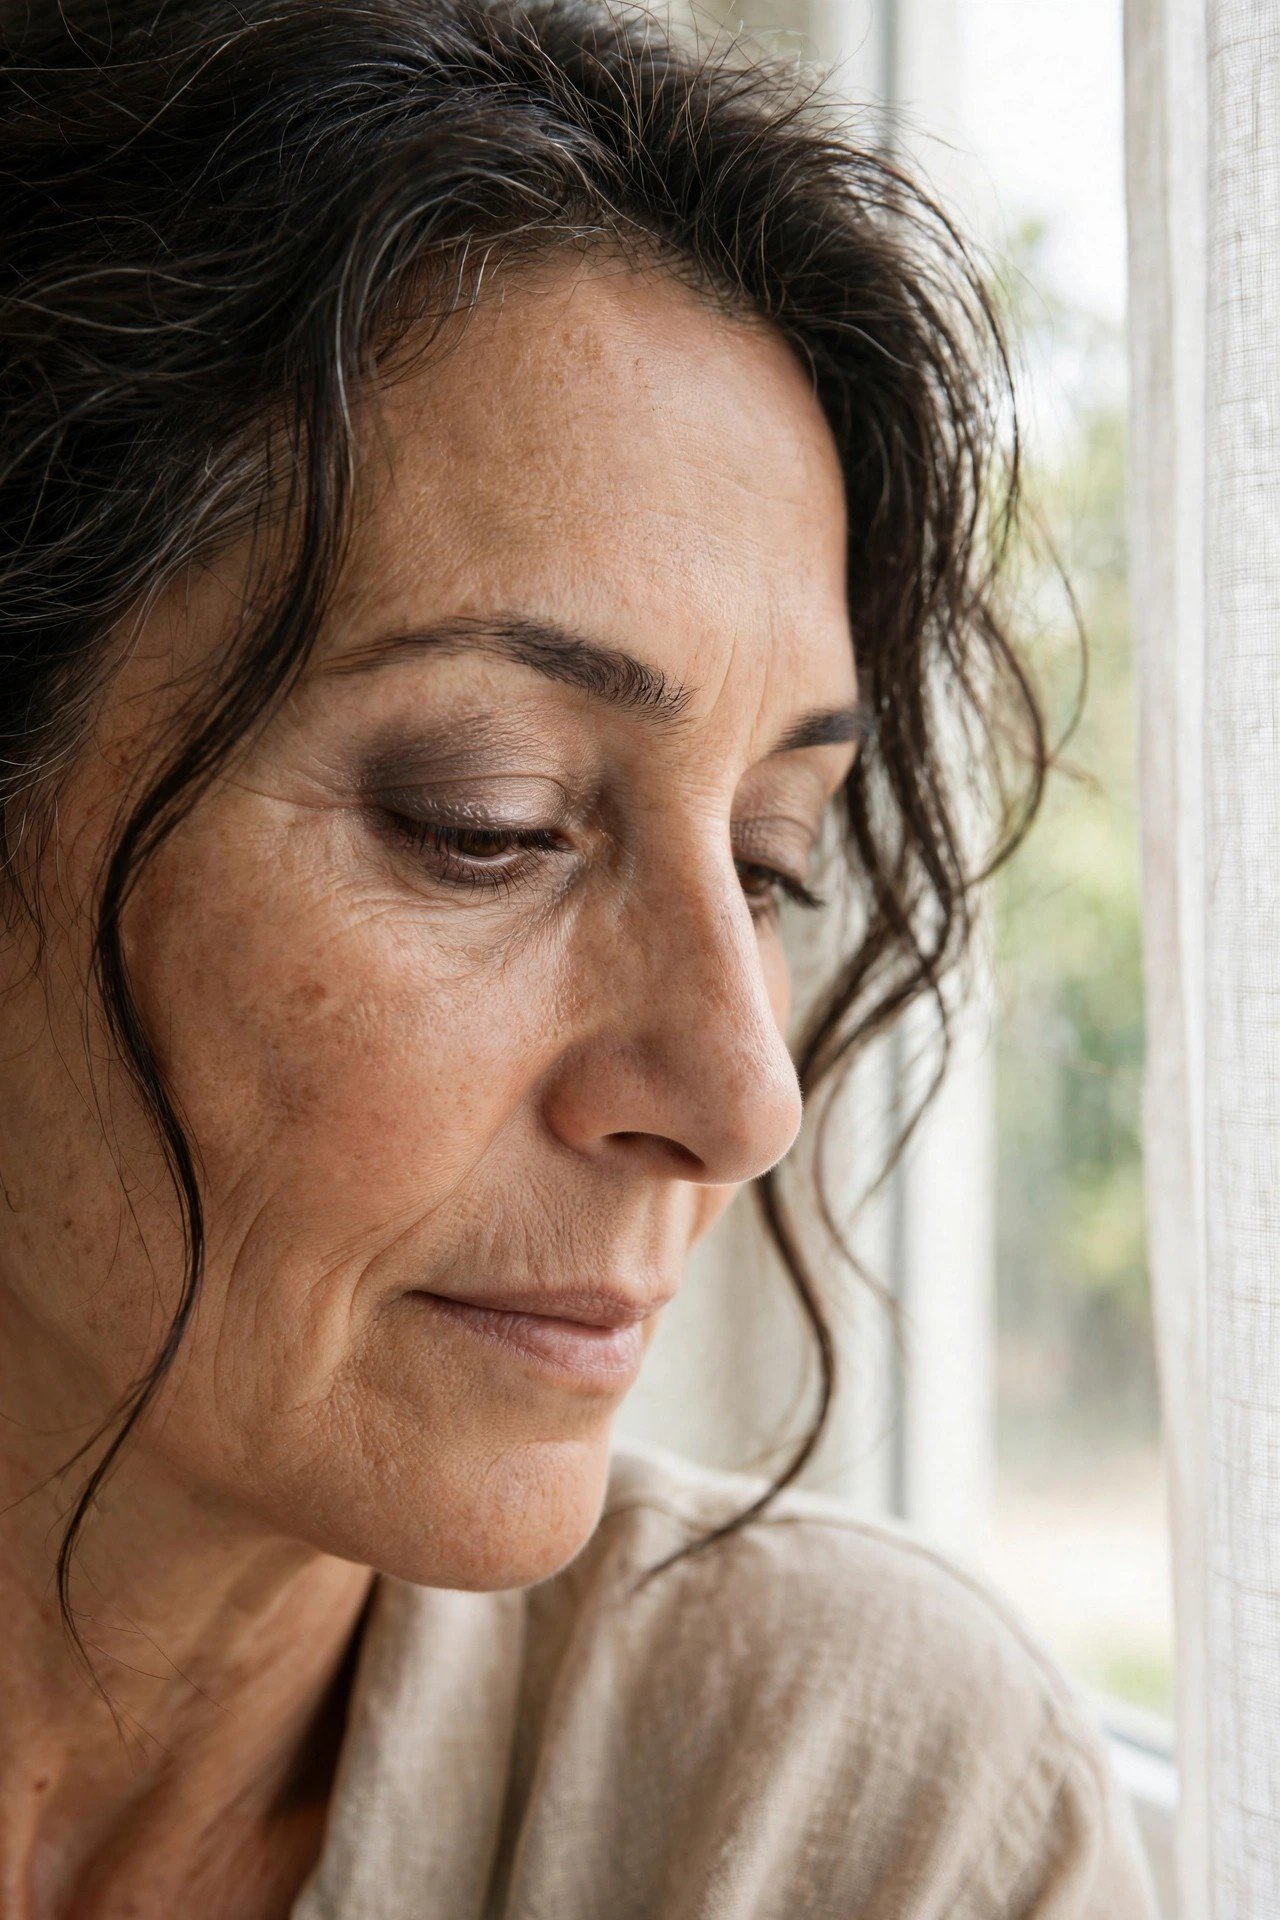
Glitter is often blamed for ageing an eye, but the real culprit is texture. Large sparkle particles settle into lid lines and draw the eye straight to them.
A satin taupe shadow does the opposite job. The finish has a low sheen that smooths the look of the lid, and the mid tone adds depth without a dark edge. Sweep it over the lid with a fluffy brush, keep the deepest colour at the outer corner, and blend the top edge until it fades. The eye looks shaped rather than painted.
Satin and soft matte finishes in mid tones, blended until the top edge disappears.
Depth kept at the outer corner, where it lifts the eye.
Chunky glitter pressed onto the centre of the lid.
One dark shade swept from the lash line to the brow bone.
5. Feather the Brows Up and Fill Only the Gaps
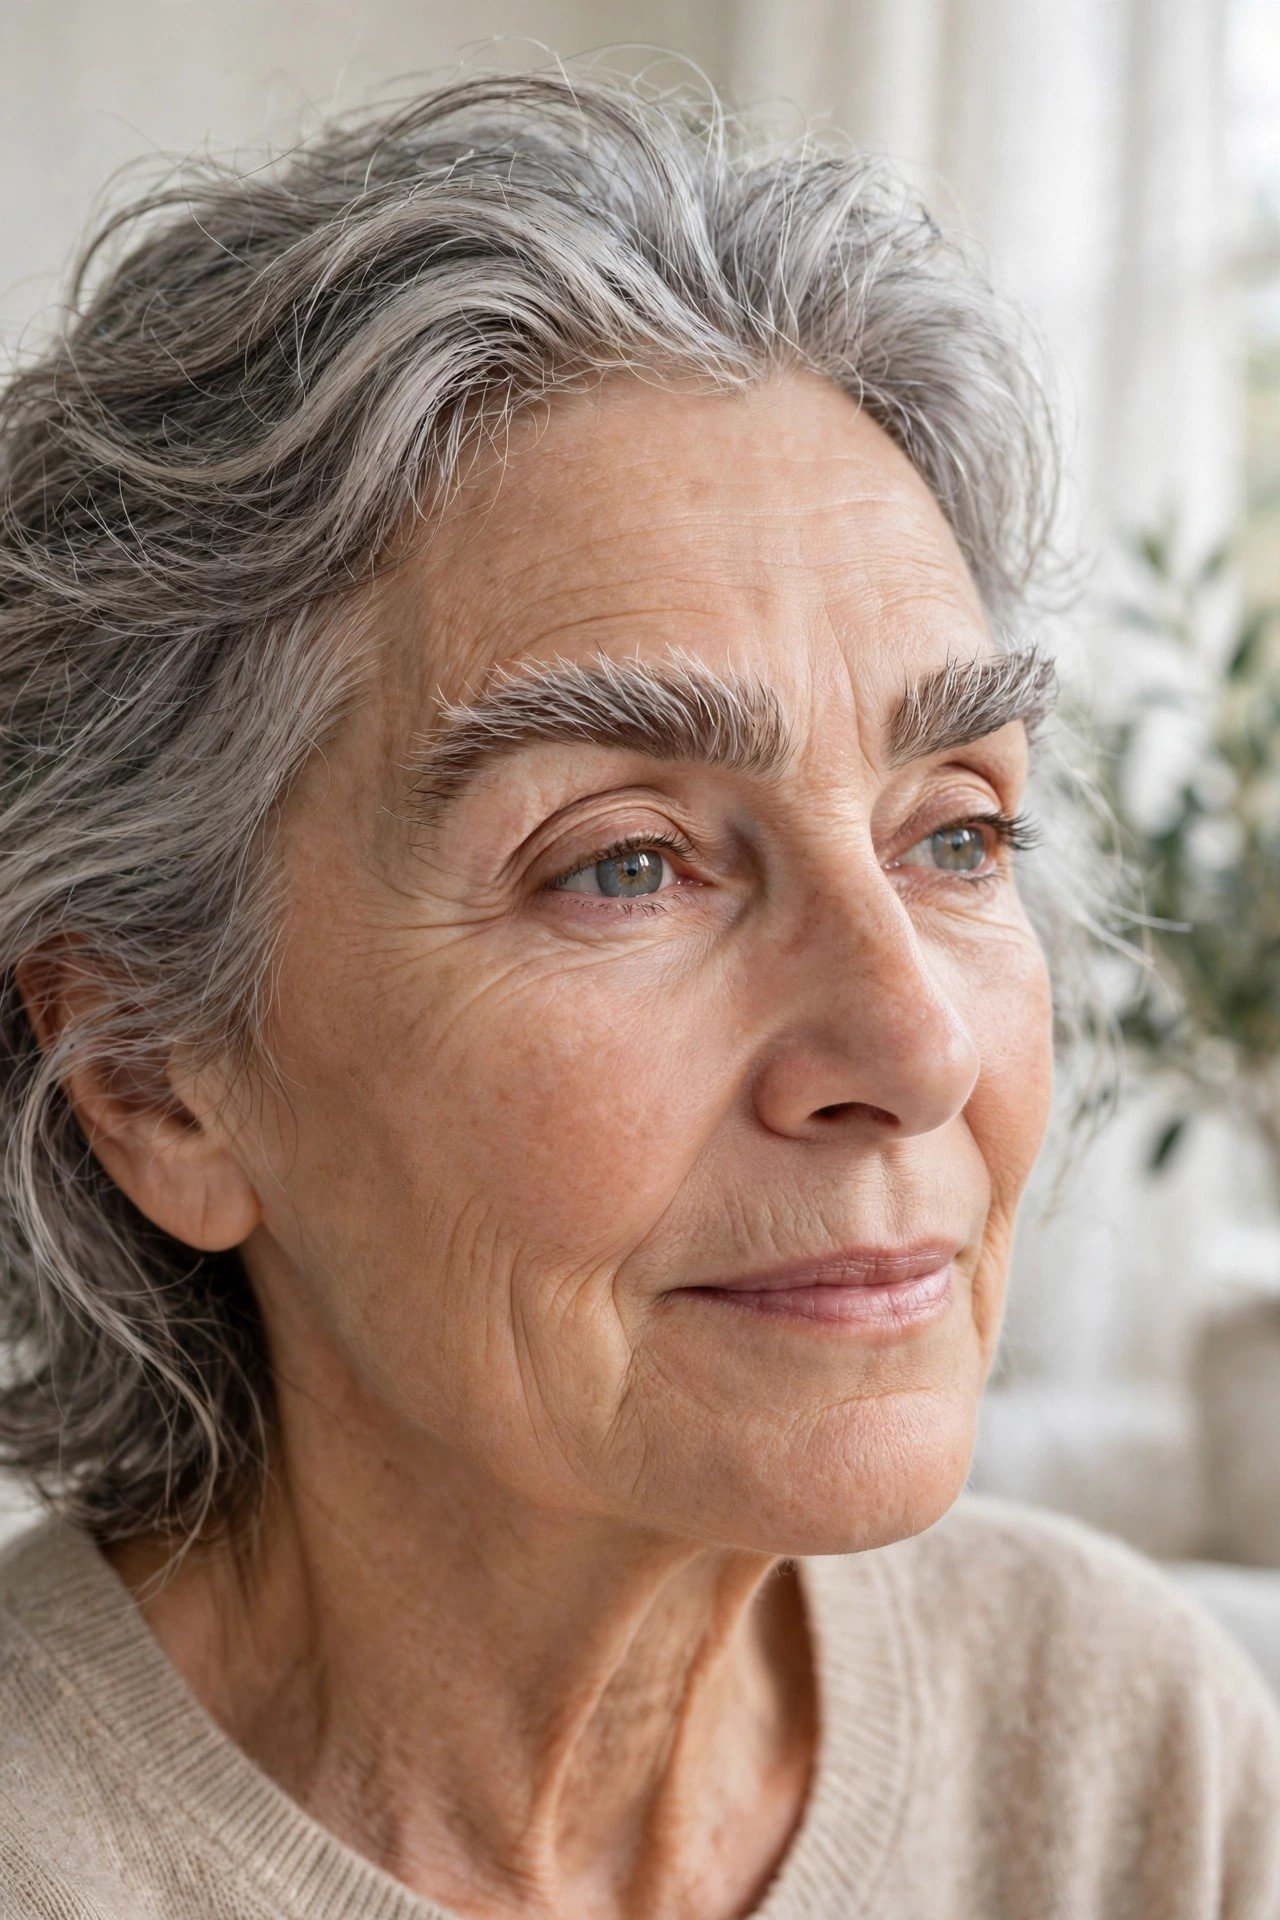
Brows frame every other choice on the face, and they thin at the tails first. Brushing the hairs upward with a tinted brow gel lifts the whole eye area and shows you the real shape you are working with. Then fill only where the skin shows through, using short strokes that follow the hair direction.
Step back before you add more. Brows that match too exactly can look drawn on, and a softer, slightly uneven finish reads far more natural in daylight.
On the table before you start
6. Blot Berry Lipstick Down to a Soft Stain
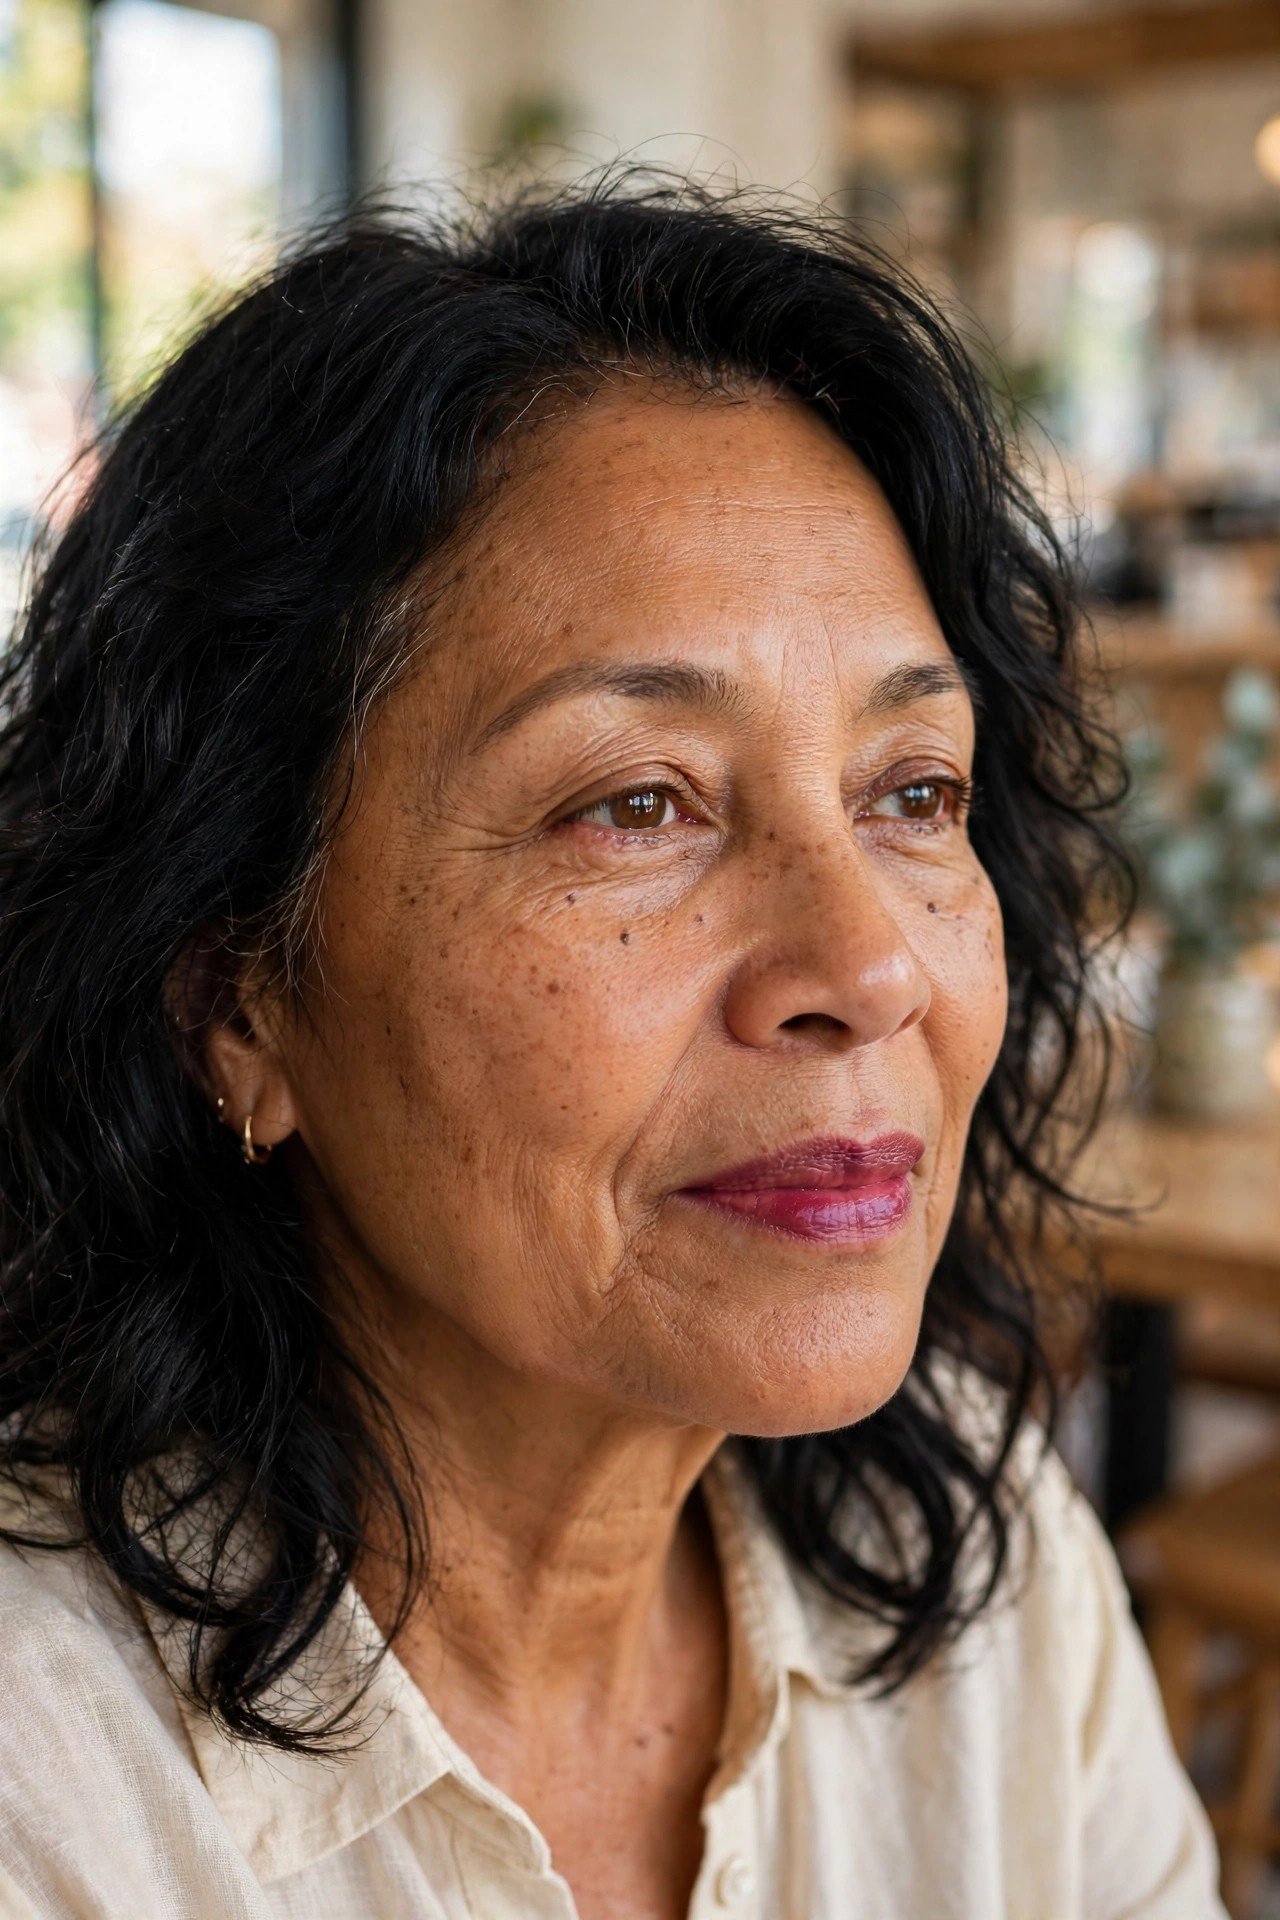
A full coat of strong lipstick can bleed into the fine lines around the mouth and pool there. The stain version gives you the same colour with none of that weight.
Press the lipstick straight from the bullet onto the centre of the lips, then work it outward with a fingertip until the edge softens. Blot once on a tissue. What stays behind is colour that sits inside the lip surface instead of sliding on top of it, so it fades evenly through coffee, lunch, and conversation.
A thick coat painted to the very edge of the lip. Within the hour it creeps into fine lines and fades in patches.
Colour pressed in with a fingertip and blotted once. A soft stain that fades evenly and stays inside the lip line.
7. Warm the Edges of the Face With Cream Bronzer
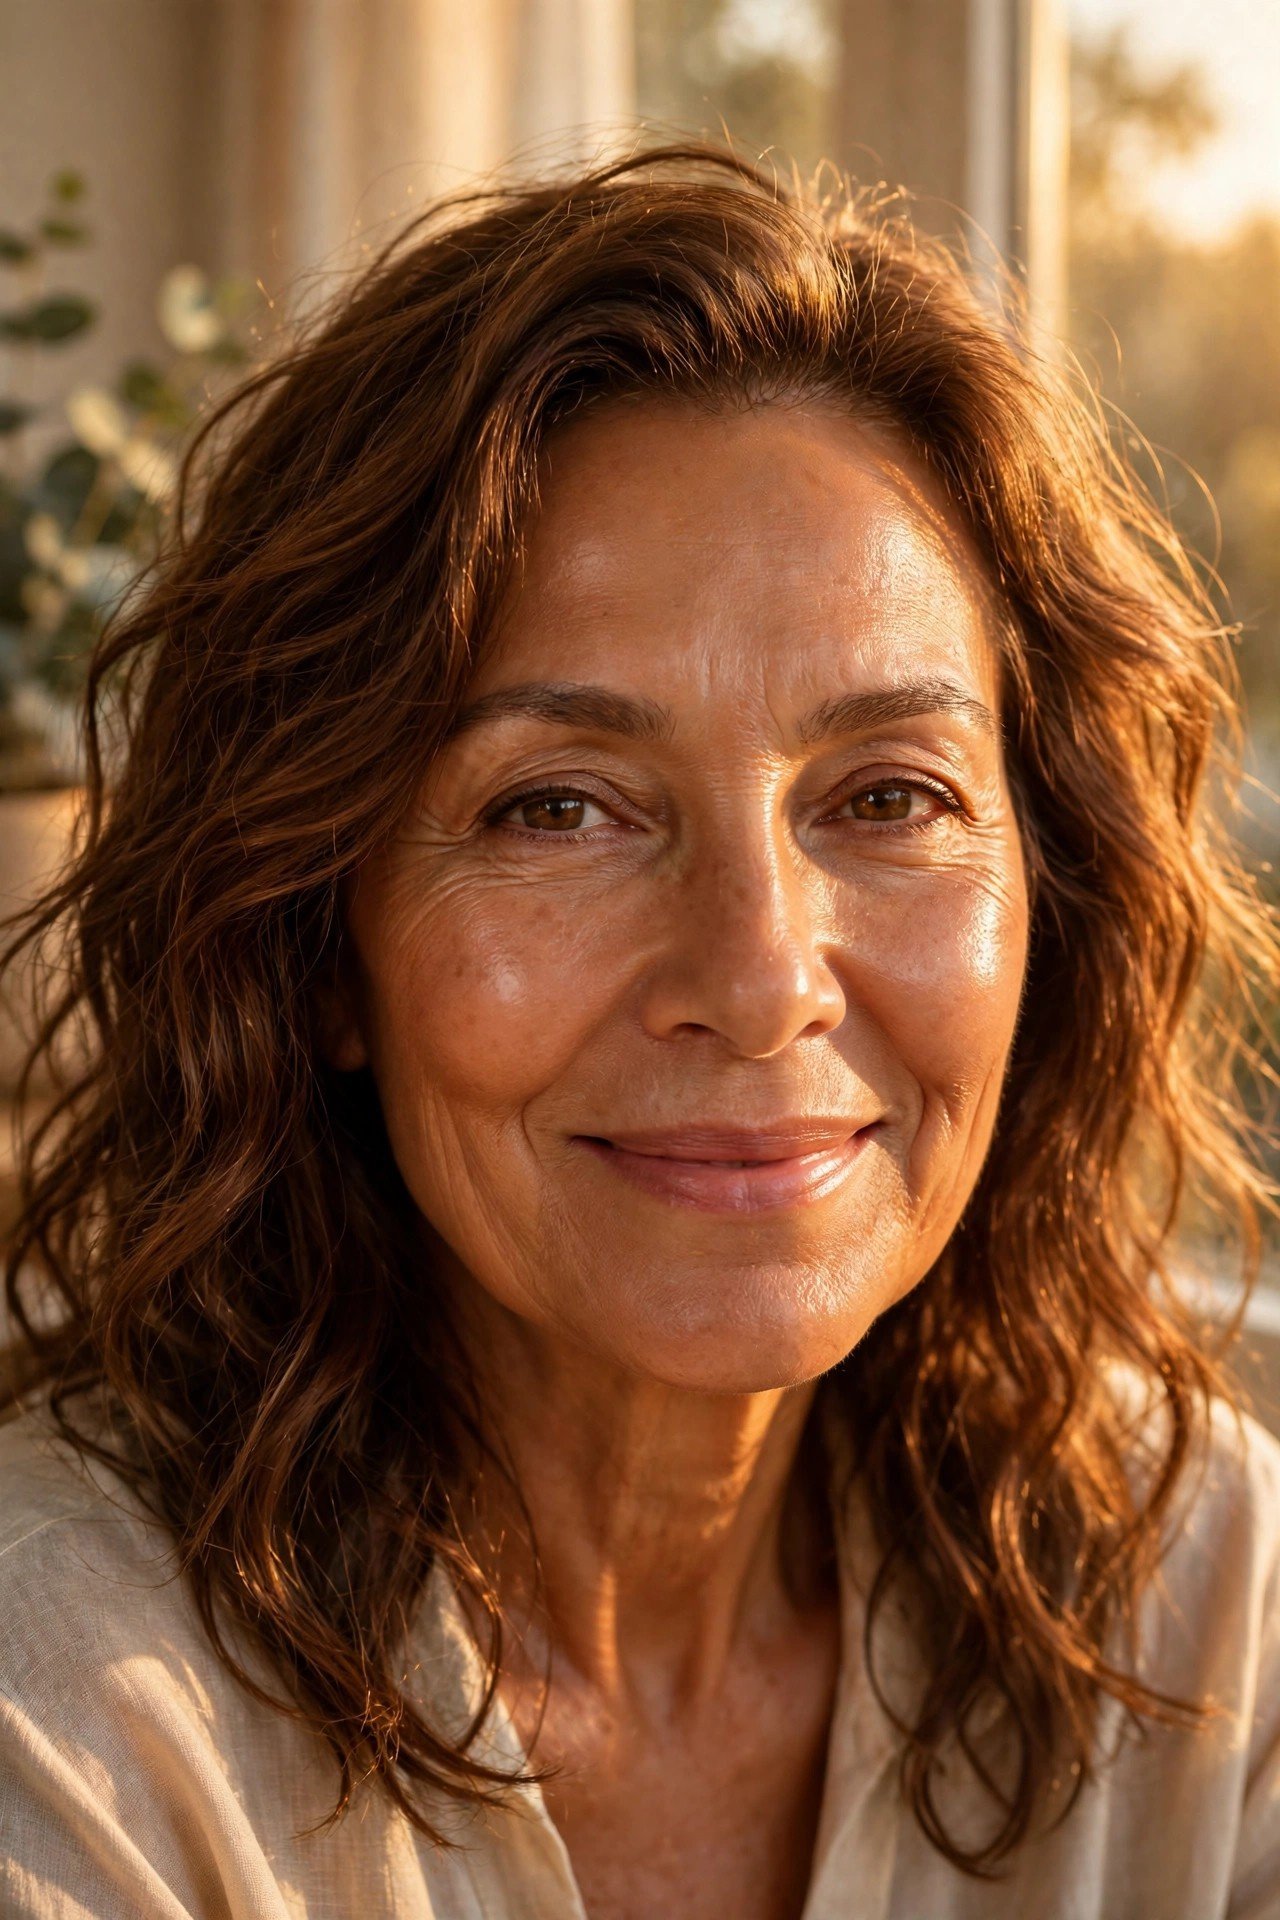
Powder bronzer can sit on top of dry cheeks and turn patchy by noon. Cream bronzer melts in with the base, so the warmth looks like it belongs to the skin.
Tap it in three places, the spots the sun reaches first:
- Along the hairline, blended into the hair roots
- Across the tops of the cheekbones
- Lightly over the bridge of the nose
Blend each spot before you move on. The result is gentle shape and warmth with no visible stripes, and no powdery film sitting in the lines at the sides of the face.
| Cream bronzer | Powder bronzer |
|---|---|
| Melts into a cream base and moves with the skin. | Sits on the surface and can cling to dry patches. |
| Blends with warm fingers, no brush needed. | Needs a large brush and a very light hand. |
| Finish stays dewy and close to real skin. | Finish turns matte and can flatten the face. |
8. Correct Under-Eye Shadow With Peach Before Concealer
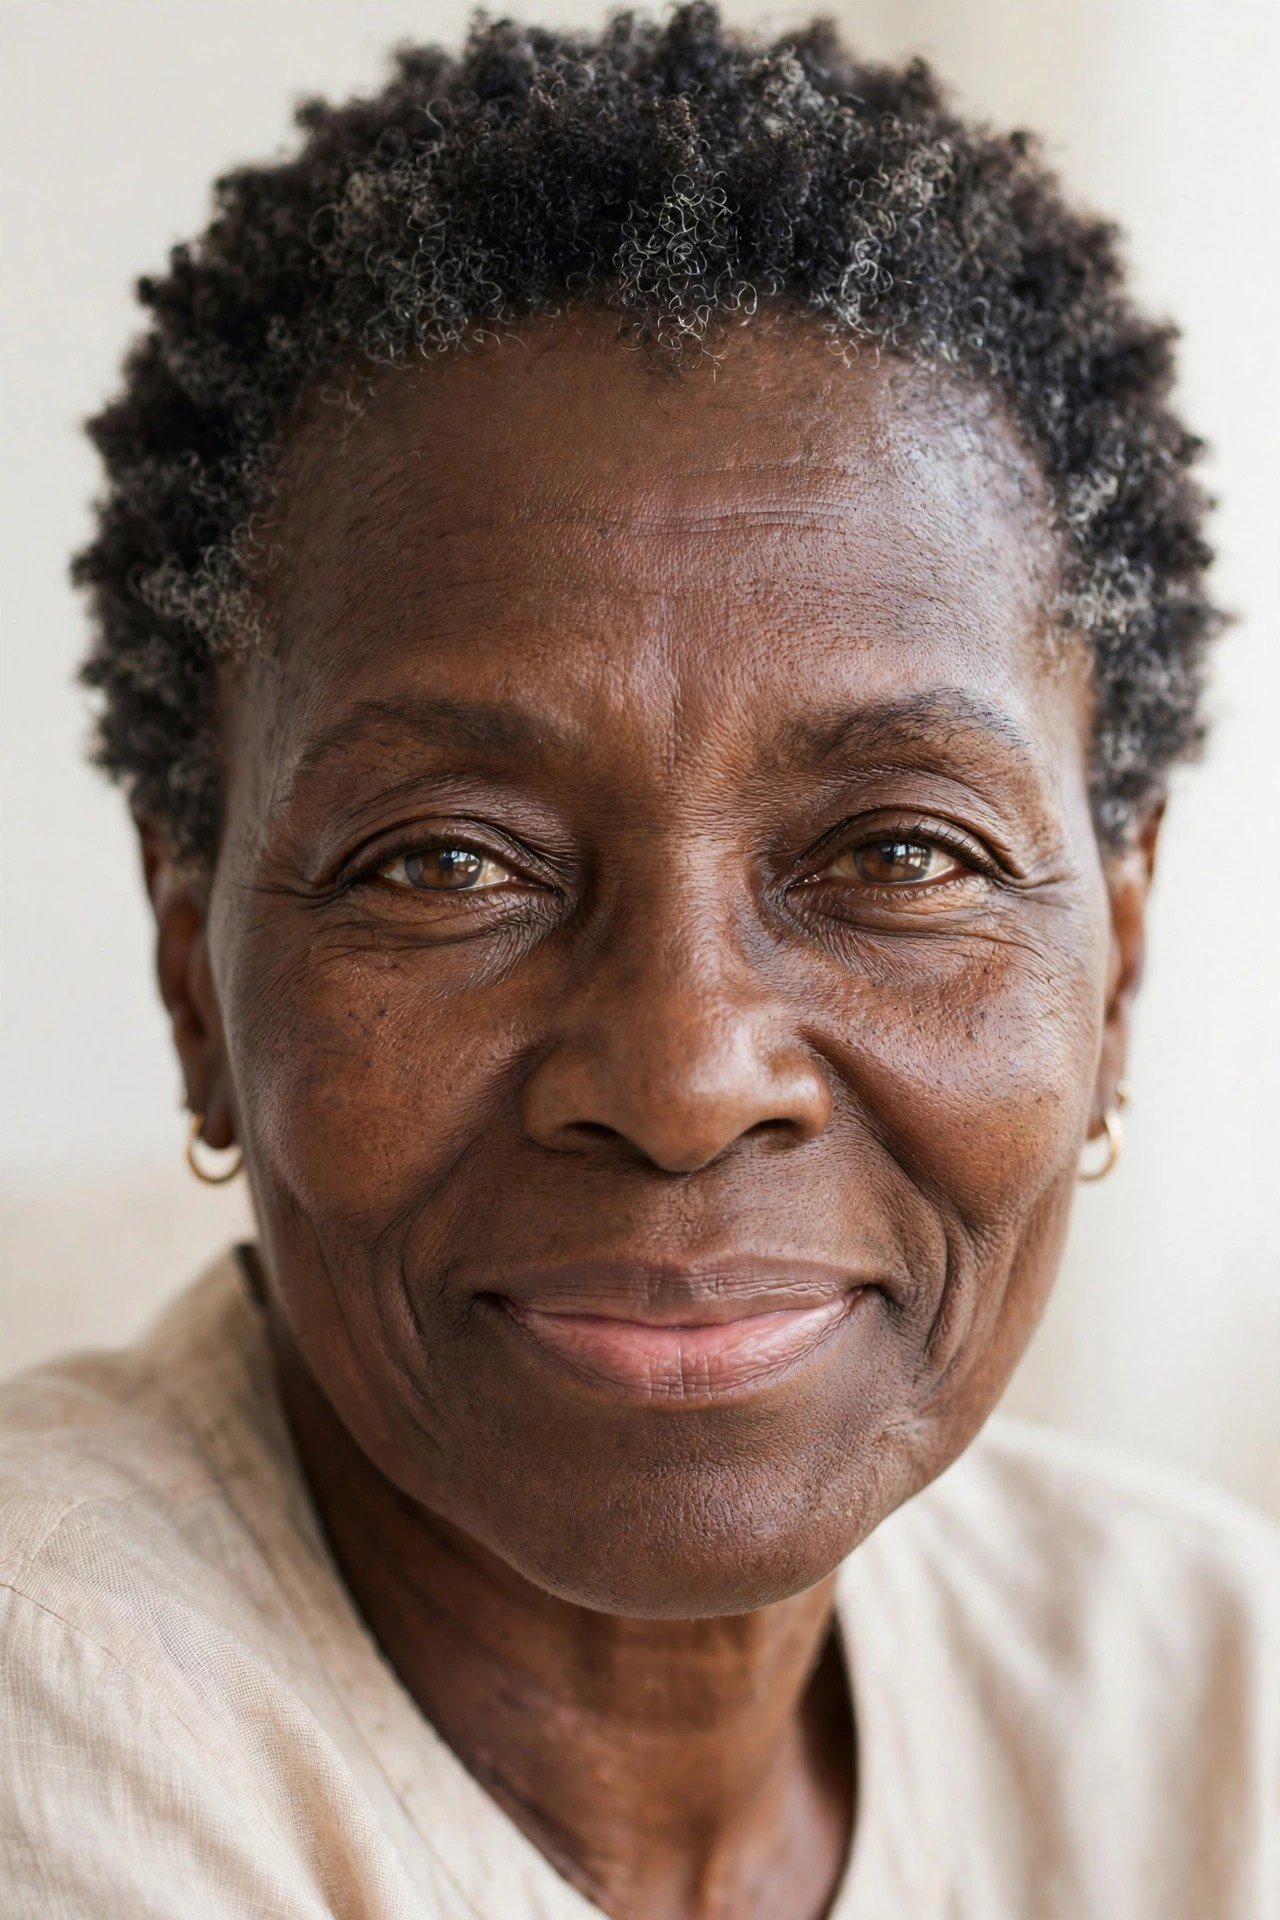
Under-eye darkness often reads worse under a thick layer of pale concealer, which turns grey and settles into every fine line beneath it.
A peach corrector does the quiet work first. Pat a thin layer over the darkest area only, then add a small amount of concealer on top and blend the edges. Because the corrector cancels the blue tone underneath, you need far less concealer overall, and less product under the eye means less settling by the end of the day.
9. Set the Whole Face With Mist Instead of a Powder Coat
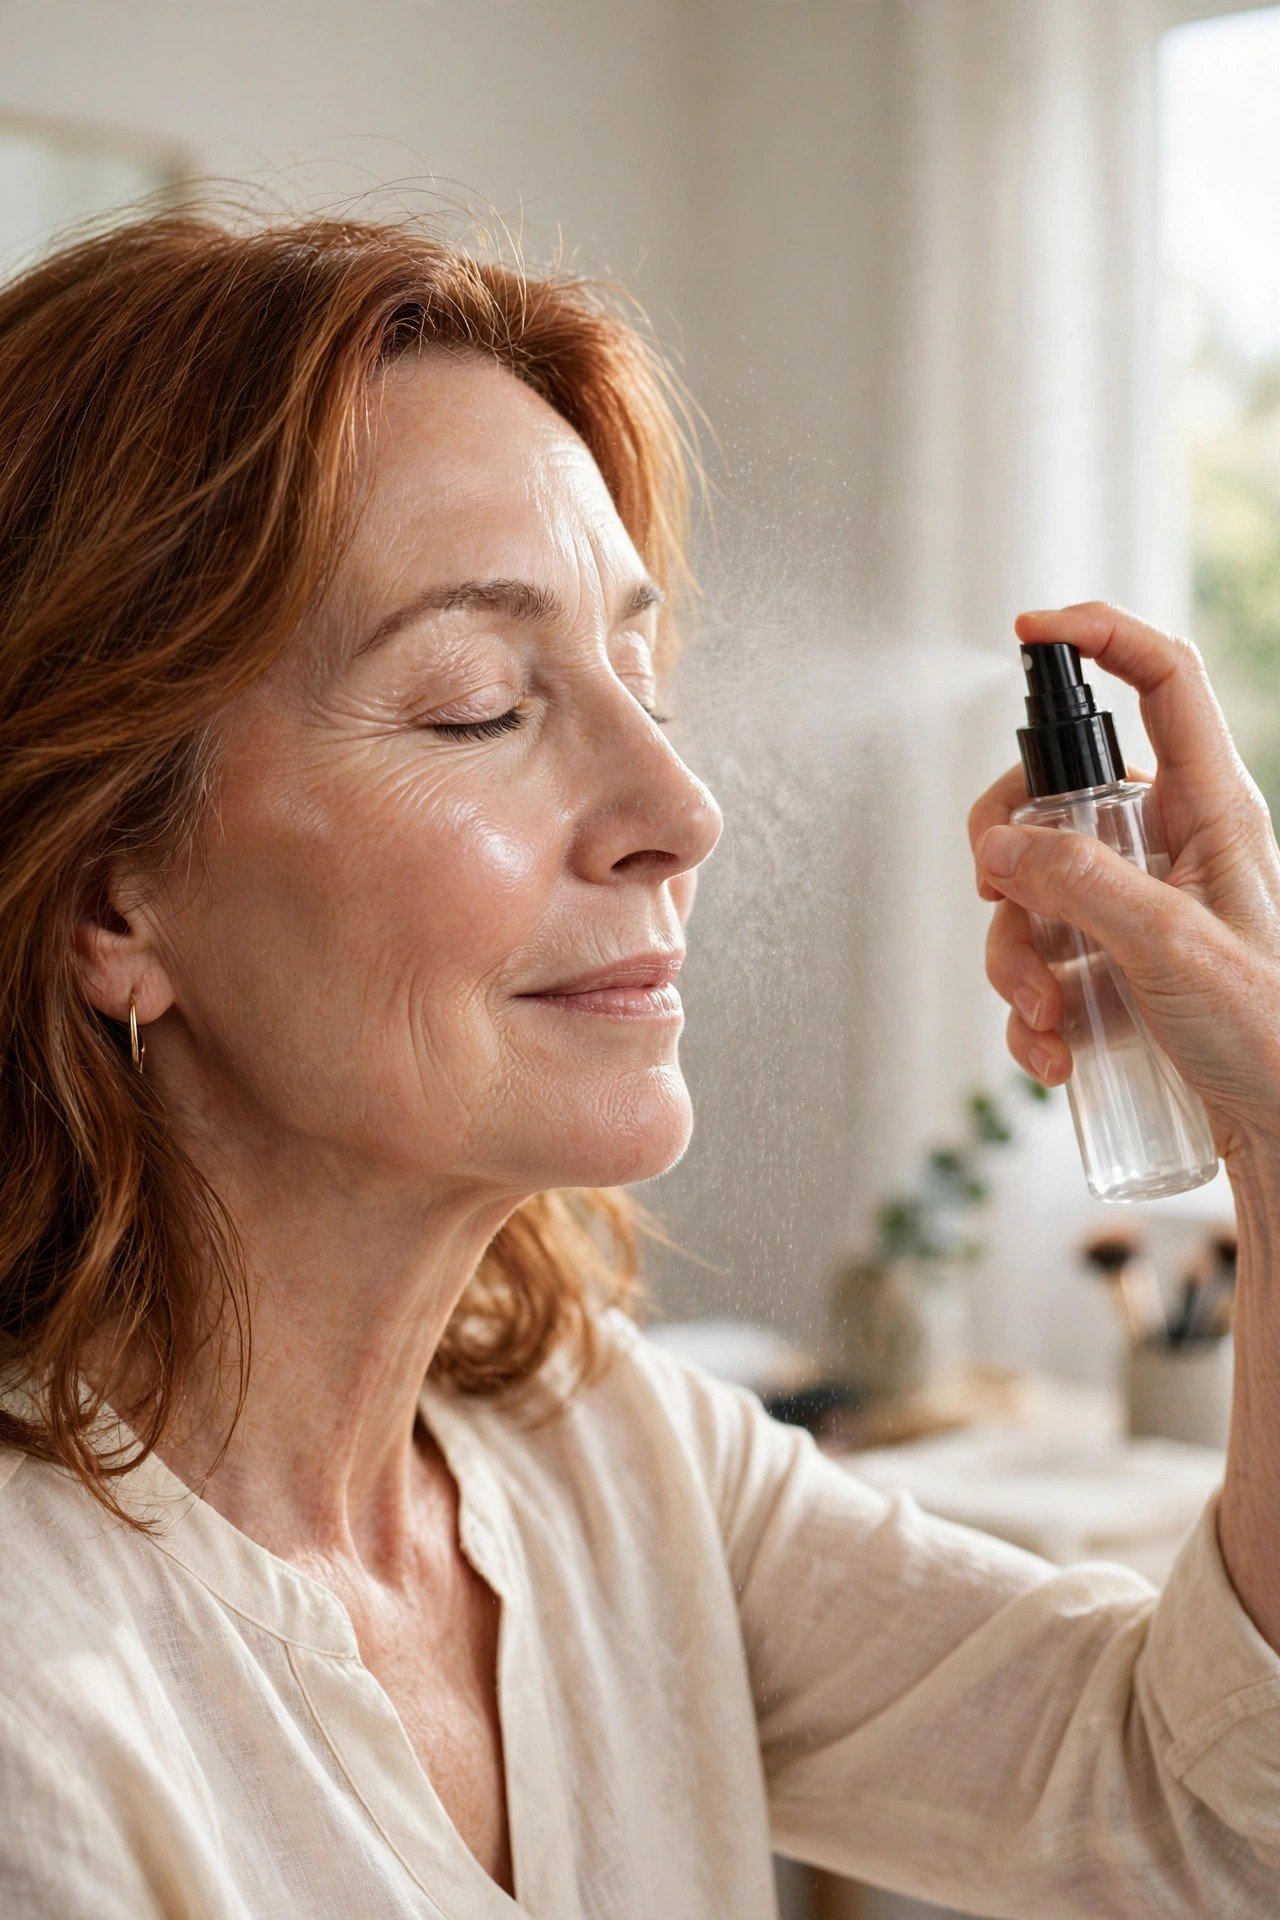
Rule of thumb for mature skin: powder is a spot tool, not a blanket.
A fine setting spray does the setting job without the dry finish. Hold the bottle at arm’s length and mist in a slow cross pattern, then let it dry on its own without touching your face. The spray melts the separate layers into one surface, takes away any dusty edge, and leaves a finish that looks like skin under good light. Makeup wears longer, and nothing gathers in the lines around the eyes and mouth.
📌 Good To Know
Mist once, at the very end, after blush and bronzer are on. Spraying halfway through a routine can shift cream products around. One final mist, then hands off until it dries.
10. Curl First, Then Load Mascara on the Outer Lashes
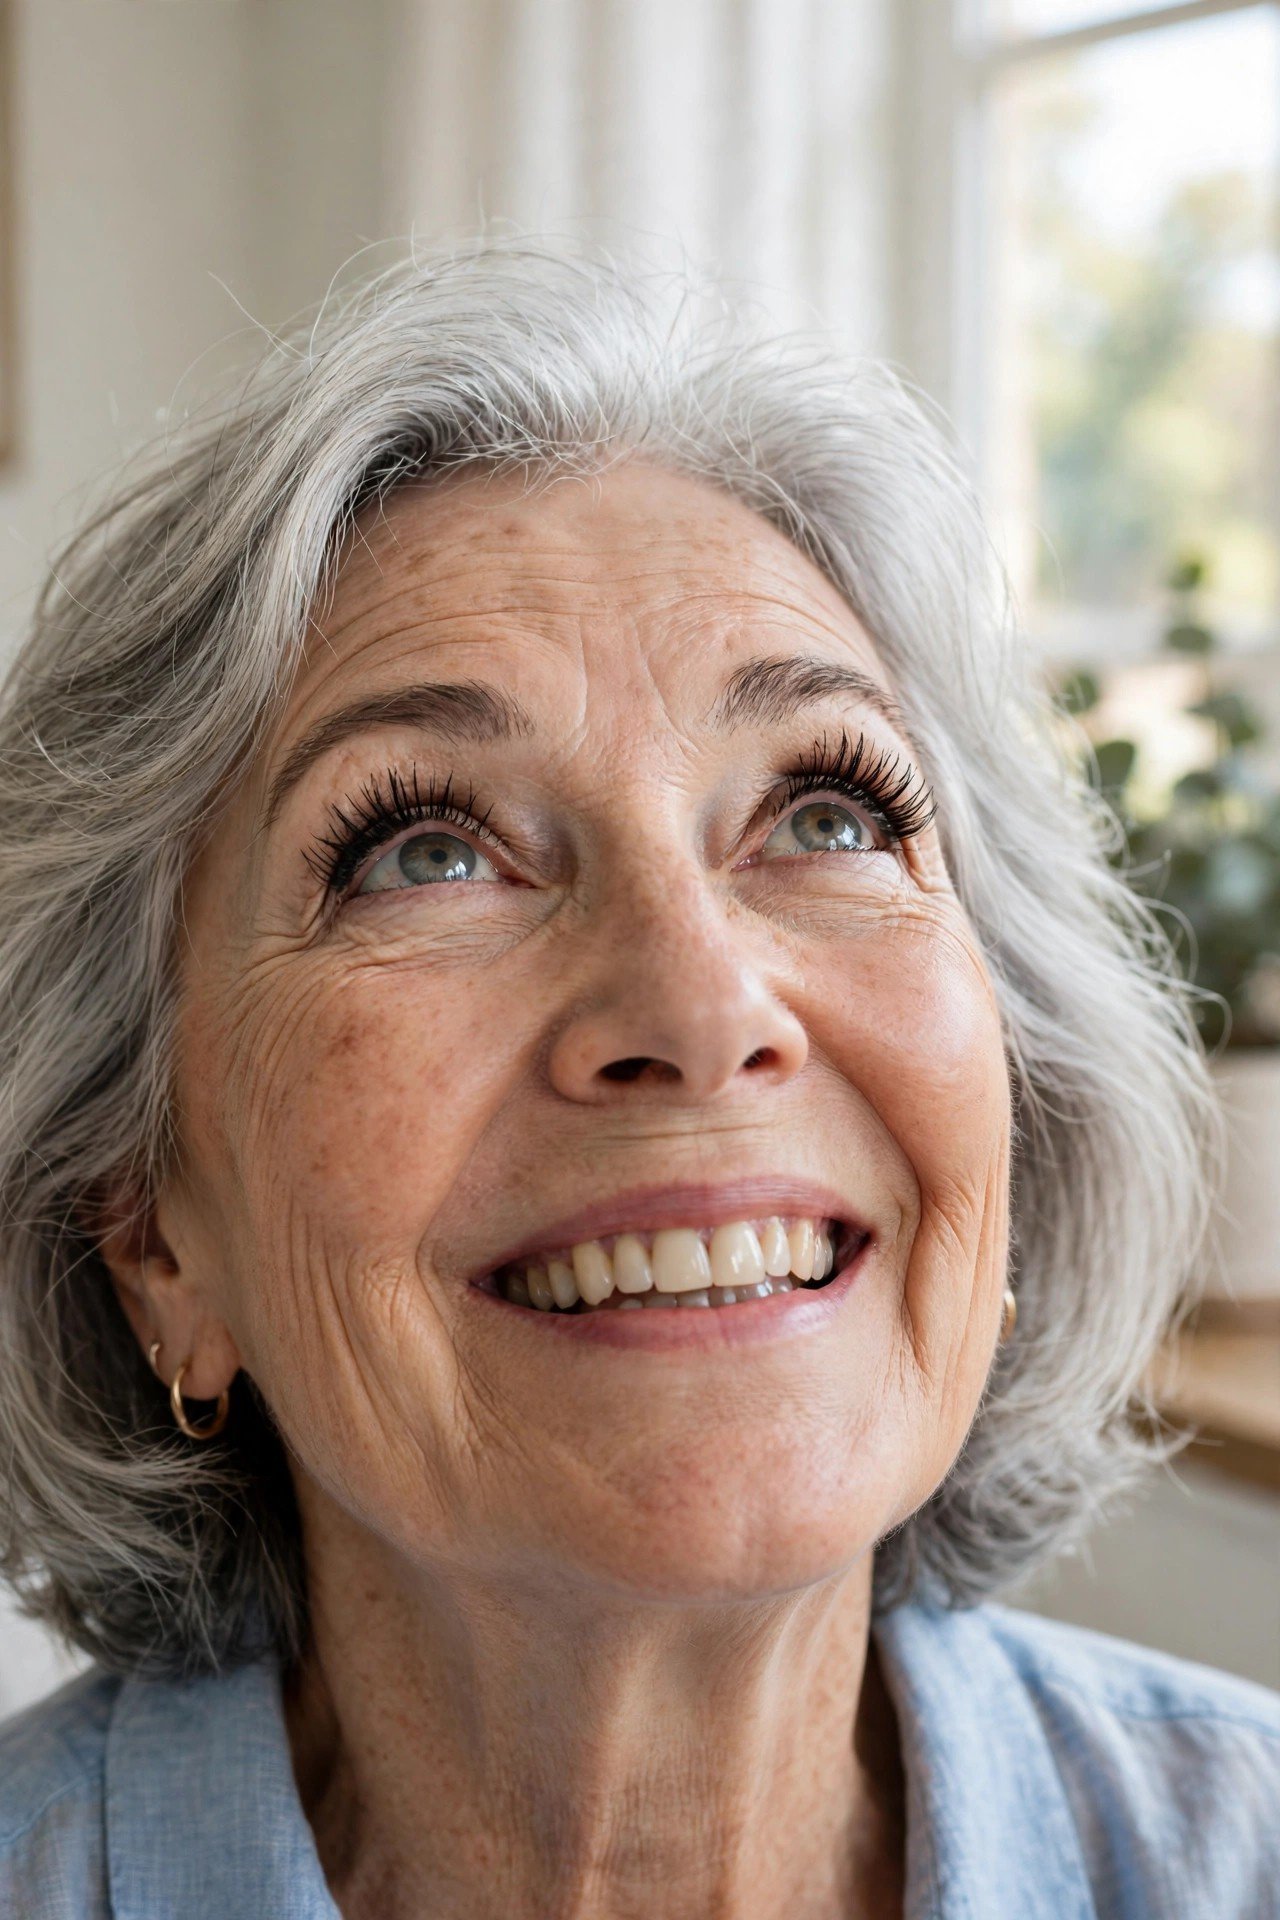
Flat lashes point down and shadow the eye. A curler changes the angle before any product goes on, which is where most of the lift actually comes from.
Squeeze the curler at the roots for five slow counts, walk it halfway out, and squeeze again. Then run mascara through the outer third of the lashes with two coats, and give the inner lashes one light pass. The eye reads open and lifted, and the weight sits where it flatters instead of dragging the whole lash line down.
The curler does the lifting. Mascara only holds the shape the curler made, so never skip the curl to save a minute.
11. Wear One Rose Family on Eyes, Cheeks, and Lips
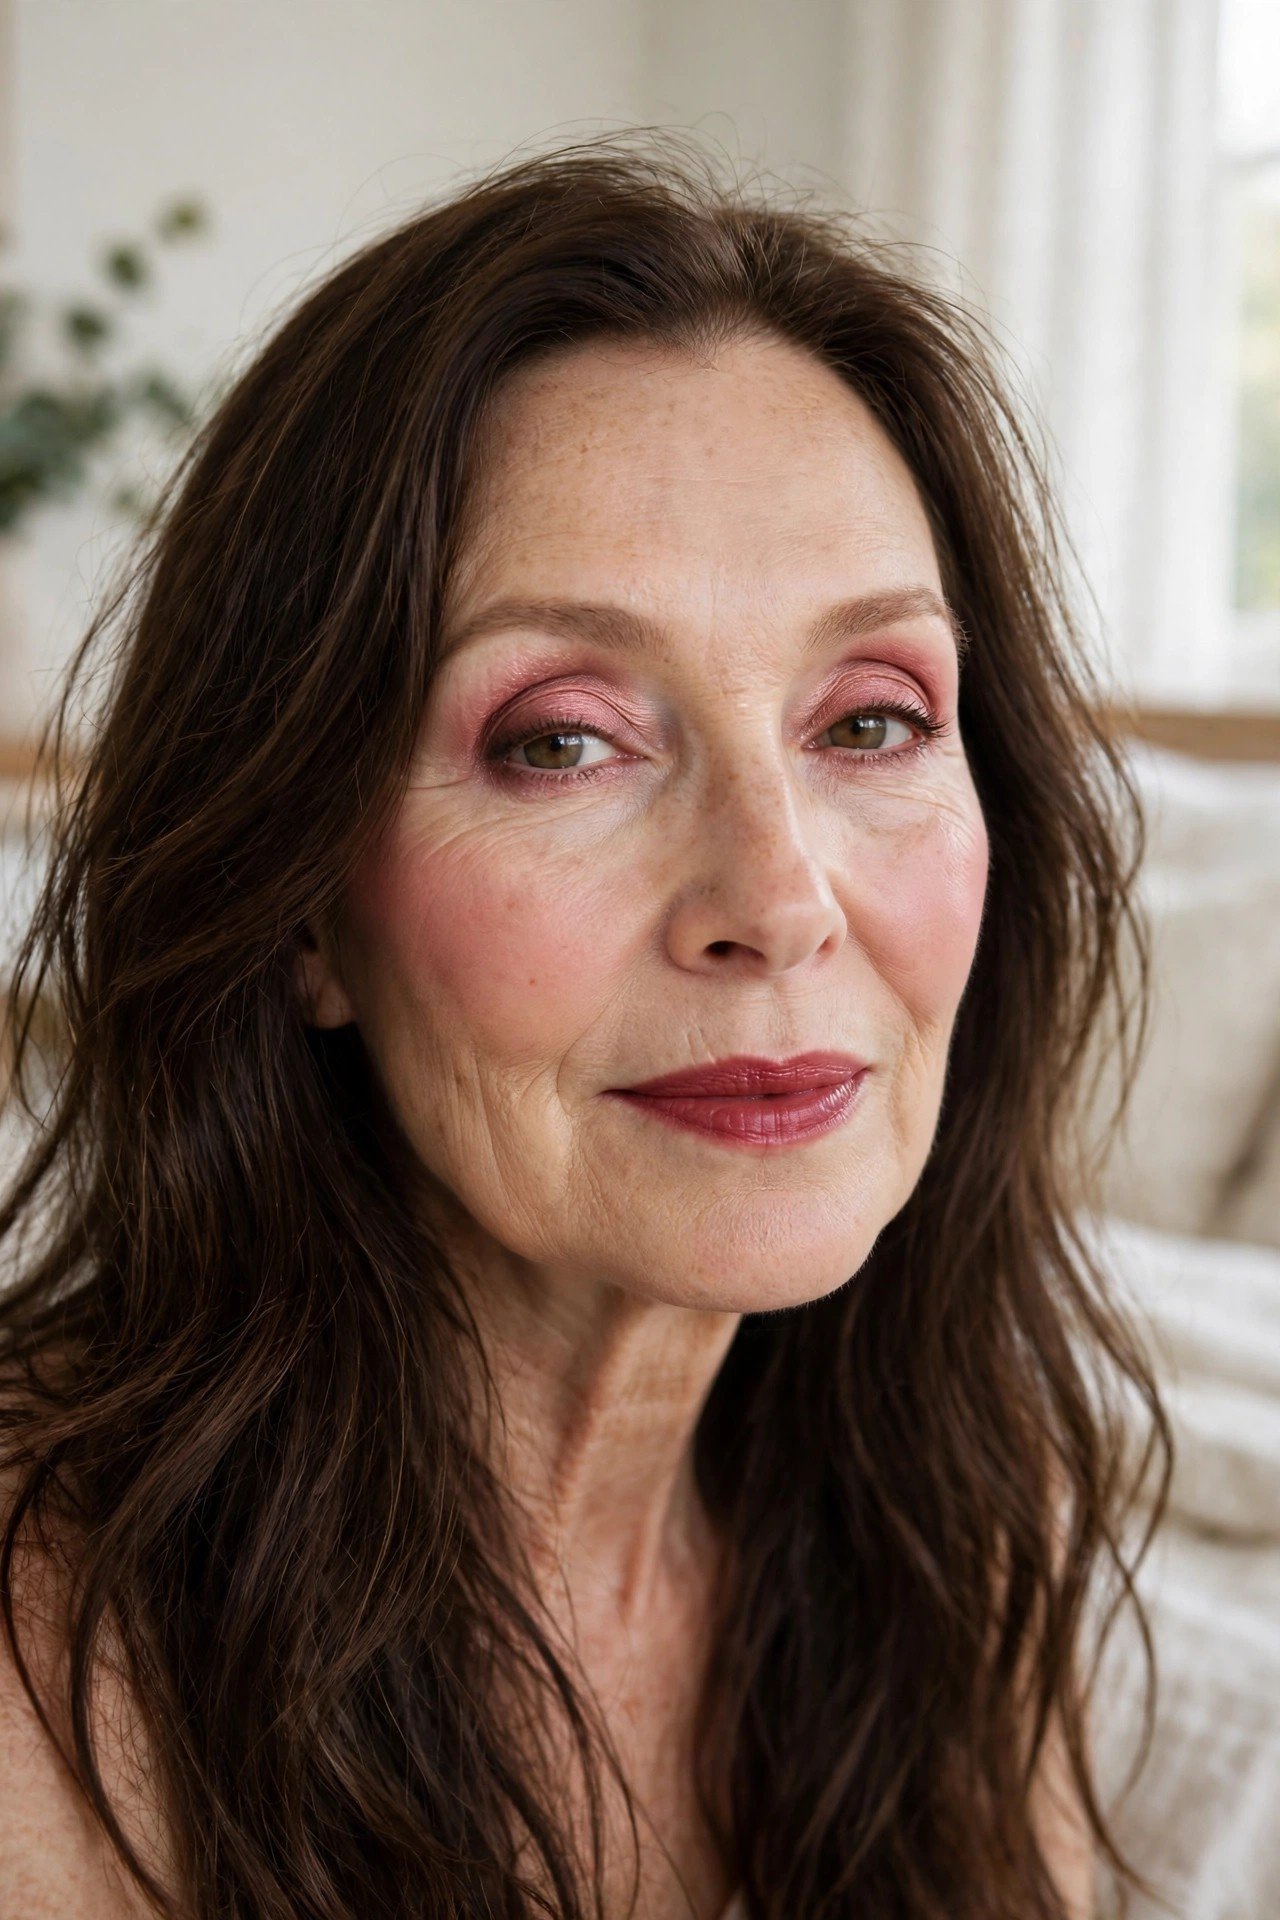
Matching tones across the face is the oldest trick in the makeup bag, and it still works because the eye reads harmony as polish.
Pick one rose family and let it repeat. A wash of rosy shadow on the lids, the same tone as cream blush, and a lip colour one step deeper. Nothing matches exactly, and that is the point. The tones echo each other, so the face looks planned with very little effort, and the soft colour keeps lines from becoming the main event.
- ▸Lids: a sheer wash of rosy satin shadow.
- ▸Cheeks: cream blush in the same rose family.
- ▸Lips: the same family, one shade deeper.
- ▸Skin: keep the base sheer so the colour carries the look.
12. Build the Wing With Eyeshadow and an Angled Brush
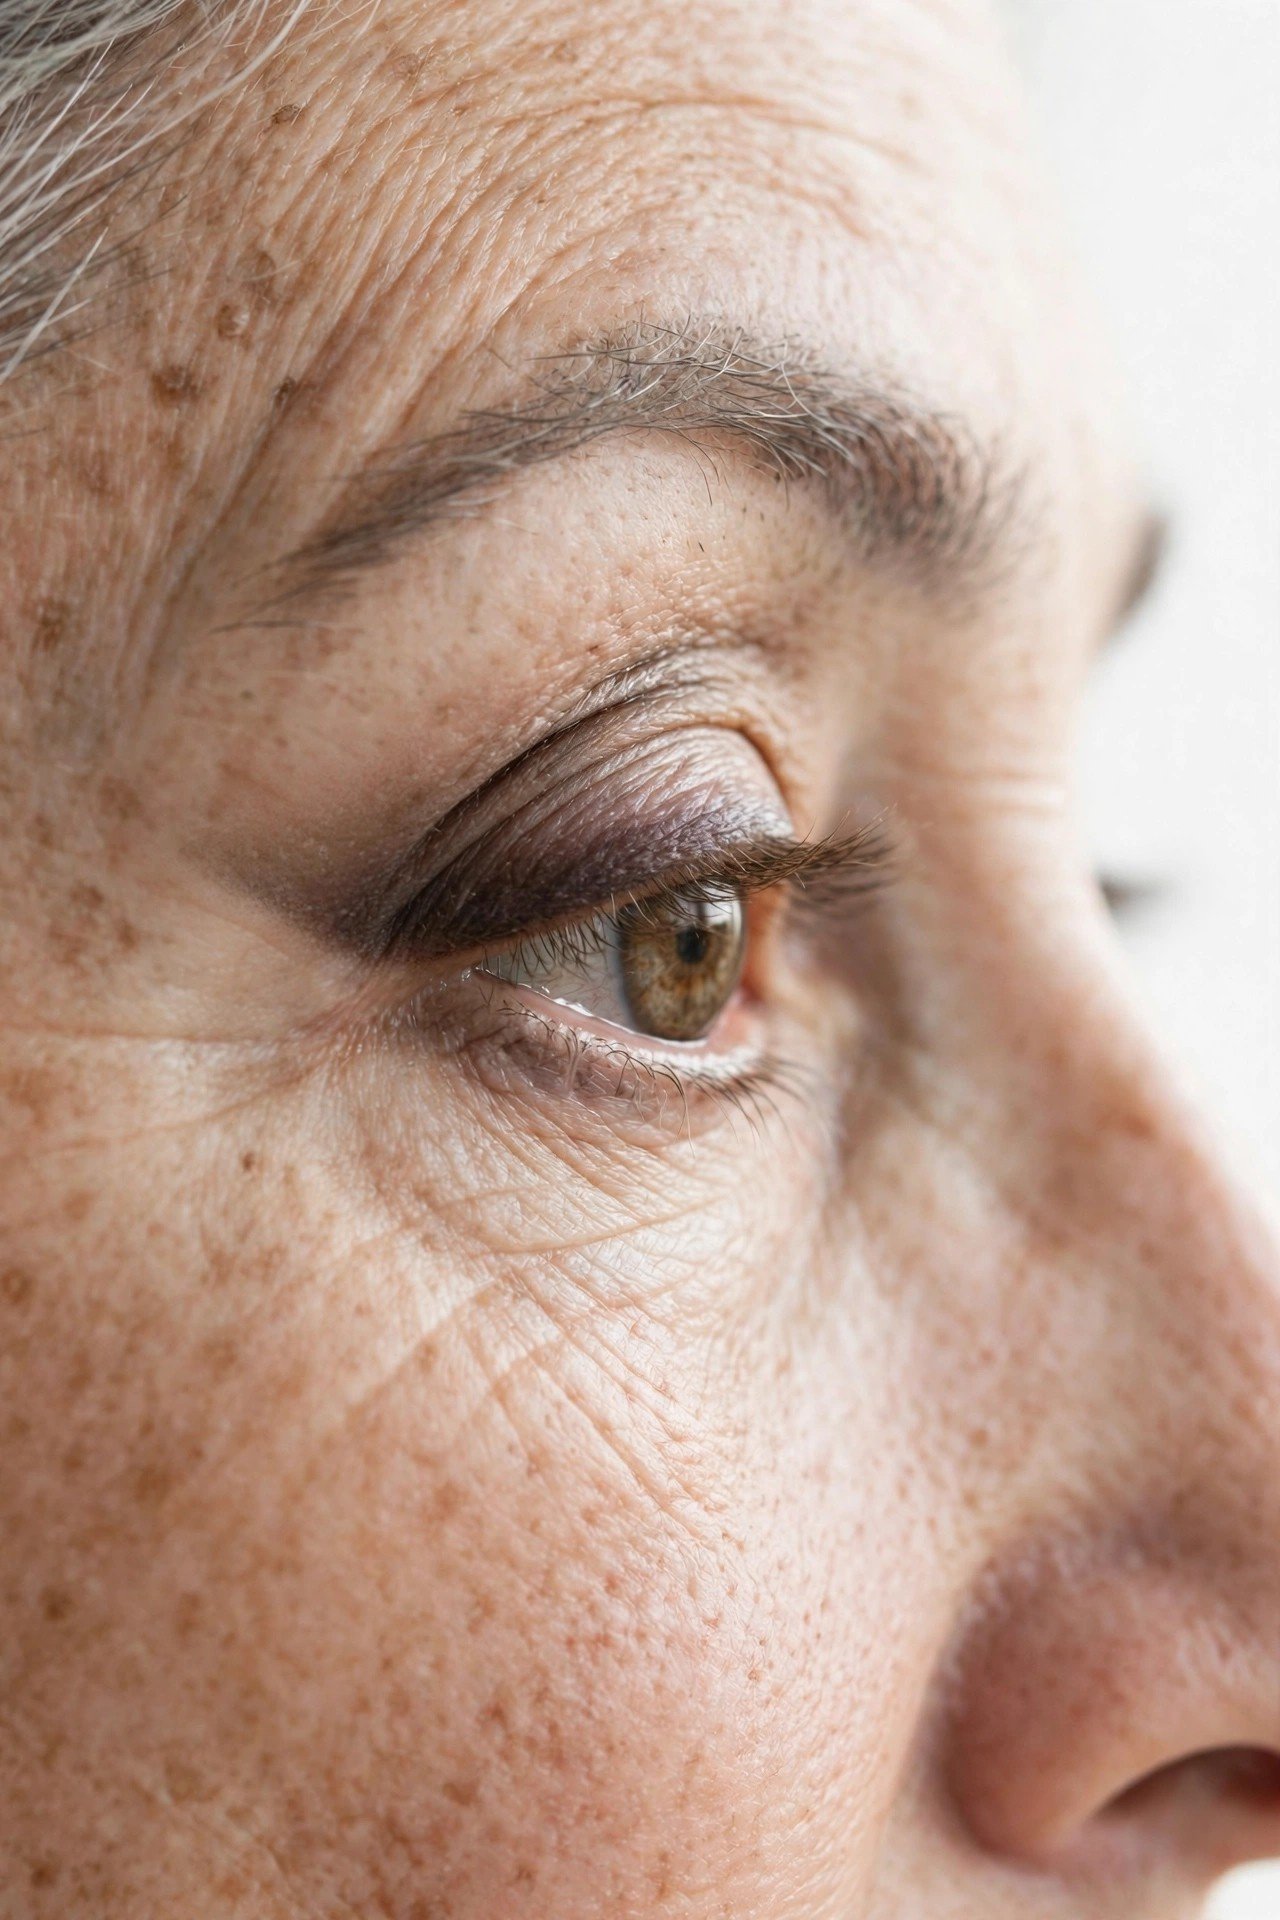
Liquid liner is where good eye makeup goes to wobble. The felt tip skips over lid texture, and the line lands thick, shaky, and hard to fix.
Shadow on an angled brush is far more forgiving. Stamp the brush along the outer lash line, then flick it up toward the end of the brow in short presses. The edge stays soft, the angle lifts the outer corner, and any small mistake blends away with a clean brush instead of starting the whole eye again.
Load an angled brush with dark brown or charcoal shadow and tap off the excess.
Stamp along the outer third of the lash line in short presses.
Flick the last press upward toward the tail of the brow, then soften the edge.
13. Underpaint Blush and Bronzer Beneath a Thin Base
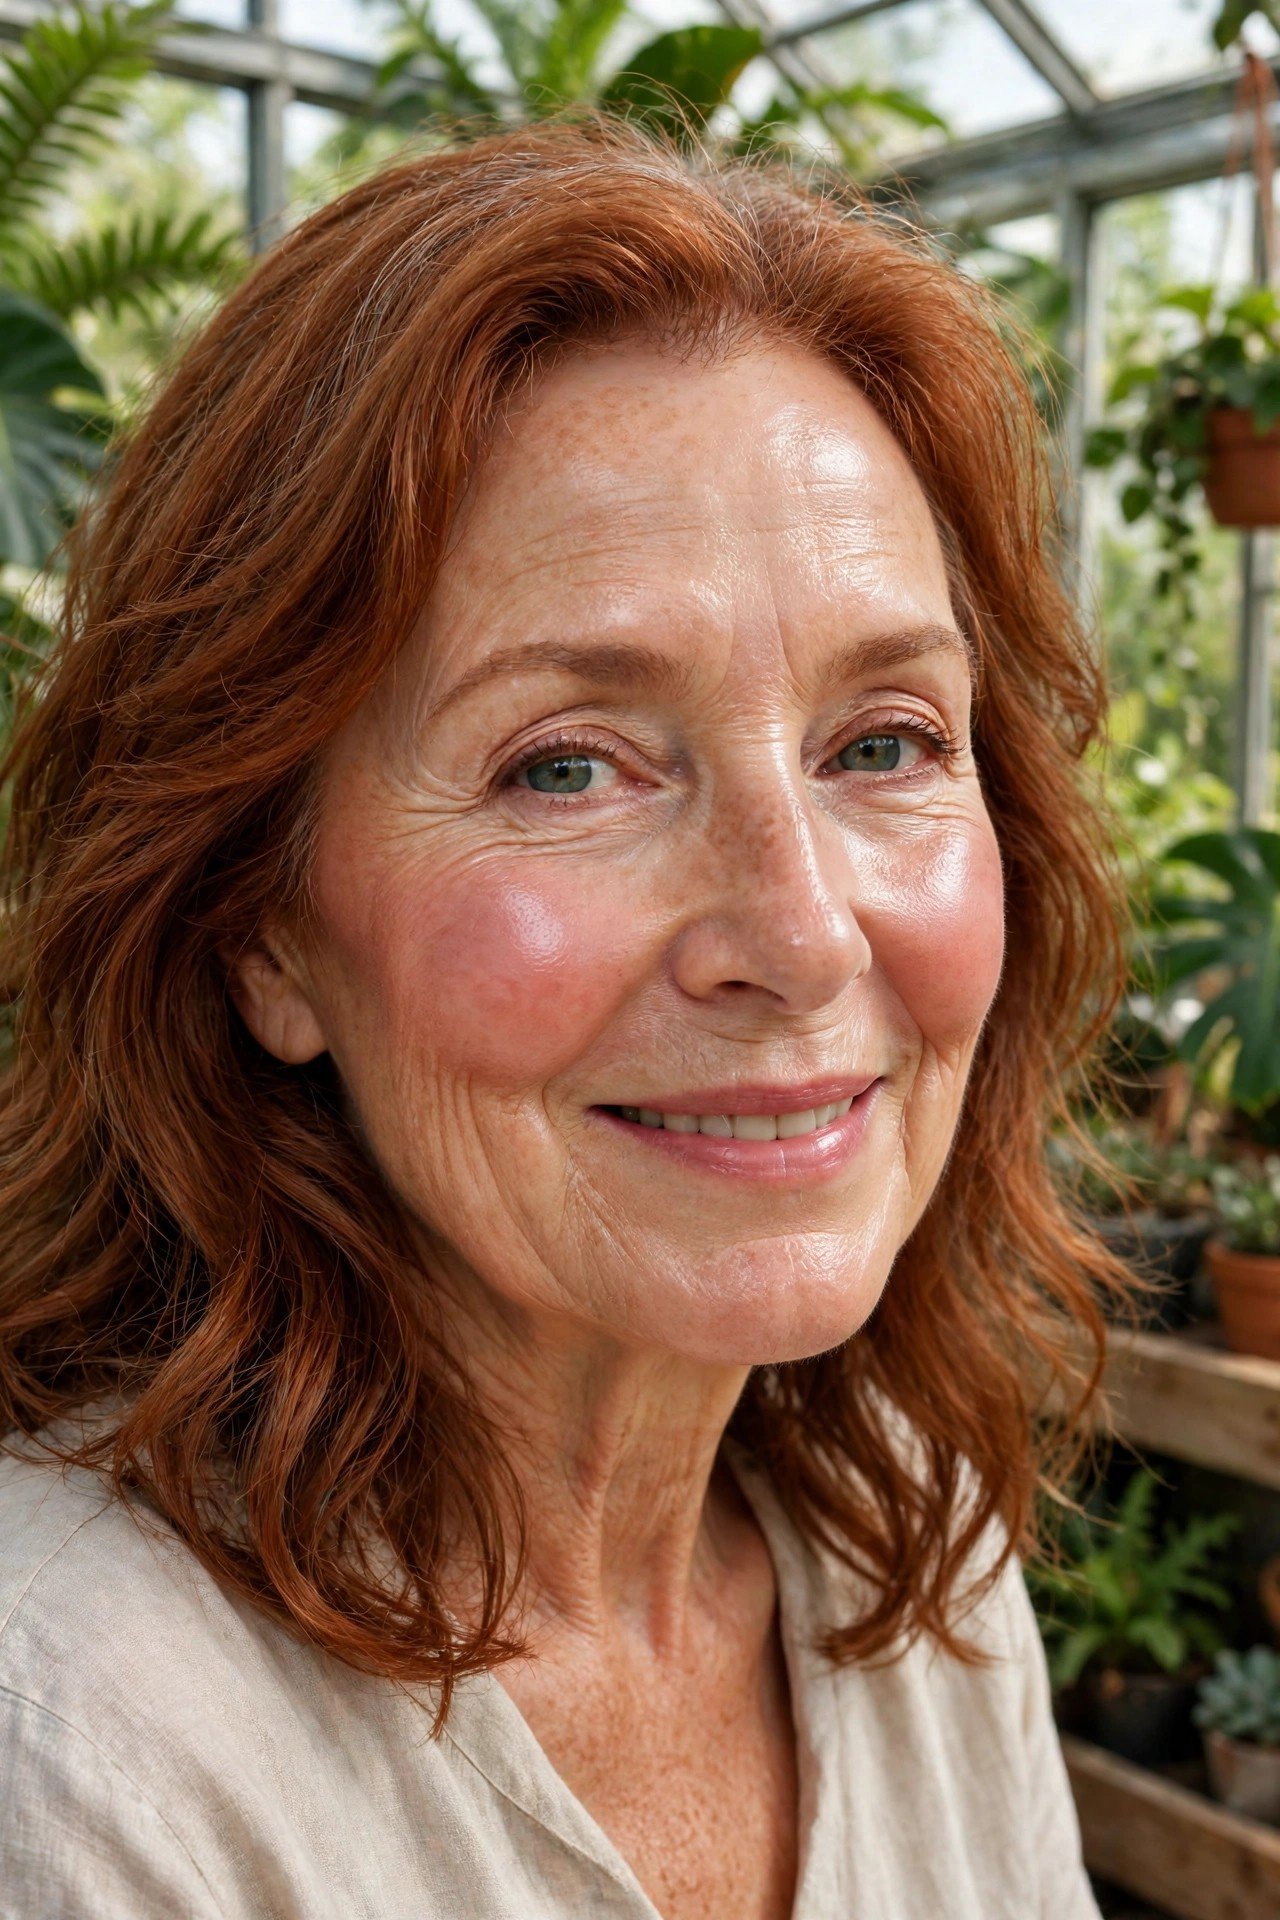
Colour that sits under the base looks like it comes from the skin itself. That is the whole appeal of underpainting, and it wears beautifully on mature skin.
Place cream blush and cream bronzer first, a little stronger than you think you need. Then bounce a sheer layer of skin tint over the top with a damp sponge. The tint softens the colour without covering it, so the cheeks glow through the base instead of sitting on it. Because the colour layer is trapped underneath, it fades far more slowly through the day.
Blush applied over a finished base. The colour sits on the surface and wears away by mid afternoon.
Blush placed first, under a sheer tint. The colour glows through the base and holds its place for hours.
14. Wake the Eyes With a Nude Waterline and a Lit Inner Corner

Tired eyes give the game away at the school gate, the office door, and every early photo. Two small touches fix the look faster than a full eye routine.
Run a nude pencil along the lower waterline to cancel redness, and press a pale satin shadow into the inner corner with a fingertip. The eye whites read clearer, the whole eye looks wider, and the effect takes under a minute. Keep the shades pale and satin rather than white and frosty, which can look harsh in daylight.
The one minute wake-up kit
15. Sculpt Softly With a Little Cream Contour, Blended Upward
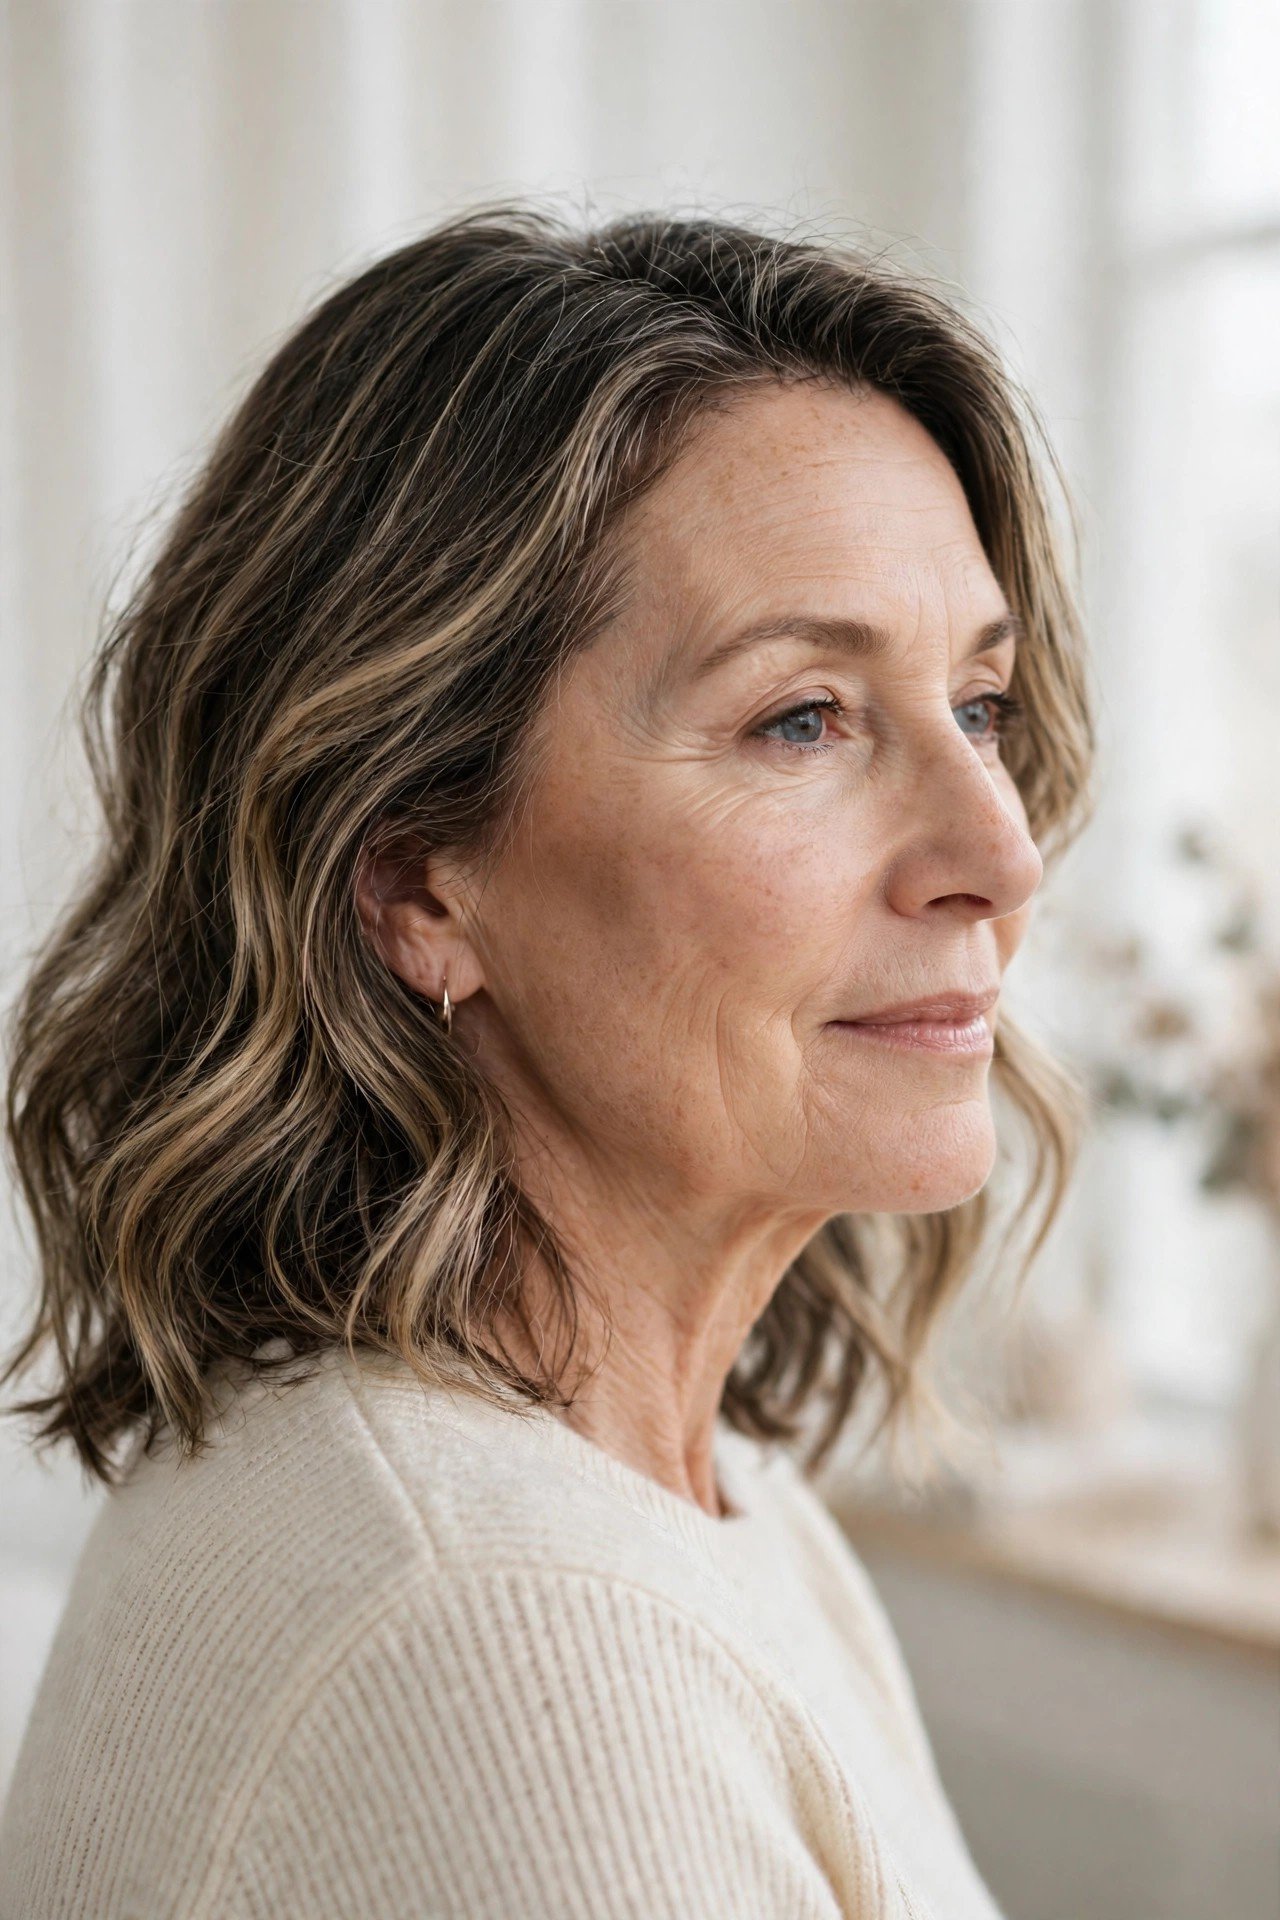
With contour, the direction of the blend matters more than the product. Everything moves up, never down.
Use a cool taupe cream, never an orange one, and place a short stripe just above the natural hollow of the cheek. Blend it upward toward the ear with a dense brush, keeping the colour high. A second, smaller touch along the jaw softens that line too. Work in thin layers and stop early. Soft shadow placed high gives the face shape without a single hard edge for lines to catch on.
Cool taupe cream placed above the hollow of the cheek.
Thin layers, blended upward and checked in daylight.
Warm orange shades that read as fake tan.
Stripes blended downward toward the mouth.
16. Line the Whole Lip, Then Add Satin Lipstick and Blot
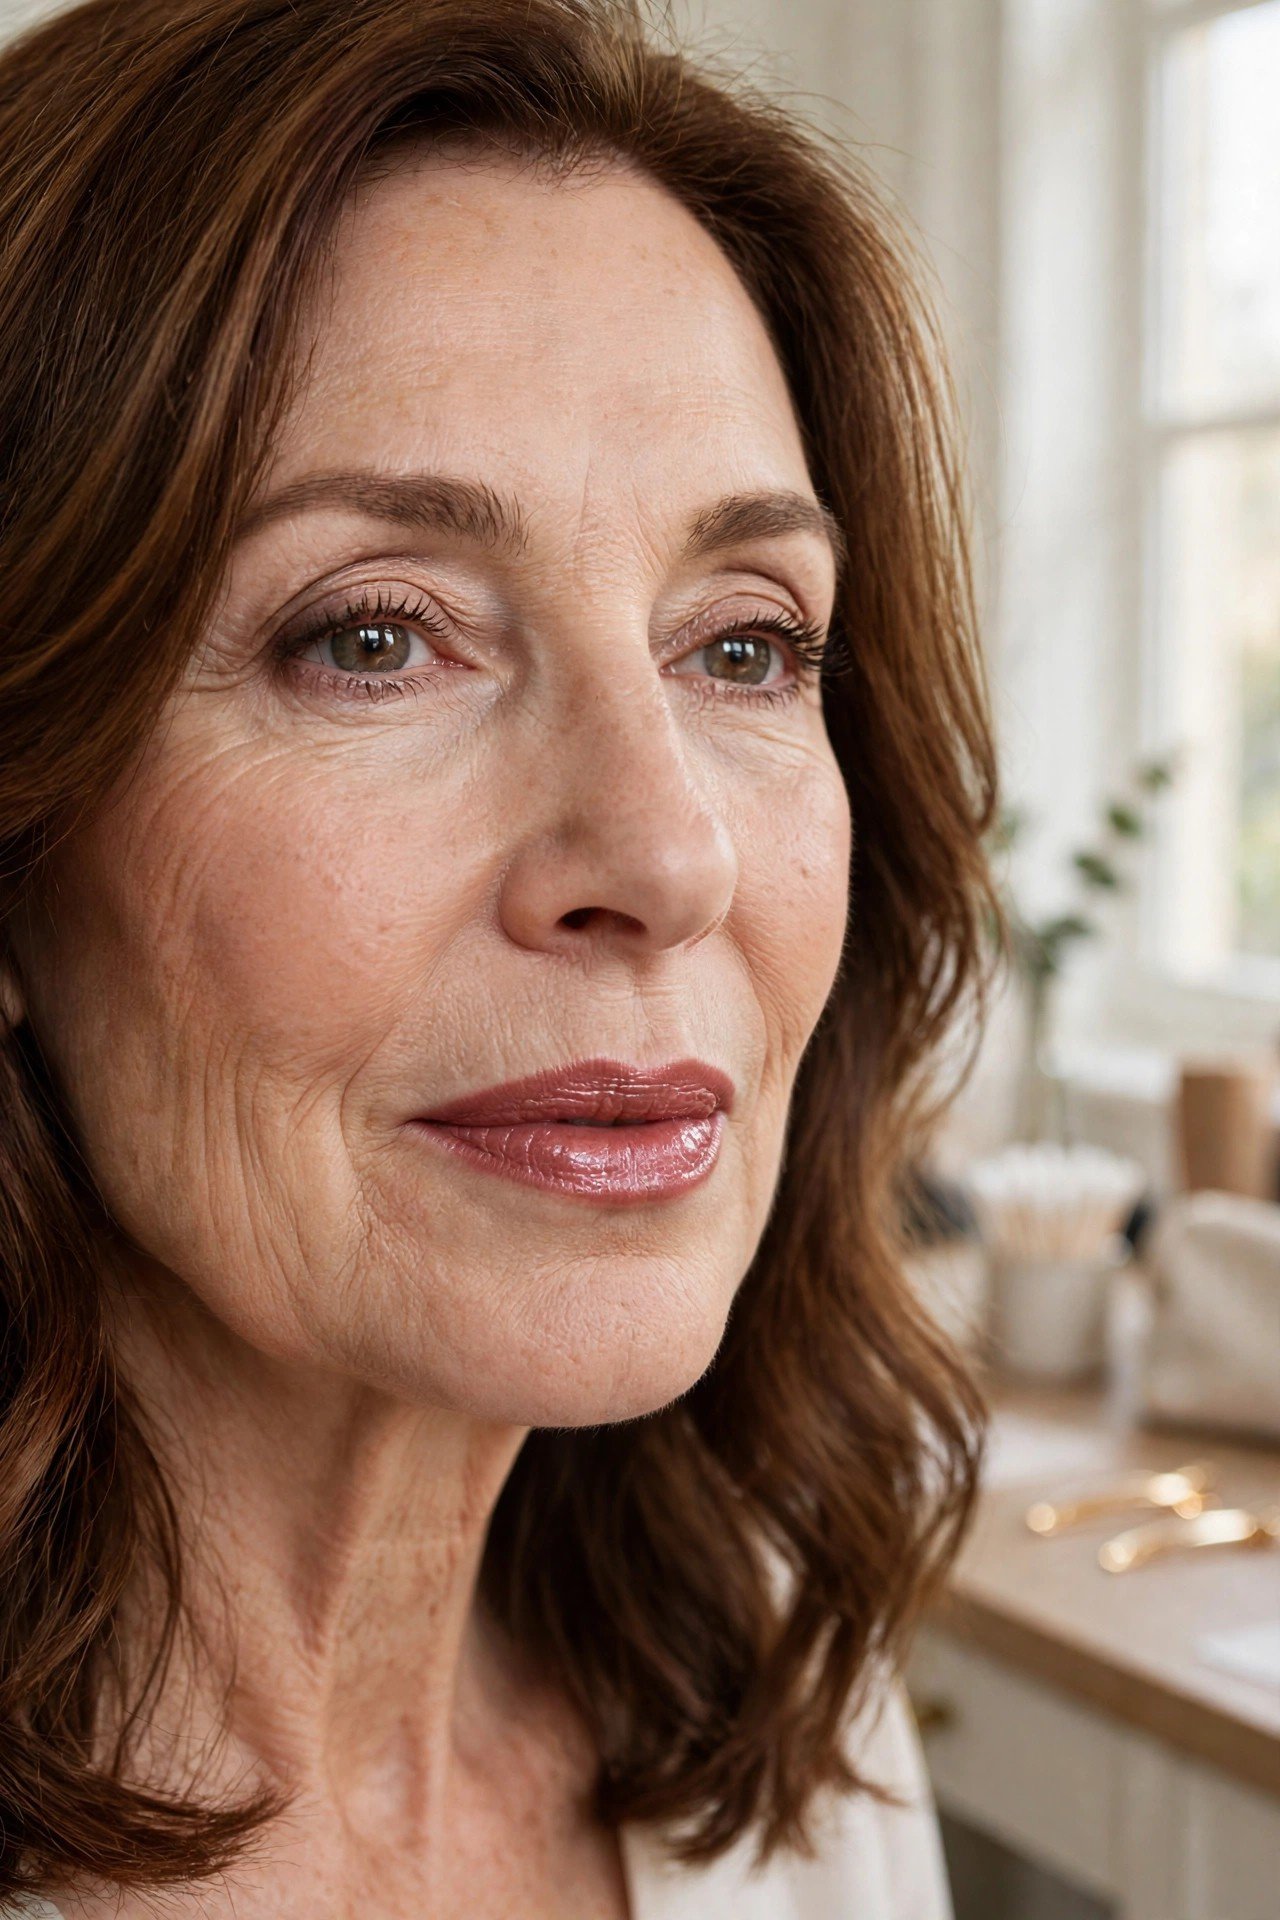
Lipstick feathers when the lip edge is dry and the colour is glossy. A liner base gives the colour something to hold on to.
Choose a liner close to your natural lip shade and fill the whole lip in, edge to centre. Add a satin lipstick over the top, press the lips together, then blot once and add one more thin layer. The satin finish reflects a little light, which keeps lips looking full, and the filled-in base means the colour fades evenly instead of leaving a ring.
💡 Quick Tip
Blot between layers rather than once at the end. Two thin, blotted layers outlast one thick coat and feel lighter on the lips all day.
17. Spot-Conceal Only Where the Skin Actually Needs It
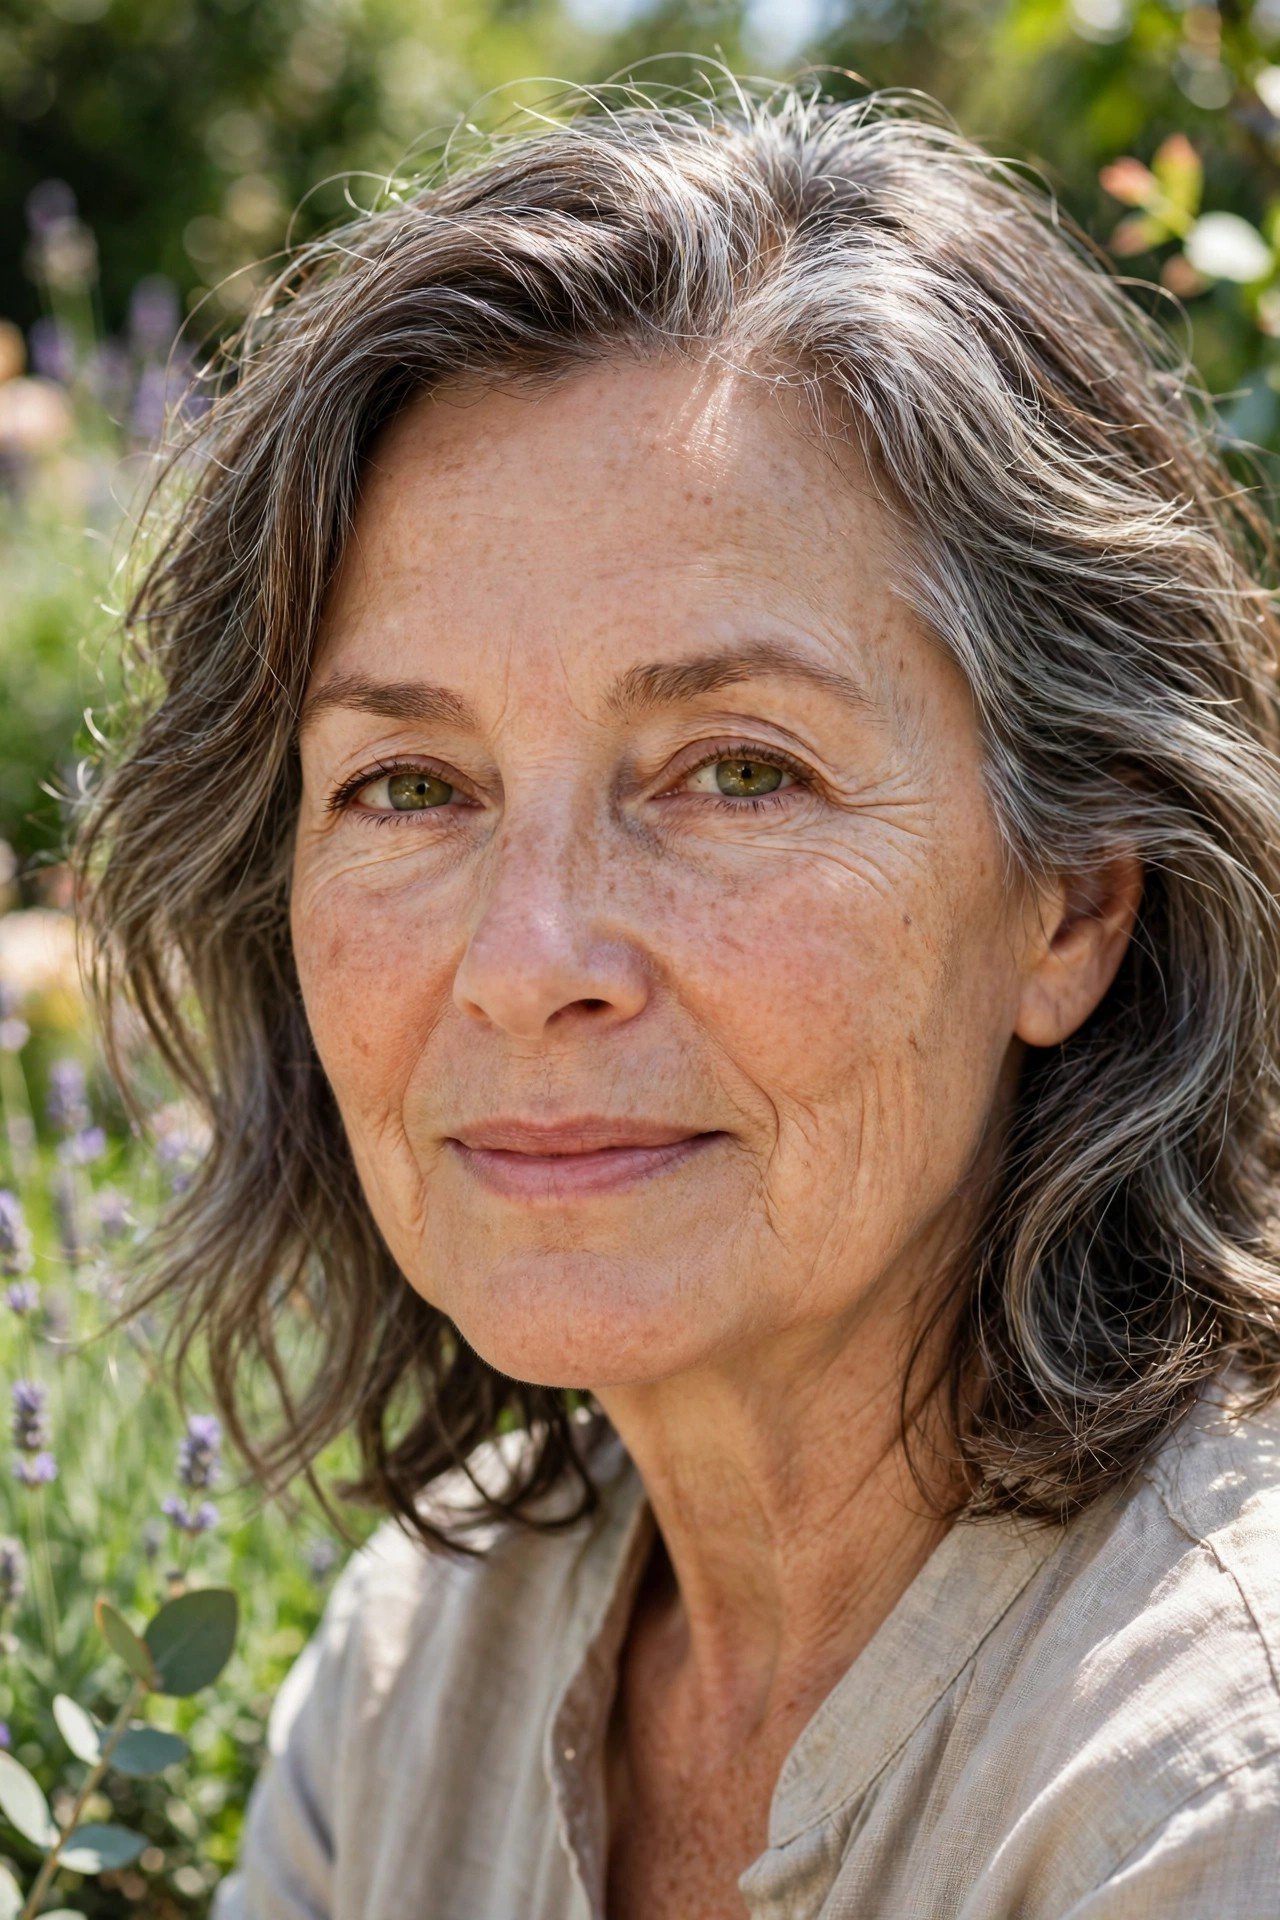
Full coverage everywhere is the fastest route to a heavy, lined finish. Most faces need help in three small places and none at all in the rest.
Tap concealer at the sides of the nose, on any blemish or dark spot, and at the inner corner under the eye. Blend each spot outward until the edge disappears, then leave the cheeks, forehead, and jaw completely bare or under a whisper of skin tint. Real skin showing between the covered spots is what makes the whole face read fresh.
18. Put Cream Highlight on the High Points and Nowhere Else
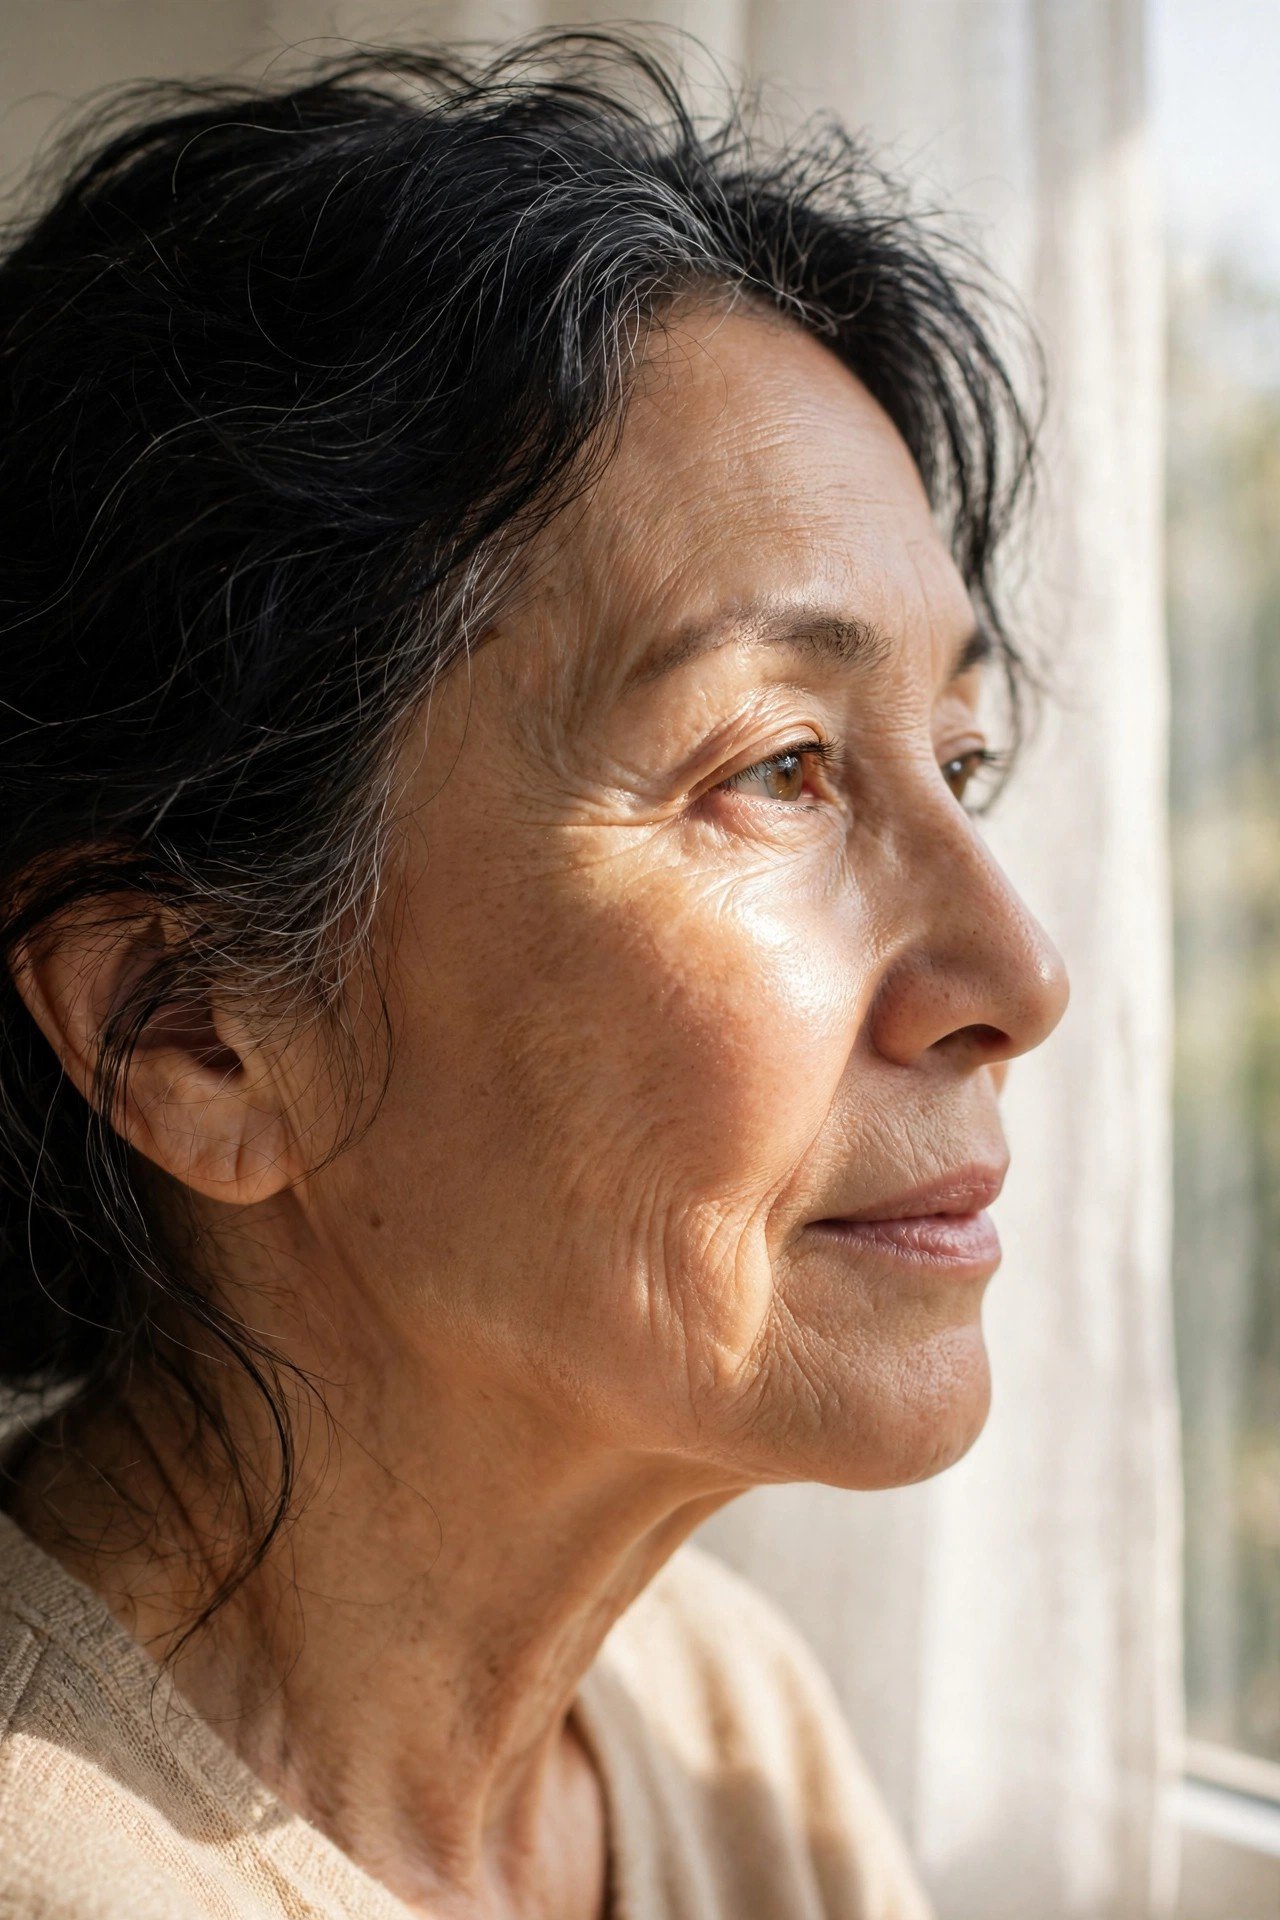
Highlight fails when it goes everywhere. Spread across the whole cheek, it reads as shine, and shine on textured skin shows every pore and line.
Kept to the high points, it does the opposite. Tap a cream highlight along the top of the cheekbone, a short stroke down the centre of the nose, and a dot at the brow bone. Blend the edges with a fingertip and stop there. The light lands where bone sits close to the skin, so the face looks lit and rested rather than glossy.
19. Sweep On a Copper Cream Shadow Stick for Warm Evening Eyes
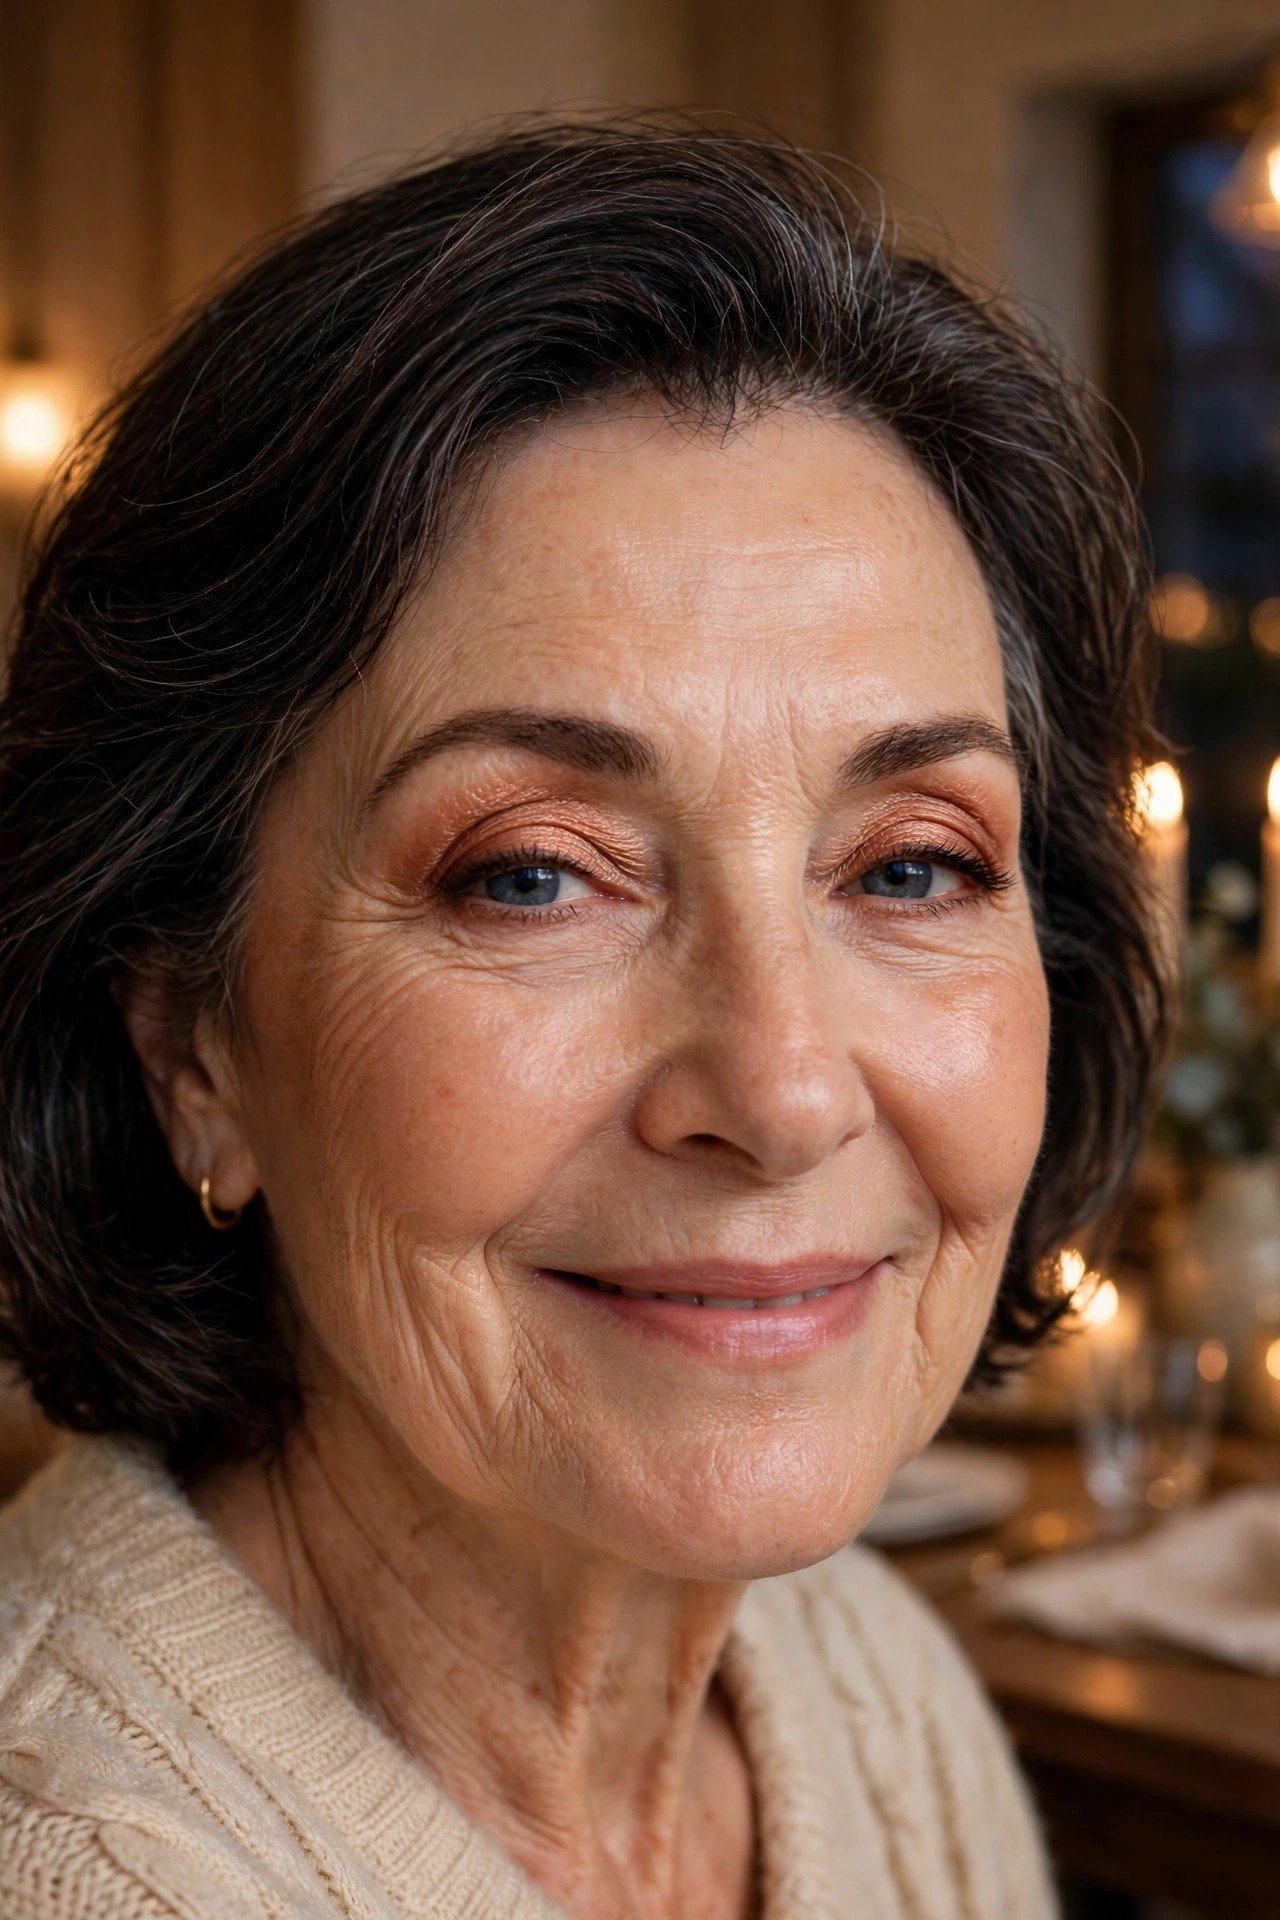
Evening eyes after fifty do not need five shades and a diagram. One warm metallic cream does the shaping on its own.
Draw the shadow stick across the lid, close to the lashes, then blend the top edge upward with a fingertip before it sets. The copper tone warms the whole face, the cream texture stays smooth over lid lines, and the soft edge looks deliberate rather than unfinished. Add tightlining and mascara, and the eye is done in about two minutes.
Draw the stick along the lash line, thicker at the outer corner.
Blend the top edge upward with a fingertip within thirty seconds, before it sets.
Soften the outer corner into a gentle wing shape with a cotton bud.
20. Powder Only the Shine Zones and Leave the Rest Bare
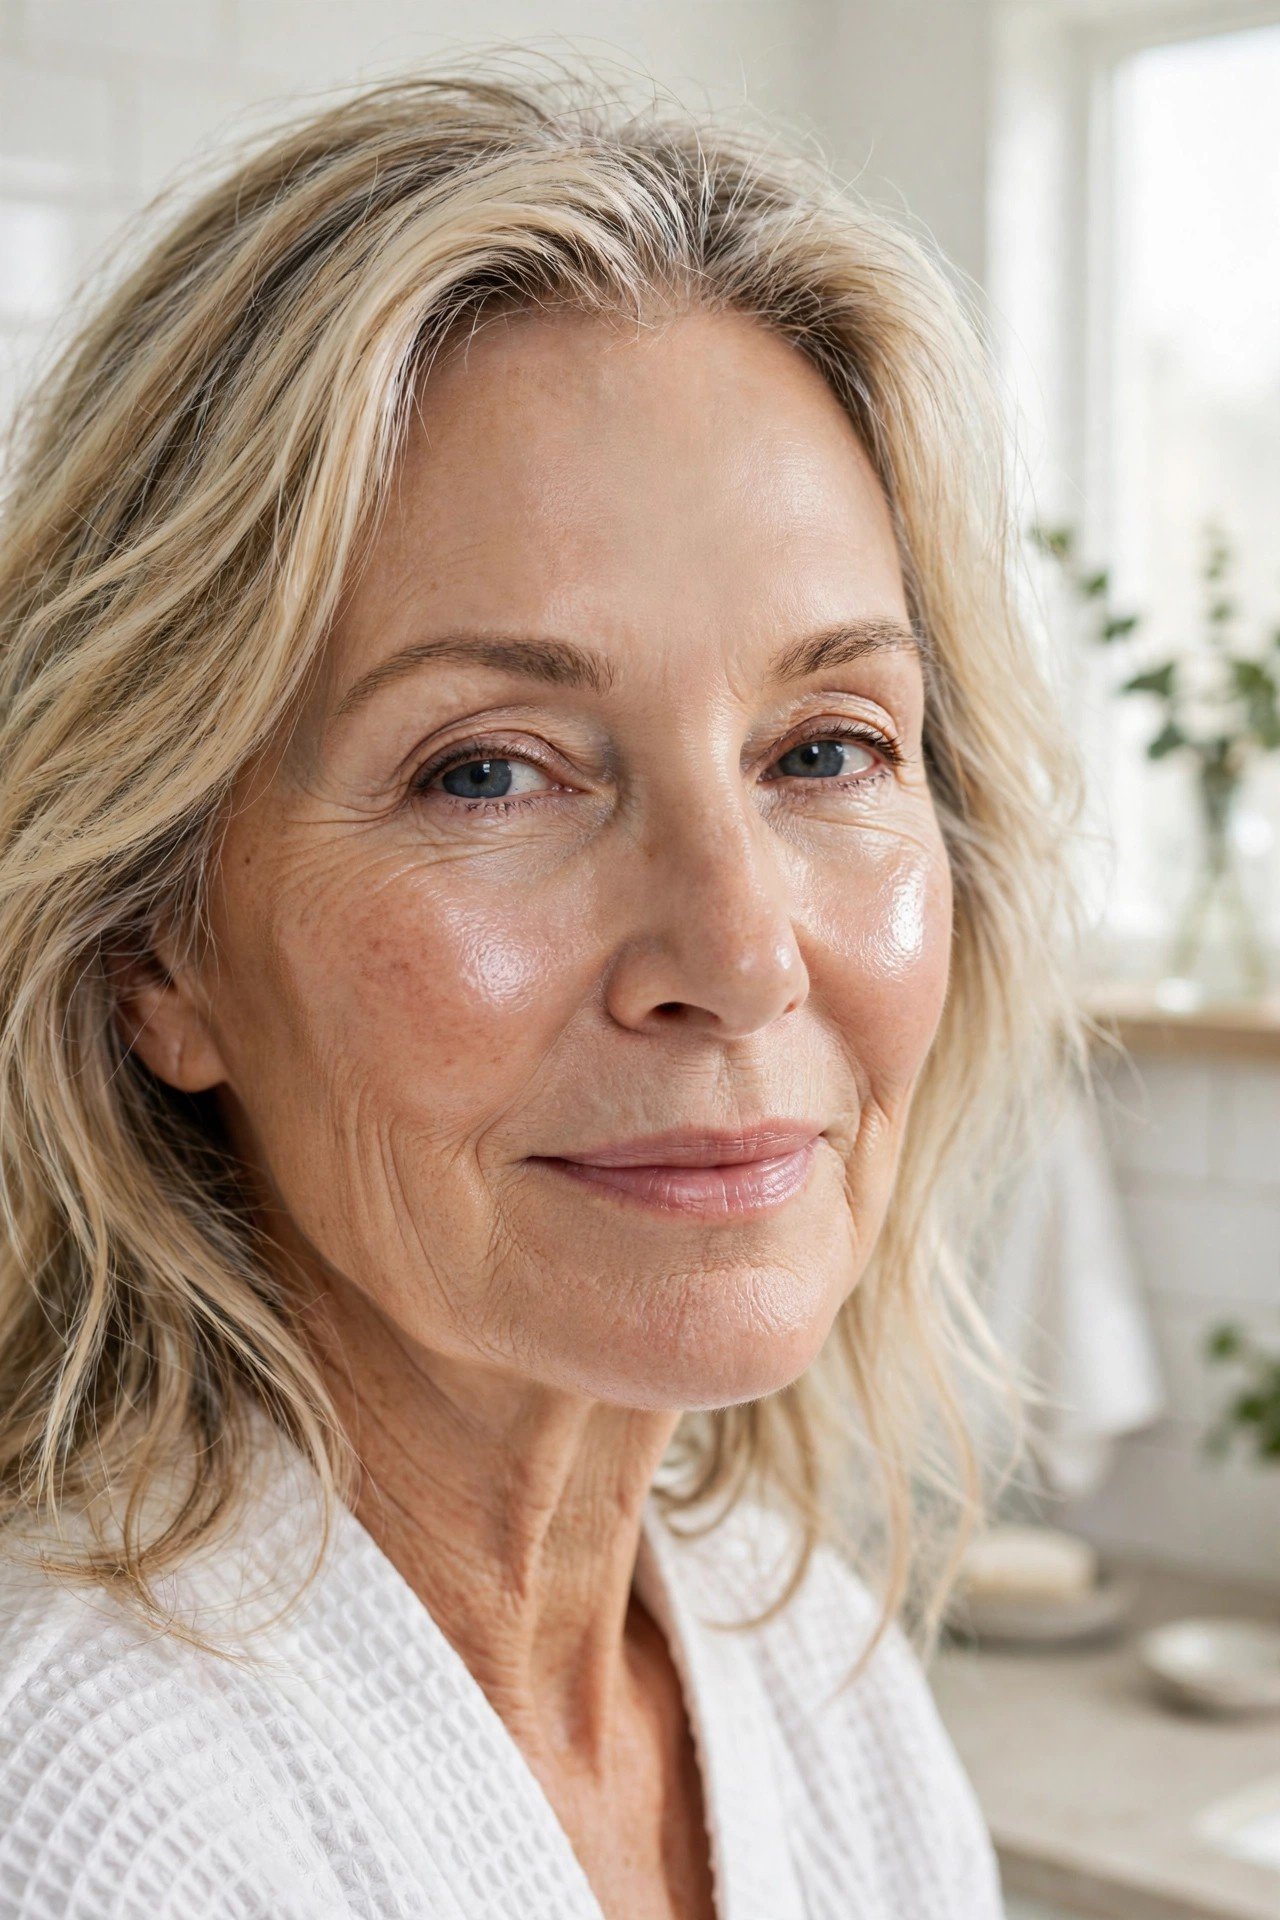
Powder has one job: taking down shine where shine actually appears. Everywhere else, it only adds dryness.
For most women over fifty, the shine zones are the centre of the forehead, the sides of the nose, and the chin. Press a small amount of fine powder into those three spots with a puff, and leave the cheeks and the eye area completely bare. The glow stays where it flatters, the shine goes where it distracts, and no powder settles into the lines at the outer corners of the eyes.
Powder the shine, not the face. Three small zones get the powder, and the rest of the skin keeps its glow.
21. Keep a Five-Minute Face Ready: Balm, Blush, Brow Gel
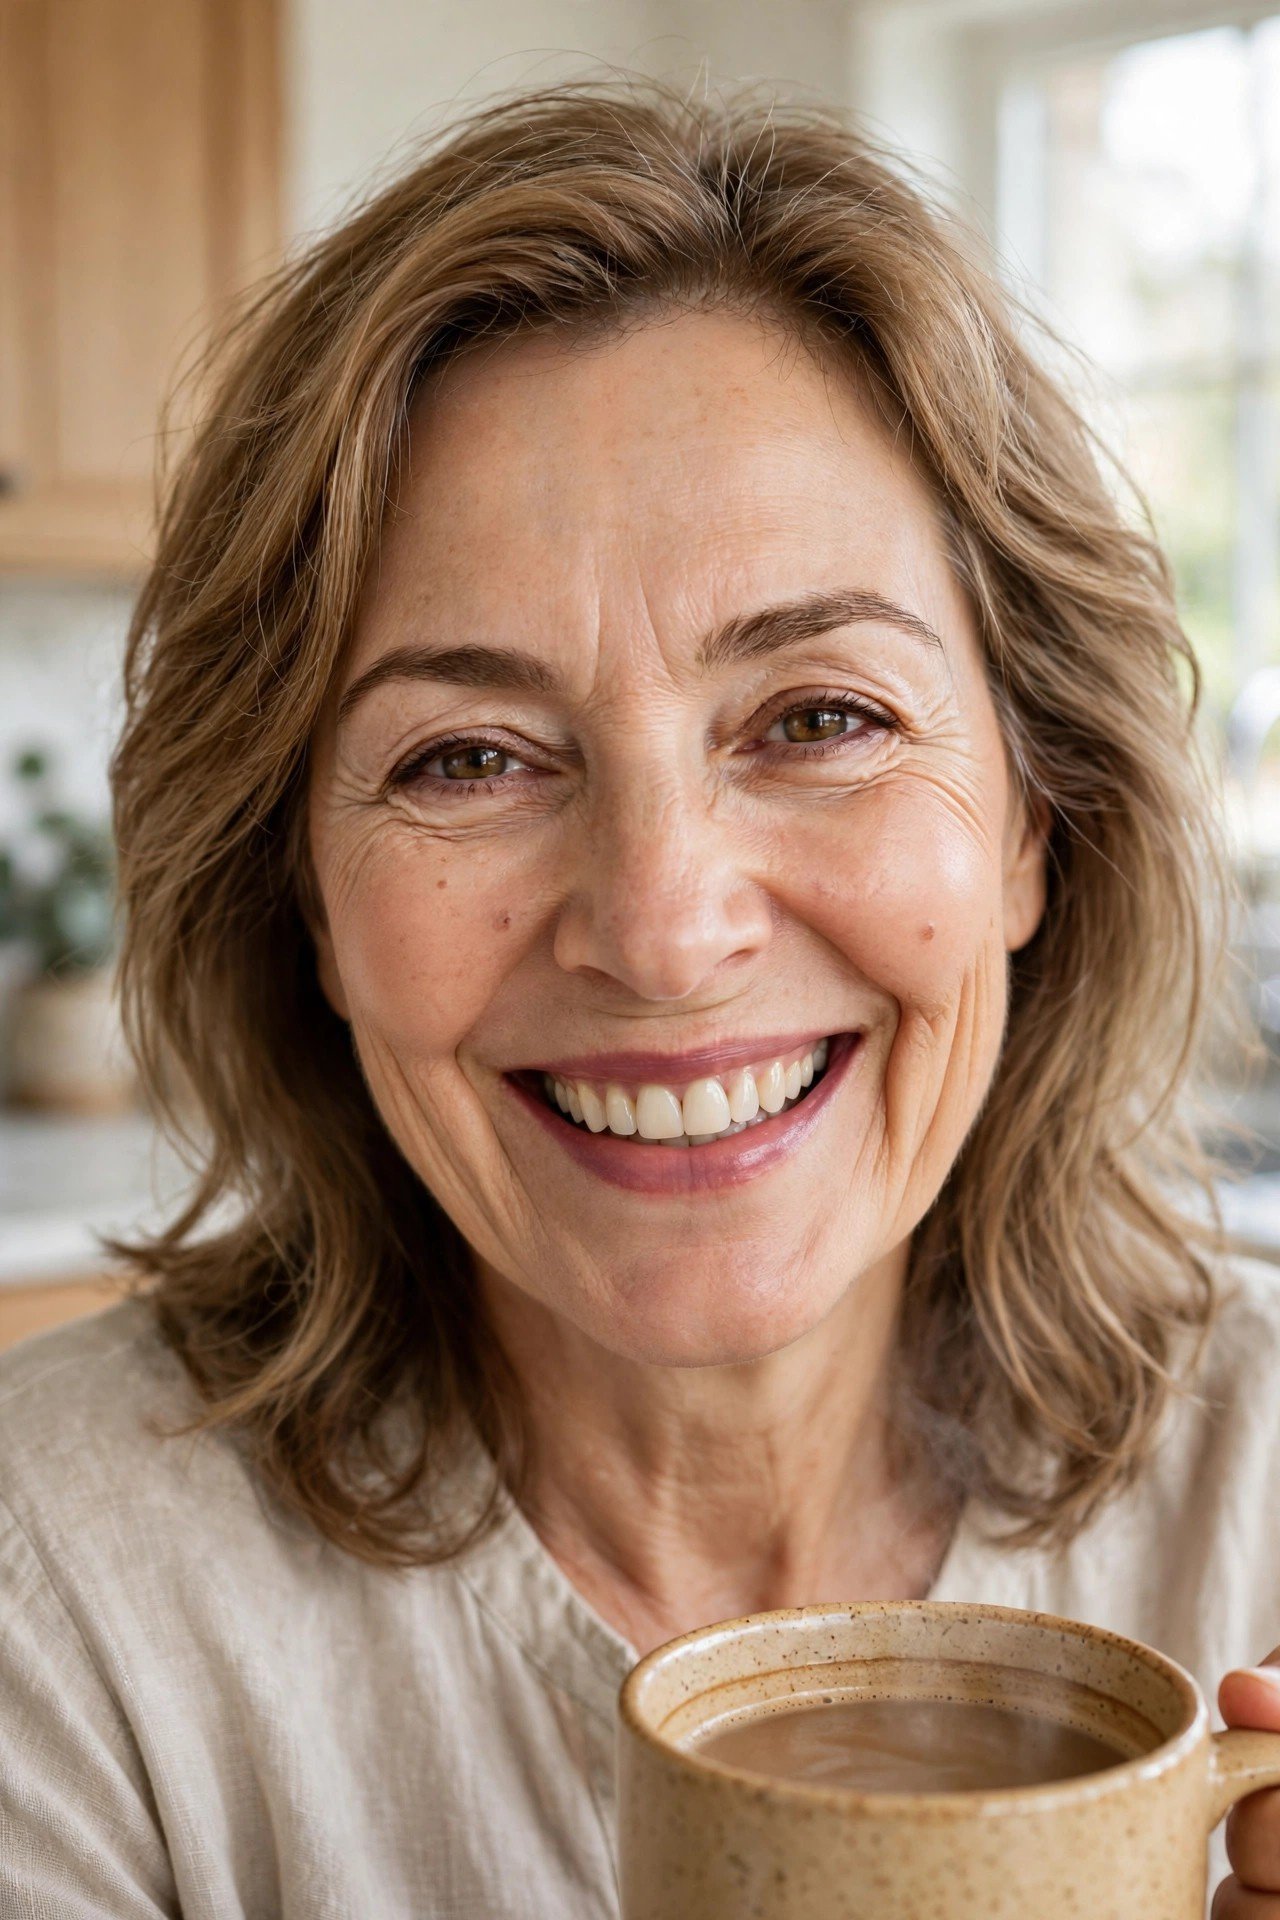
Some mornings allow five minutes and no more. A short routine you trust beats a long one you skip, and this one covers colour, shape, and polish.
Tinted balm evens the lips and adds soft colour. Cream blush, placed high, wakes the whole face up in seconds. Brow gel brushed through the brows gives the eyes a frame. Add curled lashes if time allows, and stop. Three products, no base to settle, nothing to crease, and you look like yourself on a rested day.
The three product morning kit
22. End the Day With a Soft Glam That Still Sits Lightly
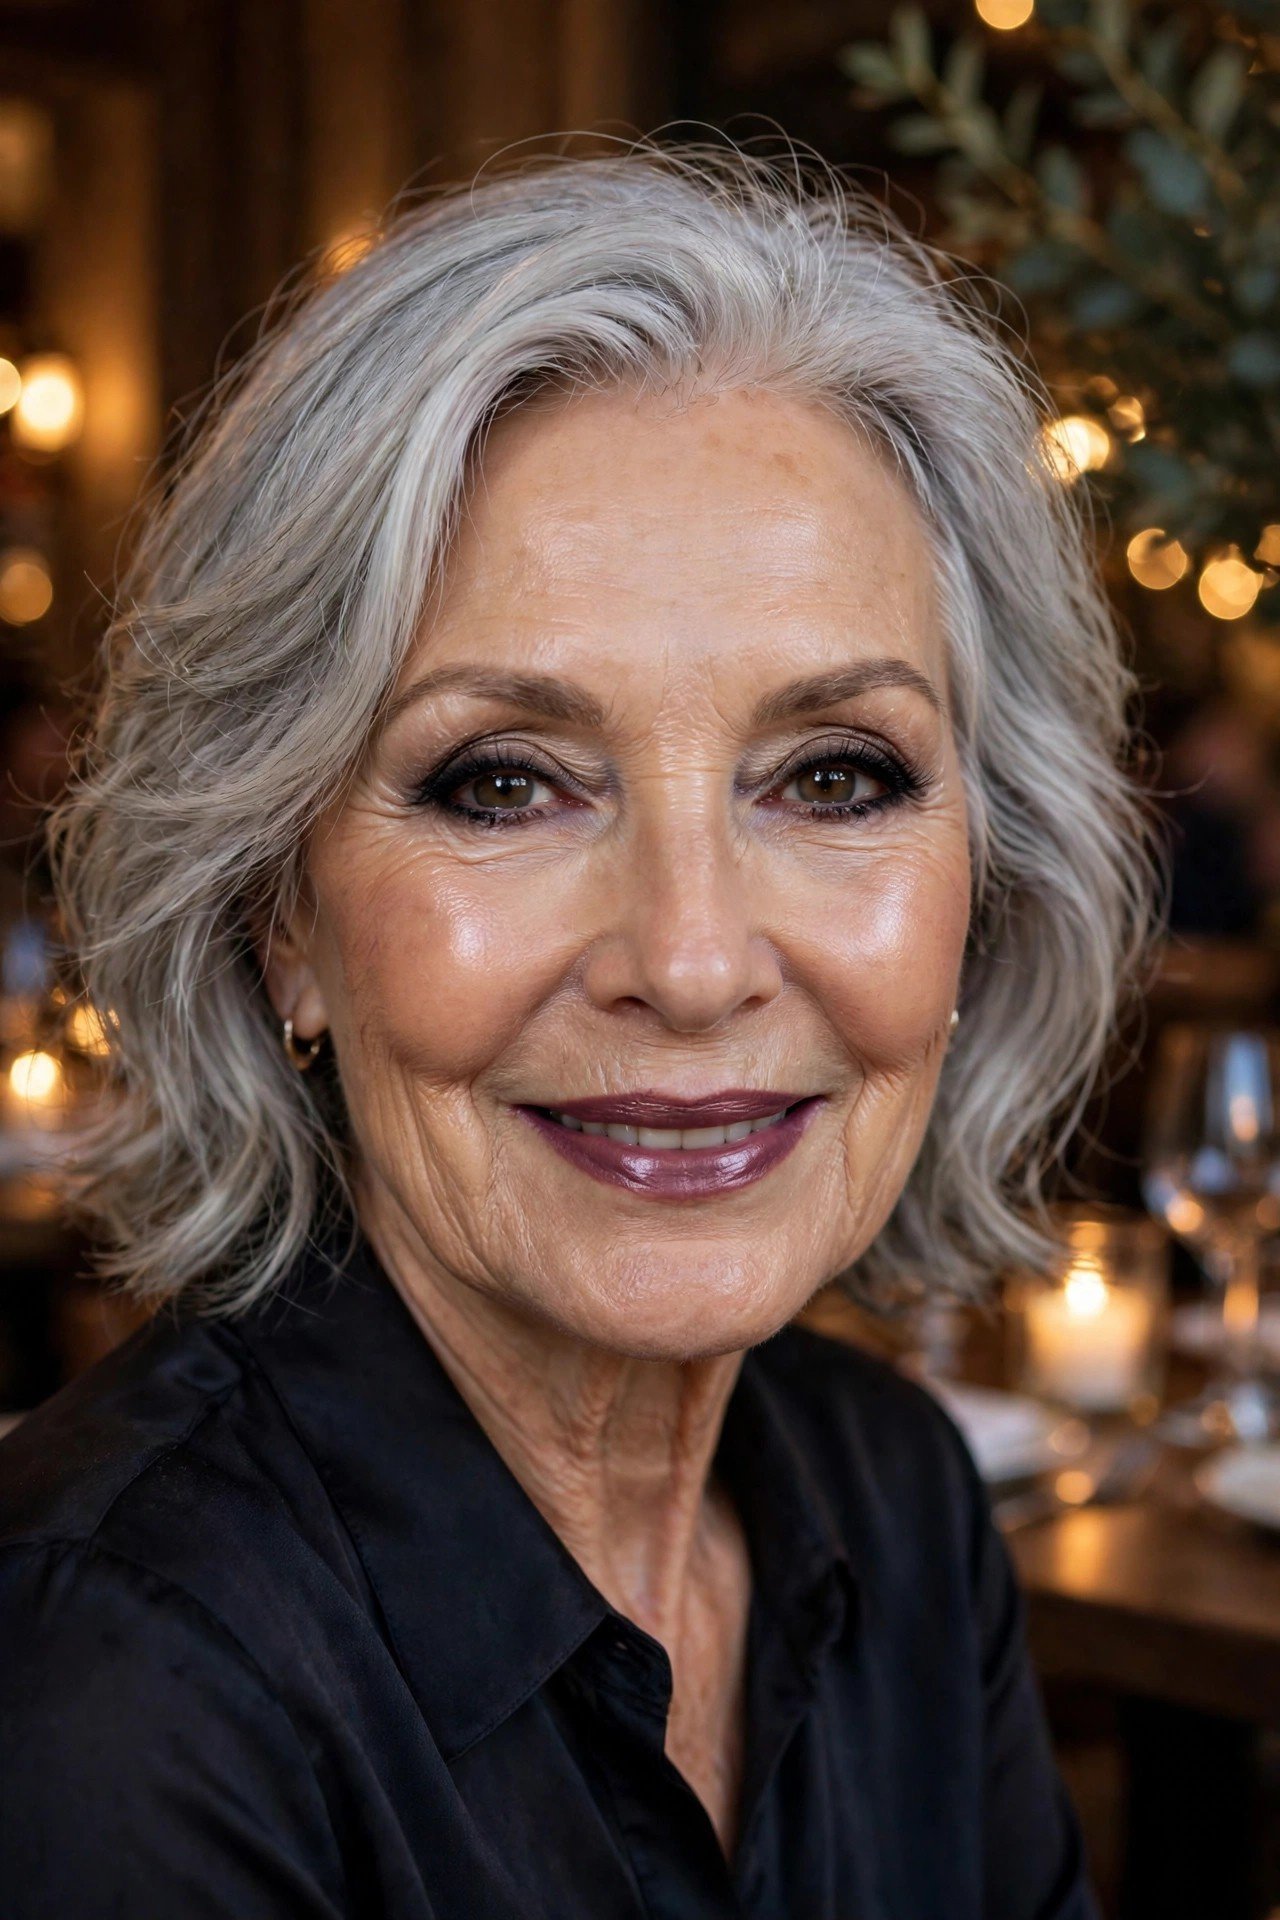
Dinner out, a family celebration, a photo you actually want to keep. Soft glam for the evening keeps the same light base and adds depth in two places only.
Deepen the lash line with the shadow wing from earlier in this list, and swap the daytime lip for one shade with more depth, a muted plum or a warm brick. Keep the blush and base exactly as they were. The face reads dressed up in photos, and because the layers stayed thin and creamy, nothing new settles into lines while you are out enjoying yourself.
Good makeup after fifty is mostly placement and texture. Keep the base thin and hydrated, put cream colour high on the cheek, draw definition at the lash roots, and save powder for the spots that shine. Those small choices keep makeup looks over 50 sitting on the skin instead of collecting in lines. Pick the two or three looks that suit your mornings, practise them once on a quiet day, and they will soon feel automatic. Save this list to your beauty board so the techniques are close by the next time you sit down at the mirror.